Teardown, Cleaning, and Reassembly of the Miscellaneous Parts of the Olympus BH-2 Microscope Frames
Revision 1
Page 40 of 45
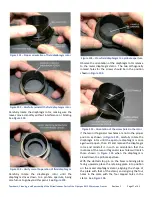
Figure 172
–
Blow all loose dust from the mirror surface
Next, place the frame of the Light Exit Assembly into a
suitable container to catch cleaning solution and rinse
water (see
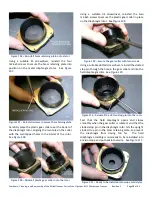
Figure 173
–
Place the frame into a suitable catch pan
Apply a suitable optical cleaning solution (item 4 of
) over the entire reflective surface of the
). Allow the cleaning solution to
soften the debris on the mirror surface for a while
before proceeding with the cleaning.
Figure 174
–
Wet the reflective surface of the mirror
Use a soft-bristled brush (item 10 of
) to
carefully clean the wetted reflective surface of the
mirror by gently wiping the surface with the soft-
bristled brush (see
).
Figure 175
–
Carefully clean the primary surface mirror
After the mirror has been gently cleaned in this manner,
thoroughly rinse away the cleaning solution and
loosened dust with lots of distilled or deionized water,
so as to not leave water spots when the mirror dries
(see
).
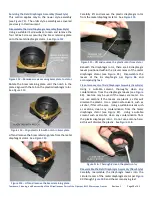
Figure 176
–
Rinse the mirror with distilled/deionized water
Use a lens duster bulb (item 11 of
) to blow
away as much of the rinse water as possible (see
). Allow the complete frame to thoroughly air-dry in
a dust-free location before proceeding. DO NOT
attempt to dry the mirror surface with any sort of wipe
or tissue or the fragile reflective surface will be
permanently damaged.
Figure 177
–
Blow away most of the rinse water


