APPLIED OPERATIONS
/Image Processing
OPERATION INSTRUCTIONS
2 - 2 6 5
Page
8. Enter folder and file name into [Create file] text box.
By pressing <Browse…> button, folder appears for easy folder selection.
9. Click <Append> button, then new appended image created and stored.
Pressing <Clear> button clears the file assignment.
[Resolution] text box works as follows.
·In case of T in [Dimension] group box:
All images are time-series: Input not possible.
Image is not time-series:
The setting is utilized for the time
stamp interval that starts with 0 sec.
·In case of Z in [Dimension] group box
The setting is utilized for the Z step interval that starts with 0 um.
·In case of on An in [Dimension] group box:
The setting is utilized for pixel intensity step that starts with intensity 0.
Depending upon image size and number of slices to be appended, it may take
a few minutes or several tens of minutes to process for appending. Progress
bar will appear to indicate the progress during appending.
One Point!
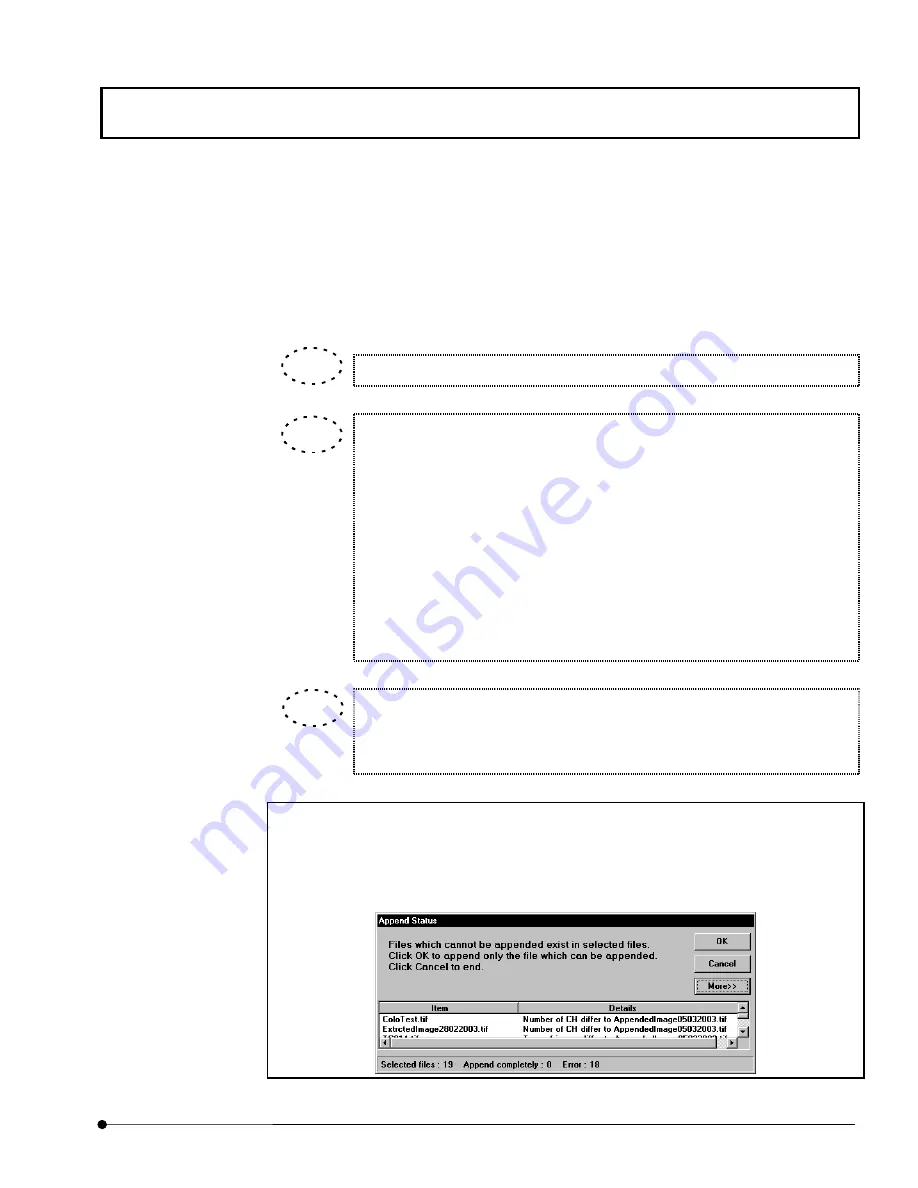
[Append Status] dialog box appears when images can not appended. Pressing <OK>, the
image is appended only for those are possible to be appended.
To see detailed status and error, please press <More>.
TIP
TIP
TIP


