Software Setup/
Adding the filters
MAINTENANCE
1 - 3 0
Page
3.
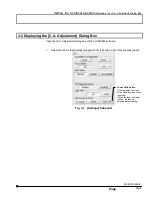
Click [Edit Dye Assign Database] button.
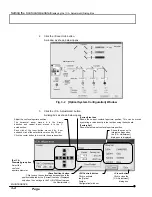
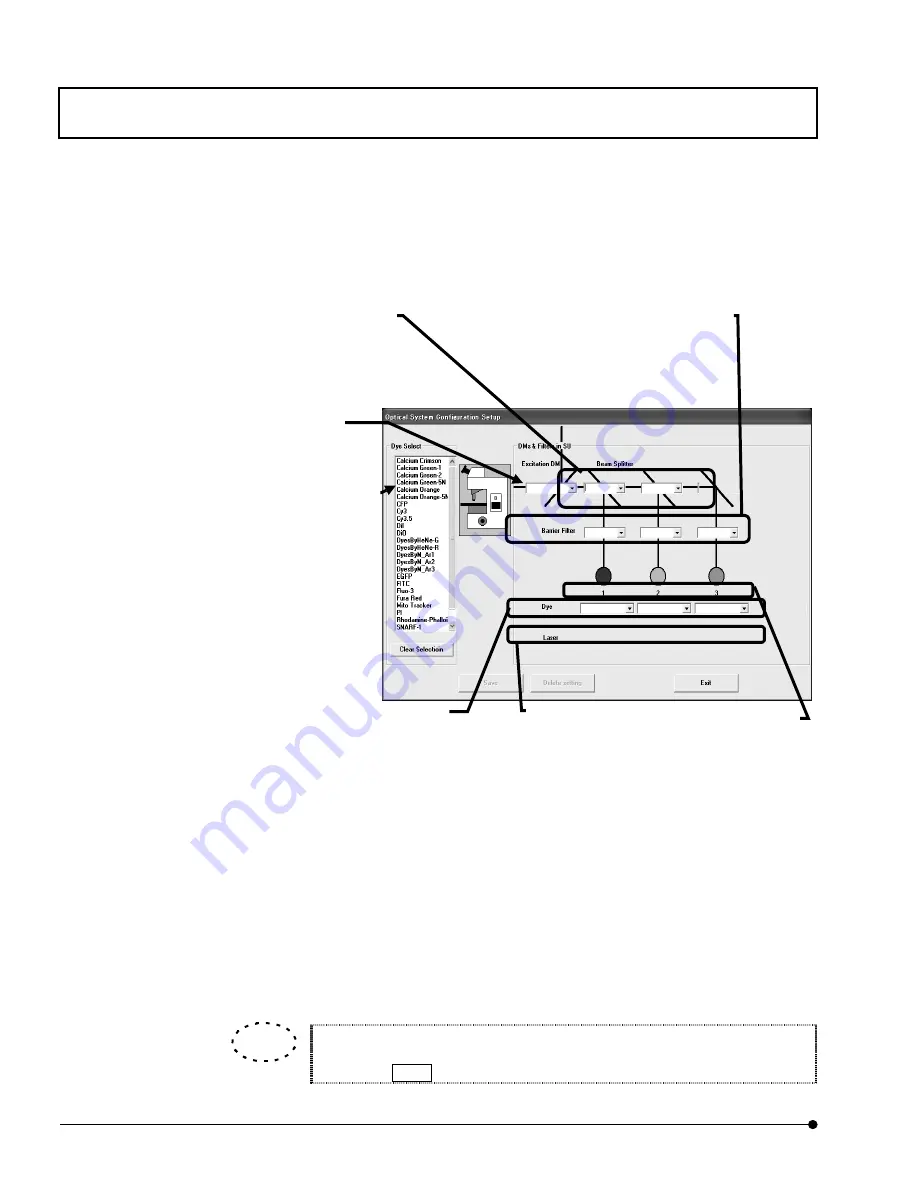
[Optical System Configuration Setup] dialog box appears as shown below.
4.
In the list box in the [Dye Select] group box, select the dyeing method to be changed or
created (CFP in this example). When a dyeing method is selected and if there is
information associated with the selected dyeing method, the [Excitation DM] drop-down
list shows the excitation dichroic mirrors, the [Beam Splitter] drop-down list shows the
beam splitters, the [Barrier Filter] drop-down list shows the barrier filters, the [Dye]
drop-down list shows the dyeing methods and the [Laser] group box shows the set
laser types, all on the per-channel basis.
To select more than one dyeing method, select the required methods while
holding the Ctrl key.
[Dyes] drop-down list
Select the dyeing method
detected in each channel.
Select the blank when the
selection is not required.
[Laser]
Shows the lasers set
for the channels.
[Dye Select] group box
The valid dyeing methods (those for
which the laser wavelengths are
defined) defined in the database
(Probedb.mdb) are displayed.
Clicking the <Clear Selection> button
clears the dyeing method selection in
the list box.
[Excitation DM] drop-down list
Select the excitation dichroic mirror
for each channel.
[Beam Splitter] drop-down list
Select the beam splitter for each channel.
Select the blank when the selection is not
required.
[Barrier Filter] drop-down list
Select the barrier filter for each channel.
Select the blank when the selection is not
required.
Channel numbers.
TIP


