69
GX53
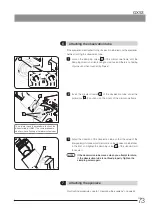
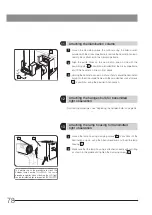
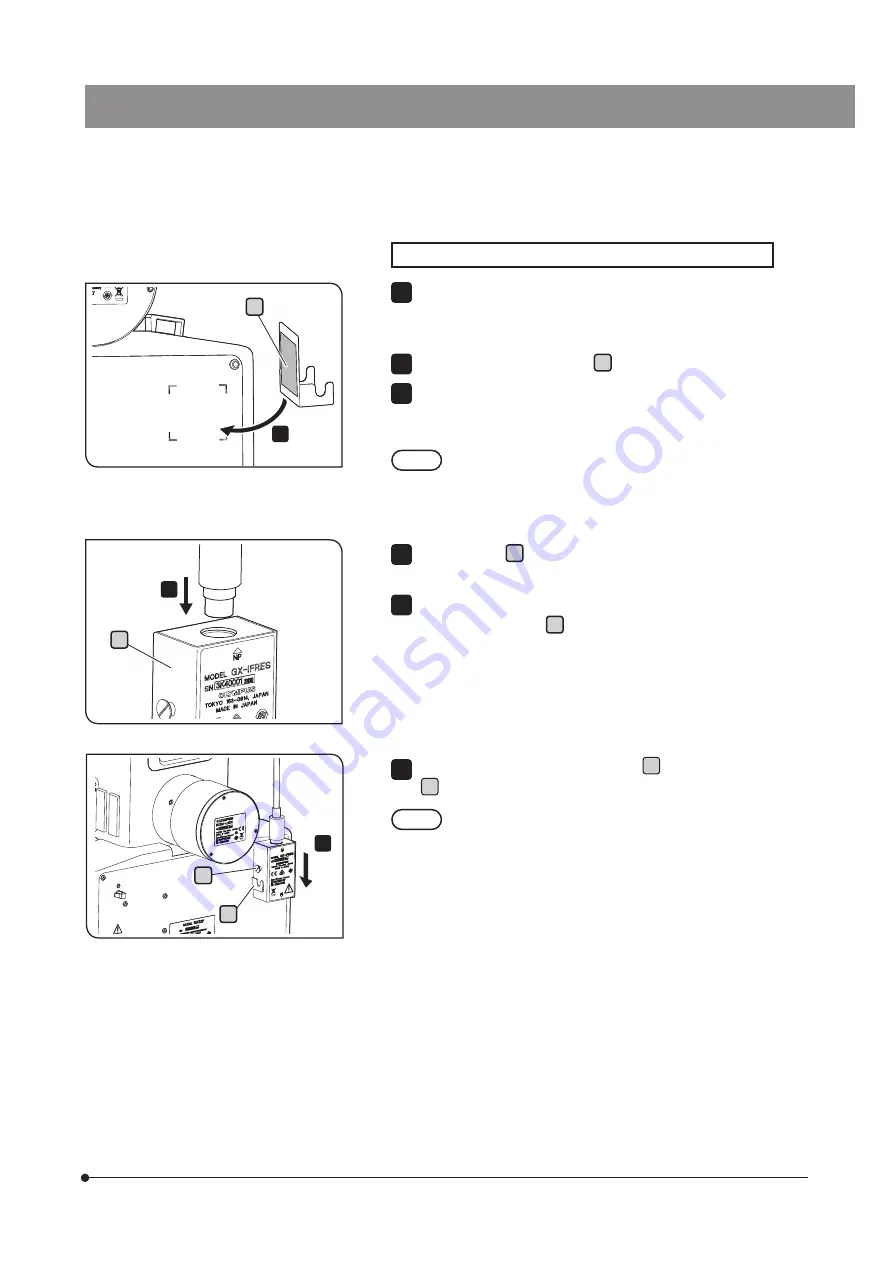
Attaching the relay unit for coded revolving nosepiece (GX-IFRES)
Clean the place to attach the relay unit holder on the back of the
microscope (shown by dotted line) using the cleaning paper, etc.
moistened with absolute alcohol.
Remove the protection sticker a of the relay unit holder.
Align the adhesive part of the relay unit holder with the position to
attach the relay unit holder, and push it to the back of the microscope
firmly to attach it.
·
Be careful not to cover the label.
·
If you remove the relay unit holder attached once, the
adhesive power becomes weak and the product may drop.
Decide the position carefully before attaching it to prevent
from attaching again.
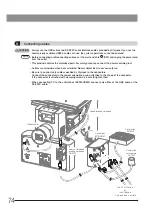
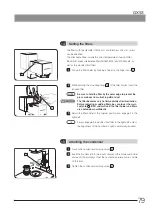
Hold GX-IFRES b and connect the connector of the coded revolving
nosepiece to the “NP" side of GX-IFRES.
Connect the connector of the cable provided with GX-IFRES to the
“CB" side of GX-IFRES b .
Connect the other connector of the cable to “NP" of the control box
(BX53M-CBFM).
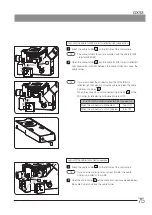
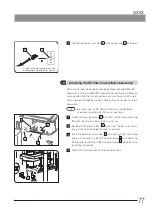
Attach the relay unit by hooking the pin c of GX-IFRES in the groove
d of the relay unit holder.
If the connector is attached or detached while GX-IFRES
is hanging on the relay unit holder, the relay unit
holder may come off. When attaching or detaching the
connector, be sure to hold GX-IFRES with your hand.
1
2
3
NOTE
4
5
6
NOTE
a
4
3
b
c
d
6


