50
IX81
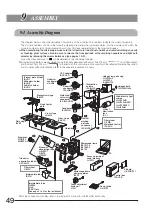
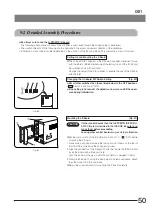
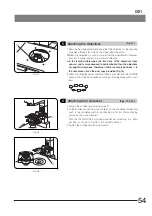
Fig. 60
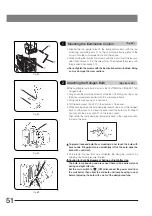
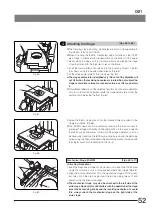
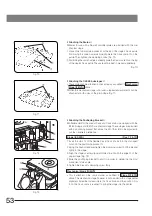
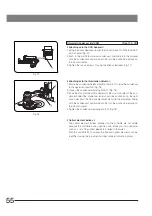
Fig. 61
9-2 Detailed Assembly Procedures
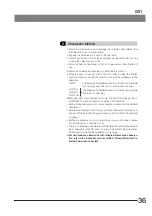
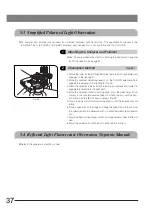
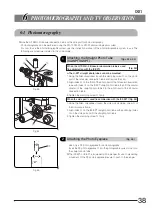
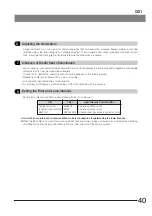
# Be always sure to use the U-ZPCB(T2) Z-board.
The following phenomena will occur if the U-ZPCB is used, even though the correct setup is performed:
· The rotation direction of the focusing knob is opposite to the actual movement direction of the objectives.
· Initialization may not be possible depending on the position of the focusing block. (The microscope may not start up.)
Setting Up and Mounting the Z-Board
}The on-board DIP switches on the Z-board have been designed for use
with the BX61 or BX62 microscope at the factory (i.e. all of the S1, S2 and
S3 switches at the OFF positions).
Change the setup of the DIP switches to enable the use of the Z-board
with the IX81.
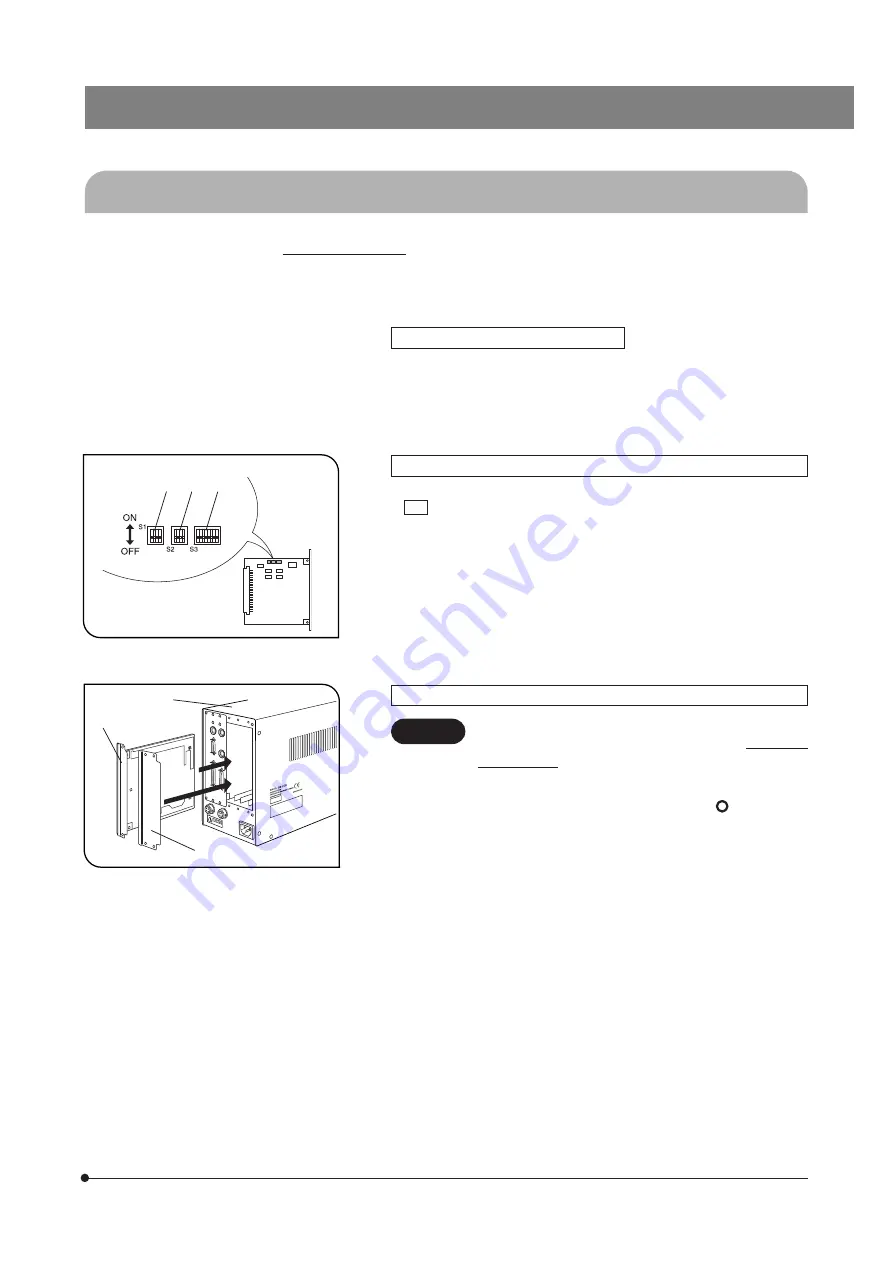
Changing the On-Board DIP Switch Setting
(Fig. 60)
# Set all other switches than those listed below to the OFF positions.
· S3
Set No. 4 and No. 5 to ON.
# If the setting is not correct, the objective may raise and hit the speci-
men during initialization.
Mounting the Z-Board
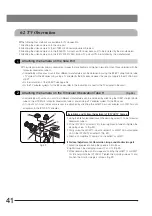
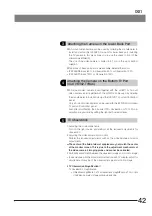
(Fig. 61)
If other control boards than the U-ZPCB(T2) (U-ZPCB, U-
AFA1-CB, etc.) is installed in the IX2-UCB, be sure to re-
move them before proceeding.
Leaving other control boards may result in malfunction.
}Set the main switch of the IX2-UCB control box
1
to “ ” (OFF) before
mounting the Z board.
1. Loosen the six knobs clamping the two option slot covers on the rear of
the IX2-UCB and remove the knobs and covers.
2. Align the connector of the Z-board
2
with that inside the IX2-UCB and
insert the board along the board rails.
Push the board all the way in until the connector is plugged in firmly.
3. Clamp the Z-board
2
using the clamping knobs removed above. Attach
the other cover
3
in the same way.
}Retain the cover removed for mounting the Z board carefully.
CAUTION
1
2
3
S1
S2
S3

