59
5
EN
Menu setting method
Menu setting method
a
Rec Scene
The recording setting can be selected from
the [
Lecture
], [
Conference
], [
Meeting
],
[
Dictation
] or [
DNS
] templates to suit the
recording conditions. You can also save a
recording setting of your choice.
1
Select [
Select
] or [
Register
].
a
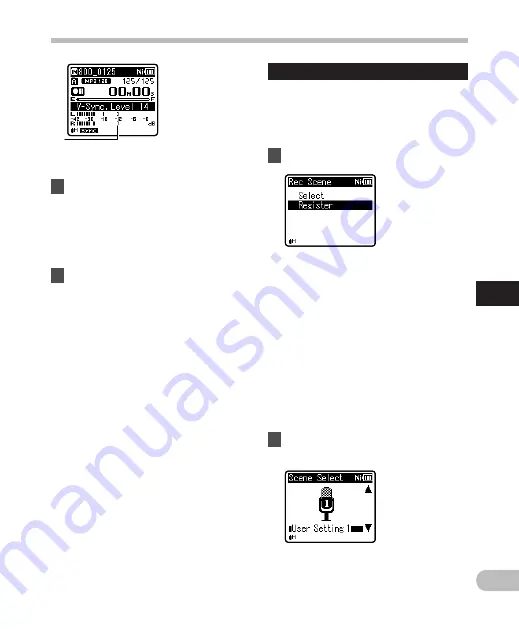
Voice sync level (moves to the
right/left according to the set level)
3
Press the
REC
(
s
) button again.
• The recorder goes into standby.
[
Standby
] flashes on the display and
the LED indicator light flashes.
• When the input is at or above the
voice sync level, recording starts
automatically.
4
Voice sync recording stops
automatically.
• If sound at a volume equal to or
below the voice sync level continues
for the specified time, voice sync
recording ends automatically, and
the recorder returns to the recording
standby mode or stop mode. Every
time the recorder enters standby
mode, the current file is closed and
recording continues in a new file.
• To stop the recorder during voice
sync recording, press the
STOP
(
4
)
button.
• When the [
V-Sync. Rec
] function is
being used, the following function is not
available.
•
[
VCVA
] (
☞
P.57)
[
Select
]: From the templates, select
a recording scene that suits the
recording conditions. For details,
see “
Template settings
” (
☞
P.60).
Alternatively, select a recording
scene that has been customized for a
particular purpose.
[
Register
]: You can save up to 3 sets of
menu settings relating to a current
recording.
• If you select [
Select
], proceed to
Step 4.
4
When [
Register
] is selected:
2
Set the recording settings
according to your preferences.


