Maintenance
OMAX JetMachining® Center Operator’s Guide
400433D-EN
4 - 17
Nozzle Body
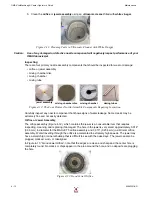
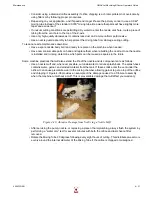
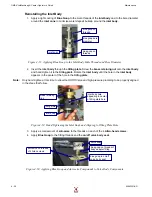
1.
Apply a light coating of
Blue Goop
to the male threads of the
nozzle body inlet
.
Figure 4-29: Applying Blue Goop to the Nozzle Body Inlet Threads
2.
Carefully hold the
nozzle body
to keep the
mixing chamber disc
and
orifice assembly
leveled
and centered in their positions in the bore.
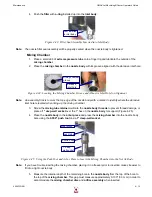
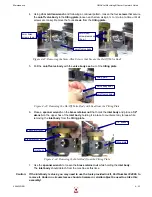
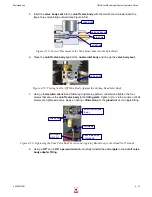
3.
Carefully begin to screw the
nozzle body
with the
orifice assembly
onto the machine’s
nozzle
inlet body
.
Figure 4-30: Installing the Nozzle Body onto the Nozzle Inlet Body
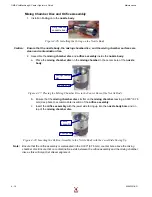
4.
Twist the
nozzle body
slowly to keep the
mixing chamber disc
and
orifice assembly
seated flat
and centered in their correct positions. Twist until you begin to feel resistance from the
nozzle
body
and the
nozzle inlet body
.
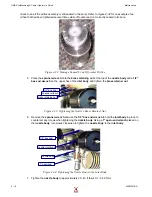
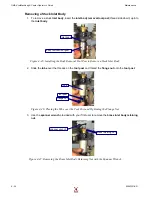
Note:
The threads on the nozzle assembly of the Tilt-A-Jet are clocked to ensure that the abrasive inlet hole
ends up in the proper position for attaching the abrasive hose:
Figure 4-31: Aligning the Nozzle’s Abrasive Inlet Hole
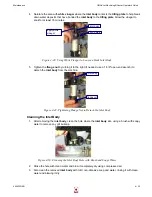
If the orifice assembly is not seated properly prior to tightening, the abrasive inlet hole will not end up in the
correct position and will also cause damage to the inlet body. If this happens, check the seating of the
components inside the nozzle assembly to ensure that they are centered and seated properly (specifically,
nozzle body inlet
Blue Goop
nozzle body with
orifice assembly
nozzle inlet body
abrasive inlet hole
Summary of Contents for JetMachining Center 2626
Page 8: ...OMAX JetMachining Center Operator s Guide viii 400433D EN ...
Page 12: ...OMAX JetMachining Center Operator s Guide xii 400433D EN ...
Page 22: ...OMAX JetMachining Center Operator s Guide Safety First 1 10 400433D EN ...
Page 140: ...OMAX JetMachining Center Operator s Guide OMAX Glossary 6 16 400433D EN ...
Page 144: ...OMAX JetMachining Center Operator s Guide Index 4 400433D EN ...

