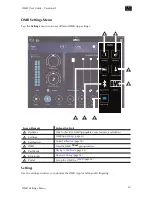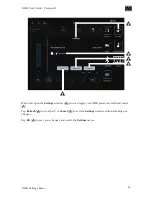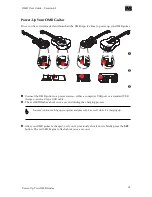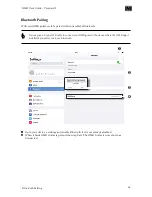
Attaching the Diamond Conductive Tape for Acoustic Guitars
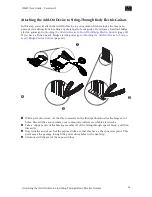
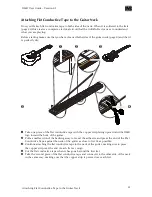
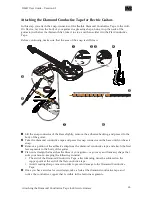
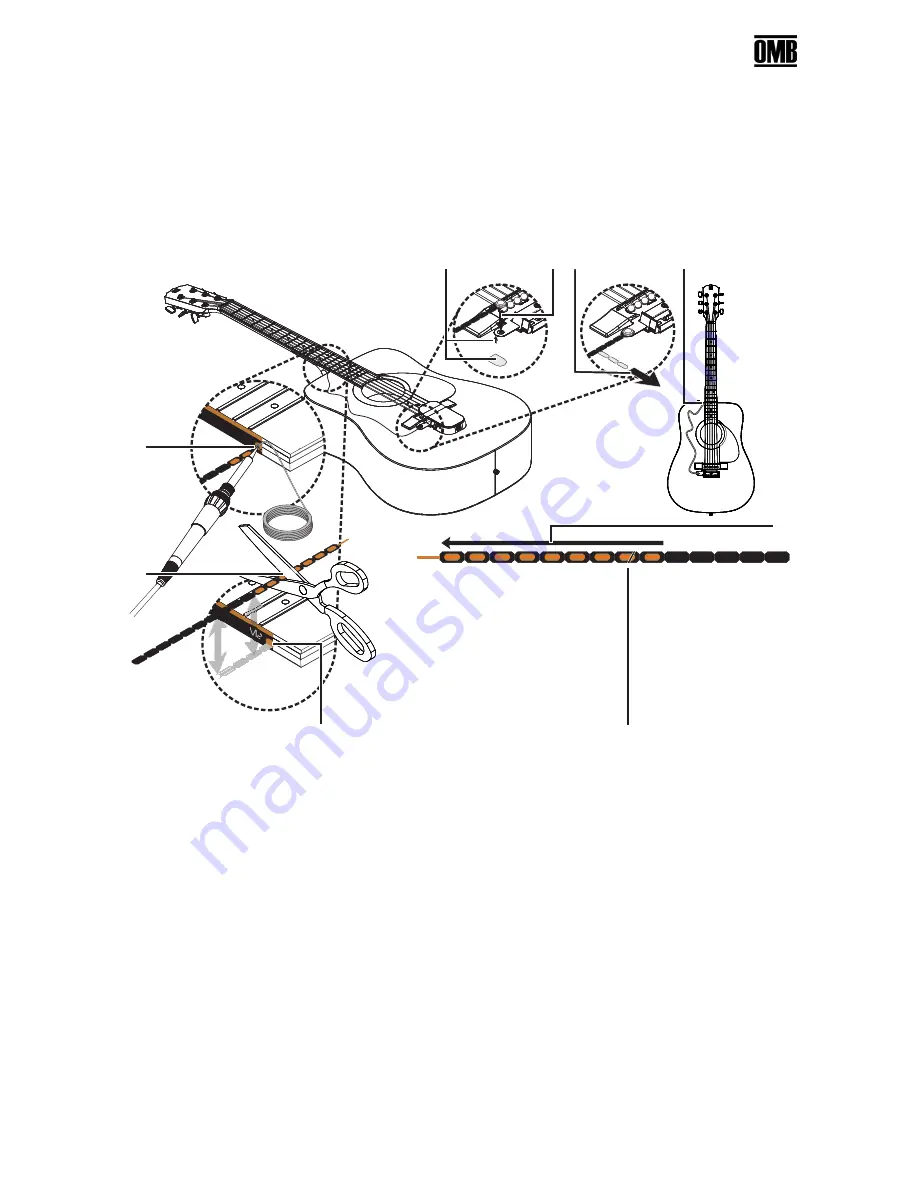
In this step you attach the snap-connector of the Diamond Conductive Tape to the Add-On
Device, lay it on the body of your guitar in a pleasing shape, trim it to size, and then solder it to
the Flat Conductive Tape just below the thirteenth fret.
Before continuing, make sure that the area of the snap is still clean.
1
2 3
4
"
5
6
OMB
OMB
9
8
7
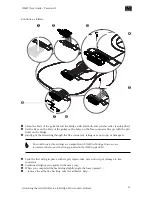
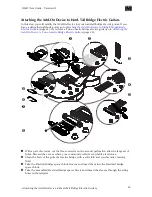
1
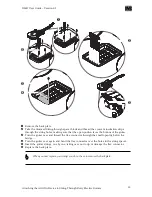
Lift the snap connector of the Base slightly, remove the adhesive backing, and press it to the
body of the guitar.
2
Take the diamond conductive tape and press its snap connector on the base until you hear it
snap.
3
Remove a portion of the adhesive strip from the diamond conductive tape and attach the first
few segments to the body of the guitar.
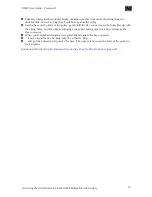
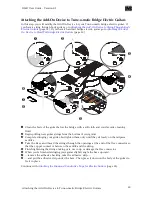
4
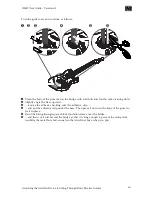
Plan out a design that matches the lines of your guitar—or go crazy and form any shape that
suits your mood—keeping the following in mind:
• The end of the Diamond Conductive Tape, after trimming, must be soldered on the
copper point at the end of the flat conductive tape.
• Avoid creating sharp corners in order to prevent damage to the Diamond Conductive
Tape
5
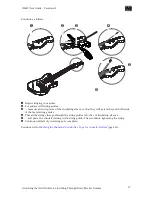
Once you have an idea for your design, take a look at the diamond conductive tape and
notice the conductive copper that is visible in the last nine segments.
6
Trim the diamond conductive tape in the middle of any of these nine segments so the design
you are making ends up exactly at the copper point at the end of the flat conductive tape.
Attaching the Diamond Conductive Tape for Acoustic Guitars
23
OMB User Guide - Version 0.I

