background image

14

Controller Instructions

Accessing the configuration parameter (type F)

1. 

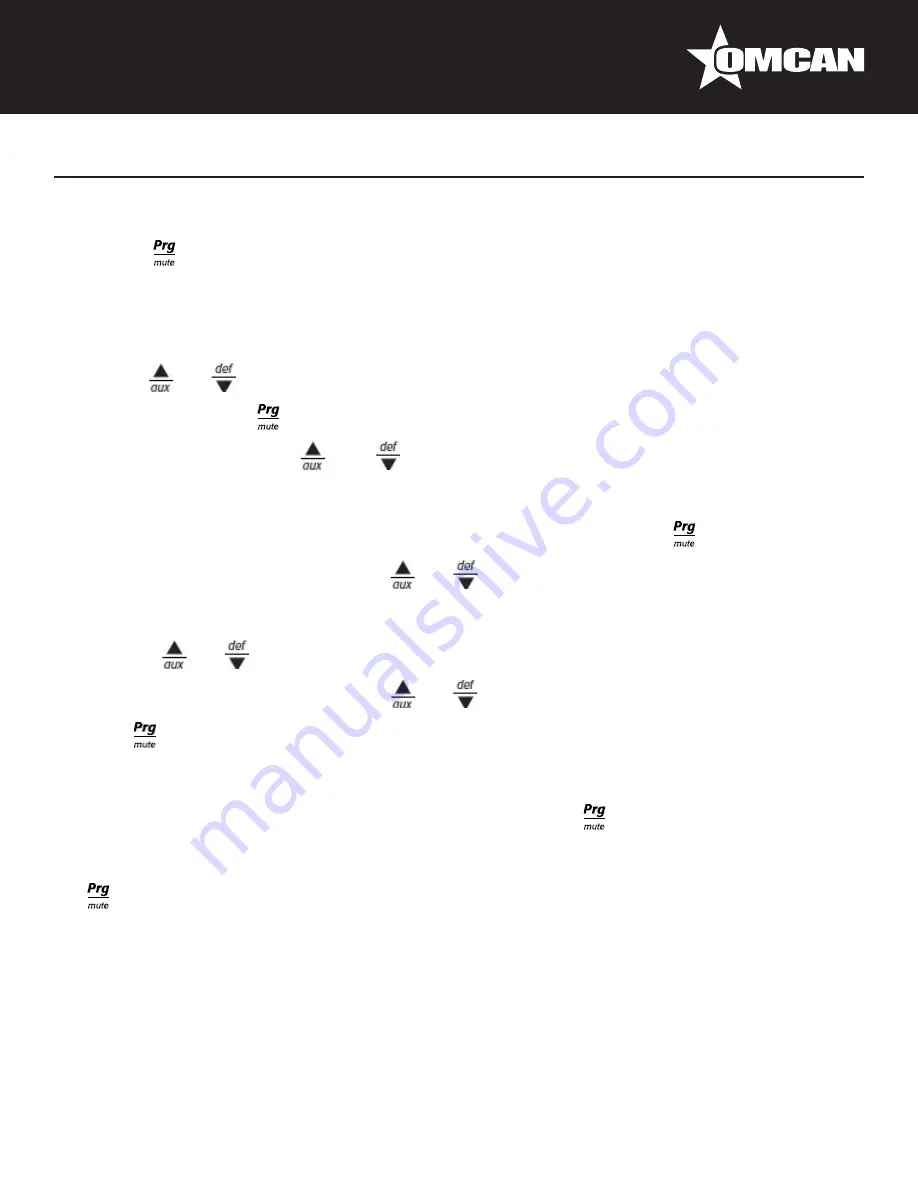
Hold the “     ” button for more than 5 s (if there are active alarms, first mute the buzzer), the display will 

show the first modifiable “F” parameter.

Modifying the parameters

After having displayed the parameter, either type “C” or type “F”, proceed as follows:

1. 

Use the “      ” or “      ” buttons to scroll the parameters, until reaching the parameter to be modified; when 

scrolling the parameters, an icon is shown on the display that represents the category of the parameter.

2. 

Alternatively, press the “     ” button to display a menu that can be used to quickly access the family of 

parameters to be modified.

3.  Scrolling the menu using the “      ” and “      ” buttons displays the codes of the various categories of 

parameter, accompanied by the corresponding icon on the display(if present).

4.  Once having reached the desired category, press “

Set

” to go directly to the first parameter in the chosen 

category(if no parameter is visible, pressing the “

Set

” button will have no effect).

5.  At this stage, modify the parameters or return to the “Category” menu, using the “     ” button.

6. 

Press “

Set

” to display the value associated with the parameter.

7.  Increase or decrease the value using the “      ” or “      ” buttons respectively.

8. 

Press “

Set

” to temporarily save the new value and return to the display of the parameter.

9.  Repeat the operation from point 1 or point 2.

10. If the parameter has sub-parameters, press “

Set

” to display the first sub-parameter.

11. 

Press the “      ” or “      ” button to display all the sub-parameters.

12. 

Press “

Set

” to display the associated value.

13. Increase or decrease the value using the “      ” or “      ” button respectively.

14. 

Press “

Set

” to temporarily save the new value and return to the display of the sub-parameter code.

15. 

Press “     ” to return to the display of the parent parameter.

Saving the new values assigned to the parameters

To definitely save the new values of the modified parameters, press the “     ” button for more than 5 seconds, 

thus exiting the parameter setting procedure. All the modification made to the parameters temporarily saved in 

the RAM, can be cancelled and “normal operation” resumed by not pressing any button for 60 seconds, thus 

allowing the parameter setting session to expire due to timeout if the Instrument is switched off before pressing 

the “     ” button, all the modifications made to the parameters and temporarily saved will be lost.

Summary of Contents for FR-CN-0660-PC

Page 1: ...Revised 07 28 2017 Toll Free 1 800 465 0234 Fax 905 607 0234 Email service omcan com www omcan com Glass Frosters Models FR CN 0660 PC 1270 PC Items 50073 50074 Instruction Manual...

Page 2: ...ontents Section General Information Safety and Warranty Technical Specifications Installation and Operation Maintenance Troubleshooting Controller Instructions Parts Breakdown Electrical Schematics No...

Page 3: ...e It s of the utmost importance to save these instructions for future reference Also save the original box and packaging for shipping the equipment if servicing or returning of the machine is required...

Page 4: ...quina y sta usando ropa apropiada y autorizada Cualquier modificaci n a la m quina an la la garant a y puede causar da os a las personas usando la m quina mientras esta en el funcionamiento REVISE EL...

Page 5: ...mize personal injury do not hang on the doors Do not store any flammable and explosive gas or liquids inside the unit Do not attempt to alter or tamper with the electrical cord Do not set the desired...

Page 6: ...ips casters before plugging the unit in Please read through the Operation Owners Manual in its entirety CABINET LOCATION GUIDELINES Install the unit on strong and leveled surfaces Unit may make unplea...

Page 7: ...moved from the positioning holes To install position the divider to the desired holes making sure that the pressure spring is installed properly NOTE If the unit is disconnected or shut off wait five...

Page 8: ...ash the fan blades cover the fan motor to prevent moisture damage CLEANING THE INTERIOR OF UNIT When cleaning the cabinet interior use a solvent of warm water and mild soap Do not use steel wool caust...

Page 9: ...temperature is too warm Thermostat set too warm Set thermostat to lower Temperature Blocking air flow Re arrange product to allow for proper air flow Make sure there is at least four inches of cleara...

Page 10: ...the activation of the control functions see Table 1 while the 3 buttons can be used to activate deactivate some of the functions see Table 2 LED s and Associated Functions Table 1 Icon Function Normal...

Page 11: ...g after a few moments Increase or decrease the value using UP or DOWN Press SET to confirm the new value Switching the device ON OFF Press UP for more than 3 sec The control and defrost algorithms are...

Page 12: ...request for activation that cannot be implemented until the end of the Corresponding delay times Icon Function ON OFF Blink Startup Compressor Compressor on Compressor off Request Fan Fan on Fan off R...

Page 13: ...efrost function a manual defrost can be enabled if the temperature conditions allow by pressing the button for more than 5 sec Continuous cycle Pressing the buttons and simultaneously for more than 5...

Page 14: ...using the button 6 Press Set to display the value associated with the parameter 7 Increase or decrease the value using the or buttons respectively 8 Press Set to temporarily save the new value and ret...

Page 15: ...rill for GF 25 HC 5 62373 Evaporator Fan Baffle Bottom for GF 25 HC 20 62384 Power Switch for GF 25 HC 35 62360 Back Grill for GF 25 HC 6 26228 Evaporator Fan Motor for GF 25 HC 21 24293 Controller fo...

Page 16: ...16 Parts Breakdown Model FR CN 0660 PC 50073...

Page 17: ...24 26233 Condenser Fan Motor Cover for GF 50 HC 41 62362 Door Gasket for GF 50 HC 8 62401 Cabinet for GF 50 HC 25 26189 Filter for GF 50 HC 42 62390 Door Limit Block for GF 50 HC 9 62402 Right Support...

Page 18: ...18 Parts Breakdown Model FR CN 1270 PC 50074...

Page 19: ...19 Electrical Schematics Model FR CN 0660 PC 50073...

Page 20: ...20 Electrical Schematics Model FR CN 1270 PC 50074...

Page 21: ..._______________ ________________________________________________________________________________________ ________________________________________________________________________________________ ______...

Page 22: ..._______________ ________________________________________________________________________________________ ________________________________________________________________________________________ ______...

Page 23: ...er online by visiting OMCAN PRODUCT WARRANTY REGISTRATION 3115 Pepper Mill Court Mississauga Ontario Canada L5L 4X5 www omcan com warrantyregistration html or email to service omcan com Purchaser s In...

Page 24: ...relations avec nos clients et les fabricants de valeur Aujourd hui avec des partenaires en Am rique du Nord Europe Asie et Am rique du Sud nous travaillons continuellement am liorer et d velopper l e...

Reviews: