3
Operation
3
SECTION 3 – OPERATION
3.1 – Measuring Temperature
Before starting to measure temperature, make sure the following check list is met:
The Power and output connections are made (Fig 2-1)
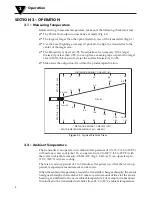
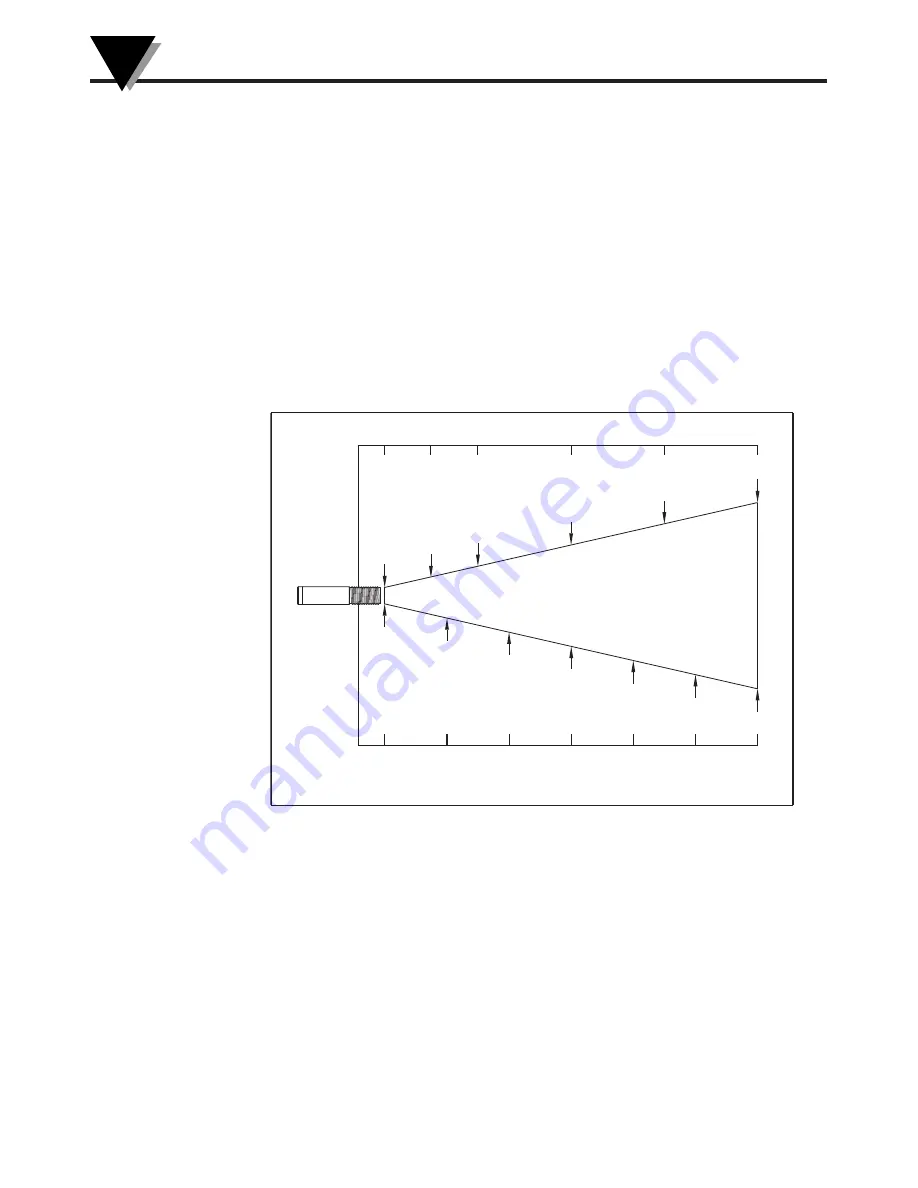
The target is larger than the optical field of view of the transmitter (Fig 3-1)
Use the Laser Sighting accessory (Optional), to align the transmitter to the
center of the target area.
The Emissivity is fixed at 0.95. No adjustment is necessary. If the target
Emissivity is less than 0.95, you can place a masking tape or paint the target
area with flat black paint to raise the surface Emissivity to 0.95.
Make sure the output load is within the product specification.
Figure 3-1. Optical Field of View
3.2 – Ambient Temperature
The transmitter can operate in an ambient temperature of 0 to 70°C (32 to 158°F)
without any water cool jacket. It can operate from 0 to 200°C (32 to 392°F) with
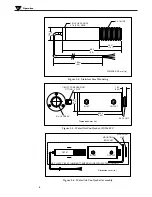
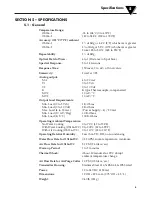
the water cool jacket accessory, OS136-WC (Fig 3-5 & 3-6). It can operate up to
110°C (230°F) with air cooling.
There is a warm up period of 1 to 2 minutes after power up. After the warm up
period, temperature measurement can be made.
When the ambient temperature around the transmitter changes abruptly, the sensor
head goes through a thermal shock. It takes a certain amount of time for the sensor
head to get stabilized to the new ambient temperature. For example, it takes about
30 minutes for the transmitter to stabilize from 25°C to 50°C ambient temperature.
SPOT
DIA.* (CM)
SPOT
DIA.* (IN)
DISTANCE: SENSOR TO OBJECT (IN)
D:S=6:1
1cm@0
0
20
3.3
40
6.6
60
10.0
80
13.0
100
16.0
122
20.0
0.4"@0"
2.0"
1.0"
4.0"
6.0"
8.0"
48"
36"
24"
12"
6"
0"
DISTANCE: SENSOR TO OBJECT (CM)
* SPOT DIAMETER MEASURED AT 90% ENERGY


