RTD THERMOMETER
5
6. SETTING THE TIME
6.1
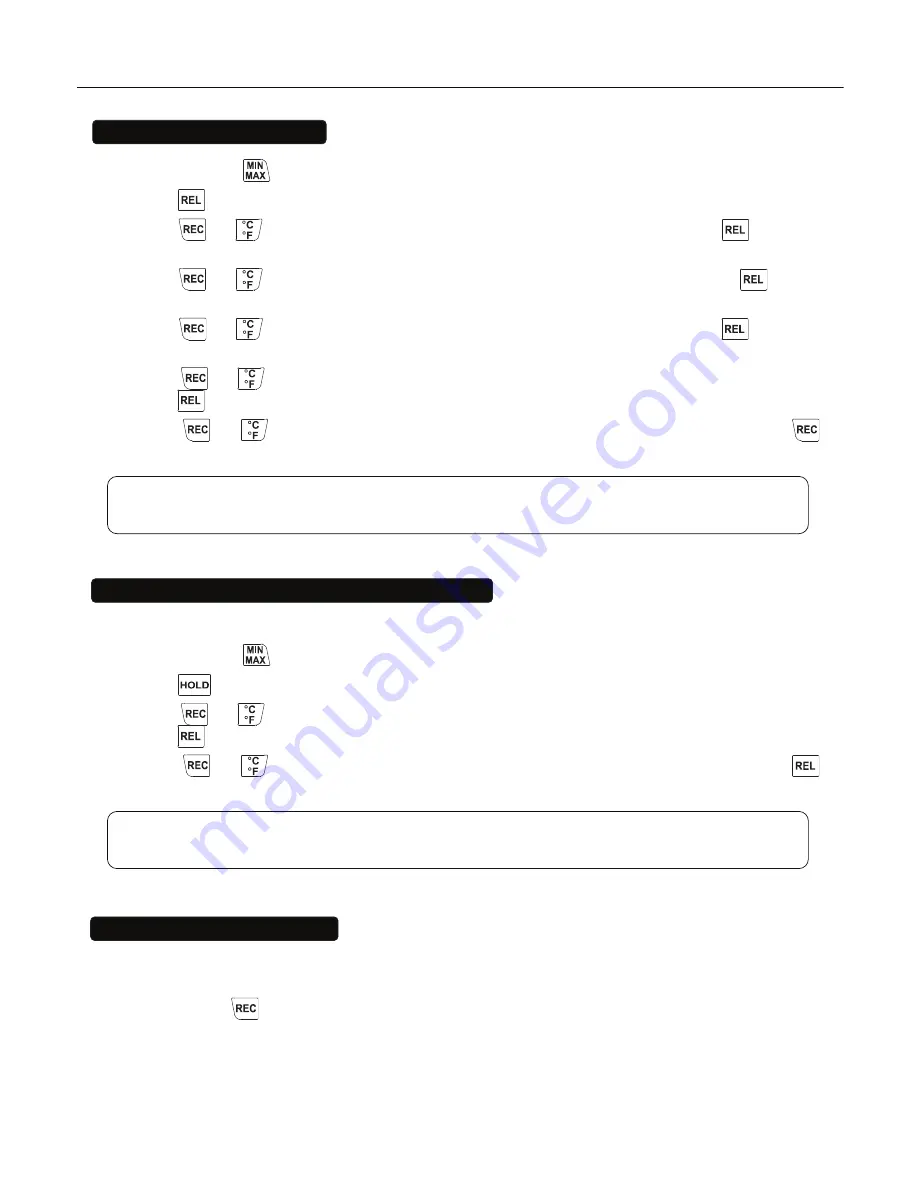
Press and hold
button and then power on the meter to enter setup mode.
6.2
Press
button to enter Time setting mode. The right two digits blink.
6.3
Press
or
button until the display shows the correct
year
, and then press
button to
select. The left two digits blink.
6.4
Press
or
button until the display shows the correct
month
, and then press
button
to select. The right two digits blink.
6.5
Press
or
button until the display shows the correct
day
, and then press
button to
select. The left two digits blink.
6.6
Press
or
button until the display shows the correct
hour
(24-hour format), and then
press
button to select. The right two digits blink.
6.7
Press
or
button until the display shows the correct
minutes
, and then press
button to store the time in memory.
Note:
Holding down “REC” or “°C/°F” causes
the number to change more quickly.
7. CHANGING THE LOGGING INTERVAL
The logging interval determines how often the thermometer stores logged readings in memory.
7.1
Press and hold
button and then power on the meter to enter setup mode.
7.2
Press
button to enter Interval setting mode. The left two digits blink.
7.3
Press
or
button until the display shows the correct
hour
(24-hour format), and then
press
button to select. The right two digits blink.
7.4
Press
or
button until the display shows the correct
minutes
, and then press
button to store the time in memory.
Note:
Holding down “REC” or “°C/°F” causes the number to change more quickly.
8. CLEARING MEMORY
When memory is full,
REC
appears and blinks on the display and logging stops.
You can clear memory in the next power on of the meter by entering the clear memory mode.
Press and hold
button and then power on the meter to enter clear memory mode to delete
logged readings from memory. The display shows the number from 5 and decreases to 0.


