background image


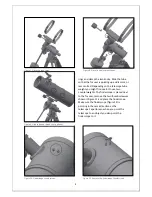
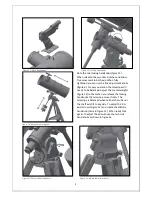
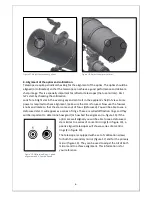
Place the tube rings (figure 7) on the mount 
platform and make sure both clamp knobs 
are facing the same side, they will be used to 
place and remove the optical tube when 
necessary. It is important that they are well 
tightened and don’t rotate. Next, insert the 
fine adjustment knobs on each axis (figure 
8). These knobs allow to make small 
movements on both axis of the telescope. 
Use the included thumbscrew on each. Make 
sure they fit the slotted surface on the 
protruding axis shaft. Open the tube rings 
that were previously fitted to the telescope 
and insert the tube (figure 9). Close the  

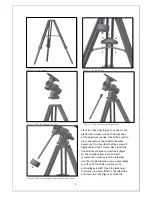
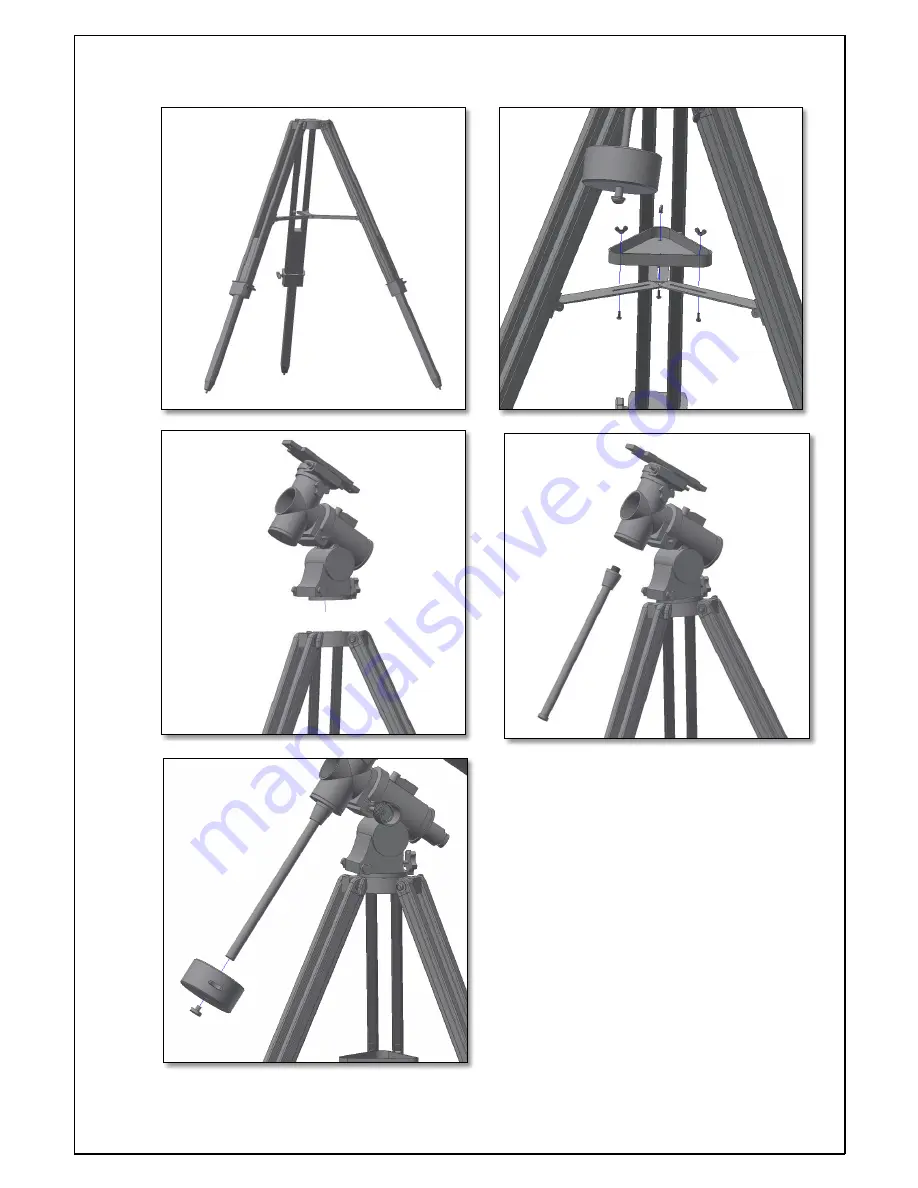
Figure 3. Tray placement. 

Figure 2. Set the tripod. 

Figure 5. Thread the counterweight shaft. 

Figure 4. Place the equatorial mount. 

Figure 6. Slide counterweight and thread the foot-saver. 

Summary of Contents for 150/750 EQ-4

Page 1: ...1 Instruction Manual Omegon 150 750 EQ 4 English version 12 2014 Rev A...

Page 2: ...to the secondary mirror that brings it to the eyepiece The focuser tube moves up and down to get a precise focused image At the focuser one can use the supplied accessories Different accessory combina...

Page 3: ...on each axis figure 8 These knobs allow to make small movements on both axis of the telescope Use the included thumbscrew on each Make sure they fit the slotted surface on the protruding axis shaft Op...

Page 4: ...move the two thumbscrews as shown in figure 11 and place the finderscope Make sure the finderscope figure 12 is pointing in the same direction as the telescope s aperture so when you point the telesco...

Page 5: ...you release the locking handknobs the telescope moves freely The telescope is balanced when neither the tube nor the shaft axis tilt to any side To adjust the R A axis arrow in figure 15 and rotate t...

Page 6: ...ou will be able to see a defocused star It will appear as a series of rings These are called diffraction rings and they will be important to determine how good or how bad the alignment is figure 19 If...

Page 7: ...4 vanes cross shaped and the primary mirror s holding pads figure 21 The secondary mirror can be adjusted by using the 3 screws figure 17 Releasing it can make the secondary mirror support to rotate S...

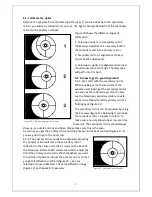
Page 8: ...e mentioned the finderscope as a valuable tool to point the telescope at an object To operate properly the telescope and the finderscope should be aligned The image obtained through the finderscope ha...

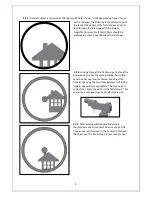
Page 9: ...2 Looking through the finderscope it should be powered on we see the same building but in this case the chimney is not centered We adjust the finderscope using the two thumbscrews so that the finders...

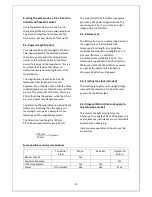
Page 10: ...e Telescope focal length is 750mm Pl ssl 25 eyepiece focal length is 25 mm 750 25 30 This means that the Pl ssl 25mm eyepiece provides a 30x power magnification This seems low but try it you will see...

Page 11: ...nator between illumated and dark surfaces 6 2 Jupiter is the biggest planet of our solar system It is also one of the favorite targets for beginners Galileo was able to discover that the four tiny dot...

Page 12: ...ual use It doesn t mean it can t be used for photography however it will be hard to get high quality pictures with this telescope If you have a smartphone you can shoot the Moon or some terrestrial ob...

Reviews: