MANUAL CALIBRATION TEST WELDS
When calibrating the RhinoBond Tool manually, it’s important to set -- and test -- the tool at several Energy Levels to determine which setting provides the best weld.
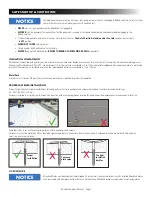
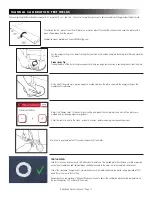
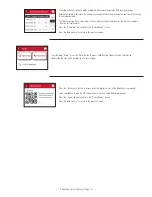
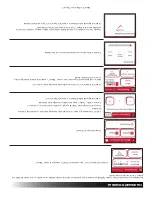
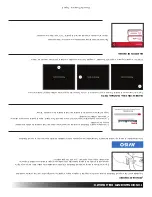
To calibrate the tool, place at least five (5) plates on insulation about 10-inches (25 cm) apart, and cover the plates with a
piece of membrane from the project.
Calibration videos available on line at OMGRoofing.com.
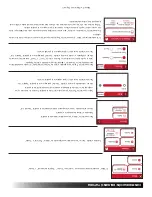
Set the energy setting to the lowest setting that you think will provide a complete bond (e.g. level #0) and weld the
first plate.
Productivity Tip:
Tracing the base of the tool with a grease pencil will help you judge your accuracy in centering the coil over the plate.
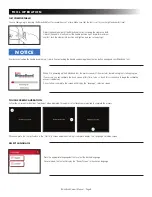
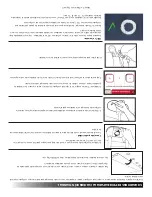
At the end of the weld cycle, place a magnetic cooling clamp on the plate, and mark the energy setting on the
membrane for reference.
Adjust the “Energy Level” to the next higher setting, and repeat the test weld process until all five plates are
welded with increasingly higher energy levels.
Allow the plates to cool to the touch - at least 5 minutes - before removing the magnetic heat sinks.
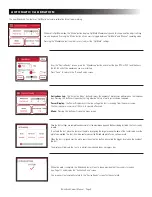
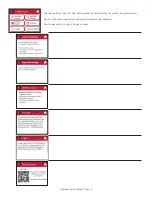
Use pliers to peel each plate off to review the quality of the welds.
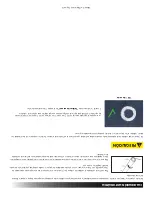
100% BOND
Look for total, even, and consistent 360° adhesion of membrane. The welded plate should make a visible impression
on the top of membrane, and the membrane should delaminate to the scrim in a fairly complete circle/donut.
Look at the reference “Energy Levels” you marked for each test weld and determine which setting provided a 100%
bond. Re-set the tool to that setting.
Remember if you are working in “Manual” Mode you’ll need to adjust the calibration whenever the temperature on
the roof changes by 15°F or more (8°C or more).
RhinoBond Owner’s Manual - Page 12


