Setting Up A Print In DirectRIP (Cont’d)
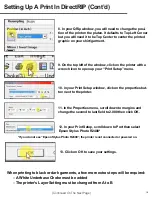
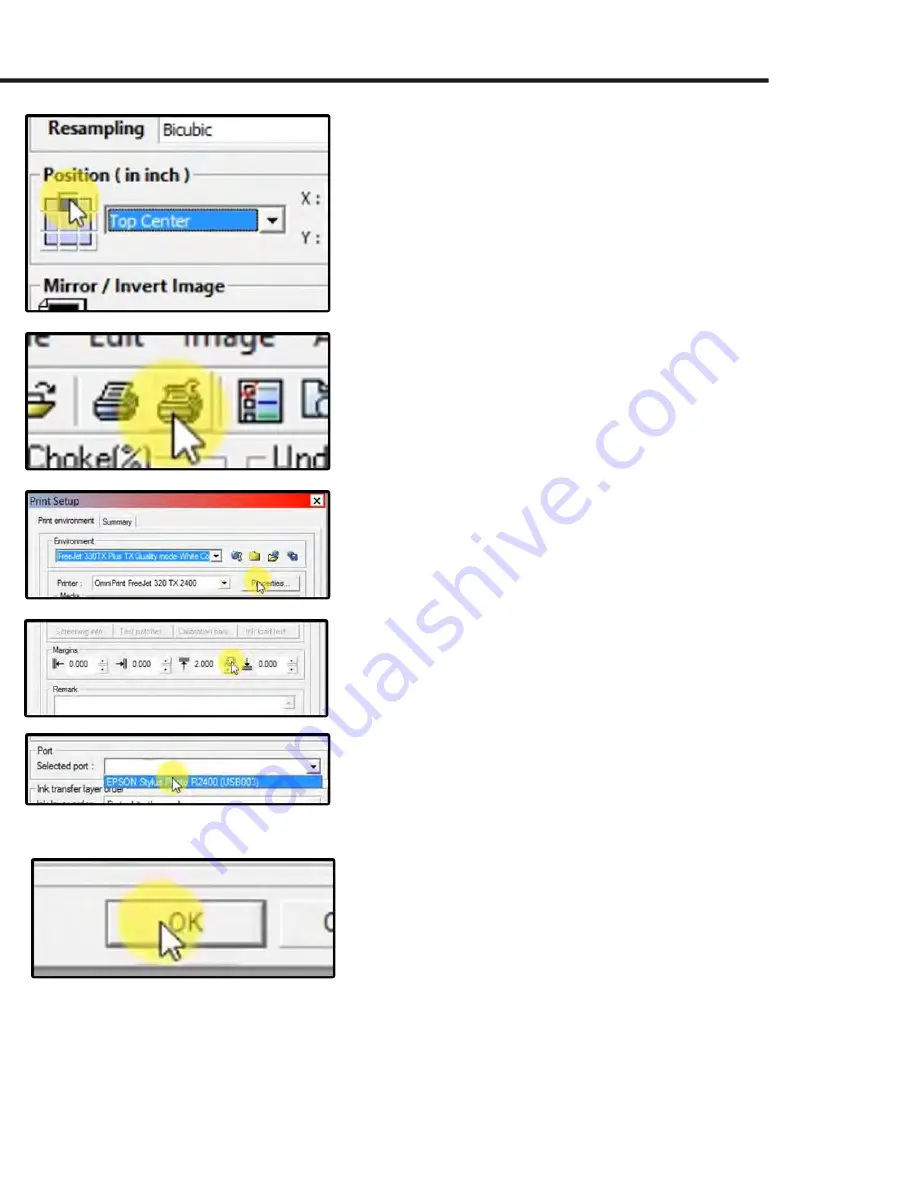
8. In your QRip window, you will need to change the posi-
tion of the print on the platen. It defaults to Top Left Corner
but you will need it to be Top Center to center the printed
graphic on your shirt/garment.
9. On the top left of the window, click on the printer with a
wrench icon to open up your “Print Setup” menu.
10. In your Print Setup window, click on the properties but-
ton next to the printer.
11. In the Properties menu, scroll down to margins and
change the second to last field to 2.000 then click OK.
12. In your Print Setup, scroll down to Port then select
Epson Stylus Photo R2400*
*If you do not see “Epson Stylus Photo R2400”, the printer is not connected or powered on.
13. Click on OK to save your settings.
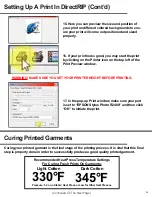
When printing to black or dark garments, a few more extra steps will be required:
○
A White Underbase Choke must be added
○
The printer’s Layer Setting must be changed from A to B
(Continued On The Next Page)
19
Summary of Contents for FREEJET 330TX
Page 1: ...F r e e J e t 3 3 0 T X O f f i c i a l U s e r M a n u a l 2 0 1 9 E d i t i o n ...
Page 2: ......
Page 65: ...62 ...
Page 66: ...63 ...
Page 67: ...64 ...


