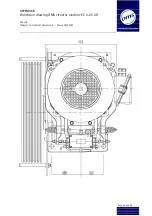
Installation Instructions EC 2-25 Lift
(Subject to technical alterations! - Status 09/2018)
This is a translation. The German original shall prevail.
Page 25 of 50
6.4
Replacing the traction sheave
The traction sheave, just like the elevator roping, is prone to wear and must be changed in
good time in accordance with the rules and regulations governing elevator systems.
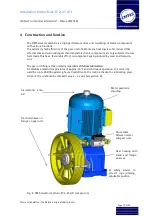
The traction sheave is mounted on an adapter flange on the output shaft. This flange has been
mounted in the OMS factory with a pre-defined torque and is part of the gear unit and may
therefore not be removed.
Procedure to replace the traction sheave:
1.
Disable and secure the entire elevator system (see elevator manufacturer’s instructions).
2.
Loosen and remove the ropes on the traction sheave (see elevator manufacturer’s instruc-
tions).
3.
Should the safety device to prevent rope jumping require adjustment, proceed as described
under 3.1.3.
4.
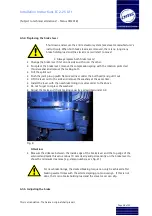
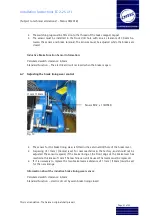
Secure the traction sheave against falling, for example by using an appropriate rope sling
and remove the M12 x 55 fixing bolts.
5.
Pull the traction sheave from the output shaft hub.
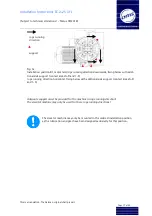
If required, use 2 pull-off screws M20, minimum length 65 mm, in the two puller holes pro-
vided.
Remove the remaining clamping pins from the threaded holes and clean the hub.
Smooth out any dents which may have occurred when using the pull-off screws.
6.
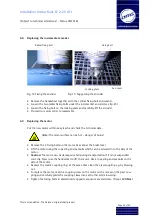
Place the new traction sheave on the output shaft hub.
Secure the traction sheave against falling.
Ensure the traction sheave has complete contact with the contact surface.
Rotate the traction sheave on the hub until the bolt holes of both parts are aligned.
7.
Drive the
8
new
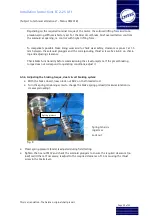
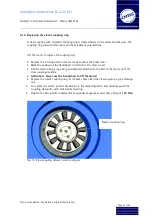
clamping pins DIN EN ISO 13337 – 16 x 36 included in the supply, into the
threaded holes until they are flush with the surface.
Fix the traction sheave using the supplied fixing bolts.
(Torque: 85 Nm)
Replace any damaged fixing bolts with new ones (M12 x 60 - 8.8).
8.
Replace the ropes (see elevator manufacturer’s instructions).
Summary of Contents for Hypodrive EC 2-25 Lift
Page 2: ......

