background image

3

STEP 4

DO NOT TIGHTEN SCREWS UNTIL COMPLETELY ASSEMBLED

STEP 2

STEP 1

STEP 3

Steel plate of

the back cushion 

NOTE: To install casters, apply 

pressure to base of caster 

using your thumb as shown

5

6

7

A

4

2

2

B

1

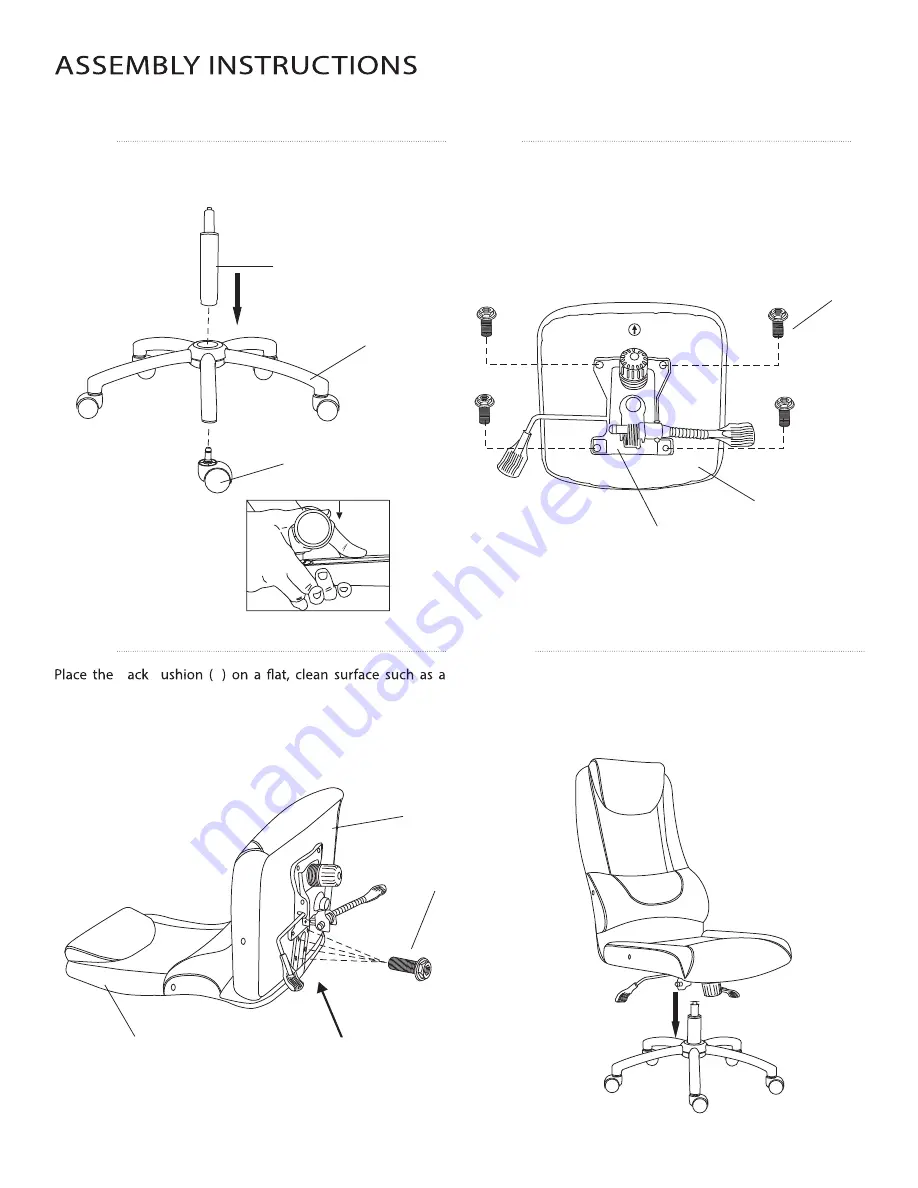
Insert the casters (7) into the holes of the star base (6). Insert 

the gas lift (5) into the center hole of the star base (6).   

table.  Position  the Seat  Cushion  (2)  as  shown  and  align  the 

four  holes on the seat cushion with the four holes on the steel

plate of the back cushion. Use four screws (B) to connect them

as below. Do not fully tighten until after armrests are attached.


Turn the assembled chair frame upright. Position the center 

hole in the Seat Plate (4) over the Seat Post (5). Then carefully 

lower the chair onto the post.

Align the seat plate (4) over the pre-drilled holes under the Seat 

Cushion (2). (NOTE the position of seat plate handle to seat cushion 

FRONT). Attach the seat plate (4) to the Seat Cushion (2) using 

four screws (A) as shown. Tighten securely with the Allen 

Wrench (E).   

C

B

Summary of Contents for 60-5902

Page 1: ...omfortproducts net support e mail customerservice comfortproducts net Keep your sales receipt as documentation of your ownership CUSTOMER SERVICE OneSpace is a Trademark of Comfort Products Inc SUPPLIER CODE BJTJ HIGH BACK EXECUTIVE MESH CHAIR WITH HEAD AND LUMBAR SUPPORT ASSEMBLY INSTRUCTIONS MODEL 60 5902 ...

Page 2: ...1 5902CA 5 PARTS LIST PART DESCRIPTION QTY A 5 16 x 7 8 5 16 x 1 1 4 M8 x 60MM M8 x 75MM 4 B 4 C 2 2 D E h c n e r W n e l l A 1 HARDWARE KIT REPLACEMENT PARTS IF YOU ARE MISSING ANY OF THE PARTS ABOVE OR IF YOU HAVE A DAMAGED PART PLEASE VISIT WWW COMFORTPRODUCTS NET SUPPORT AND REFERENCE THE MODEL NUMBER ON THE FRONT OF THIS MANUAL SIMPLY COMPLETE THE INFORMATION INCLUDING THE PART YOU NEED THE ...

Page 3: ... holes on the seat cushion with the four holes on the steel plate of the back cushion Use four screws B to connect them as below Do not fully tighten until after armrests are attached 1 Turn the assembled chair frame upright Position the center hole in the Seat Plate 4 over the Seat Post 5 Then carefully lower the chair onto the post Align the seat plate 4 over the pre drilled holes under the Seat...

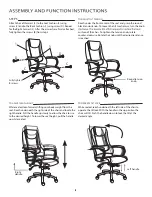
Page 4: ...he round black tension knob To loosen the tilt mechanism turn the knob cushion of the chair To tighten the tension knob rotate counter clockwise Rotate the knob until the desired resistance is reached While seated reach underneath the left side of the chair to operate the tilt lock With the handle in the up position the chair will tilt Push the handle down to lock the tilt at the desired angle Att...

Page 5: ...pecially the screws attaching the seat plate to the seat cushion If this does not solve the problem you may need a new seat plate 61 59012SP and gas lift 61 5902PO for your chair Please contact us at www comfortproducts net support or customerservice comfortproducts net Refer to question above How do I adjust the seat height If the seat will not maintain its height order a new gas lift and seat pl...

Page 6: ... over which Comfort Products has no control When repairing or replacing a defective product Comfort Products does not guarantee matching color grain texture or dye lots This warranty does not cover the cost of transportation or labor In no event shall Comfort Products be liable in either tort or contract for any loss or direct special incidental consequential or exemplary damages This Limited Warr...

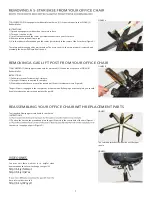
Page 7: ...around gas lift post to release pressure Figure B REASSEMBLING YOUR OFFICE CHAIR WITH REPLACEMENT PARTS Tools needed Newspaper or cardboard for work area INSTRUCTIONS 2 Position the base on the ground and place the gas lift post into the center hole of the base Figure C the chair to re engage all parts Figure D These two parts are engaged by pressure alone The more you hit it the more pressure is ...

Reviews: