background image

 ITEMS ARE NOT SHOWN TO SCALE.

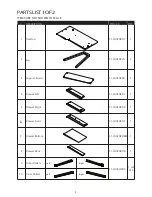
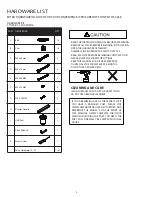
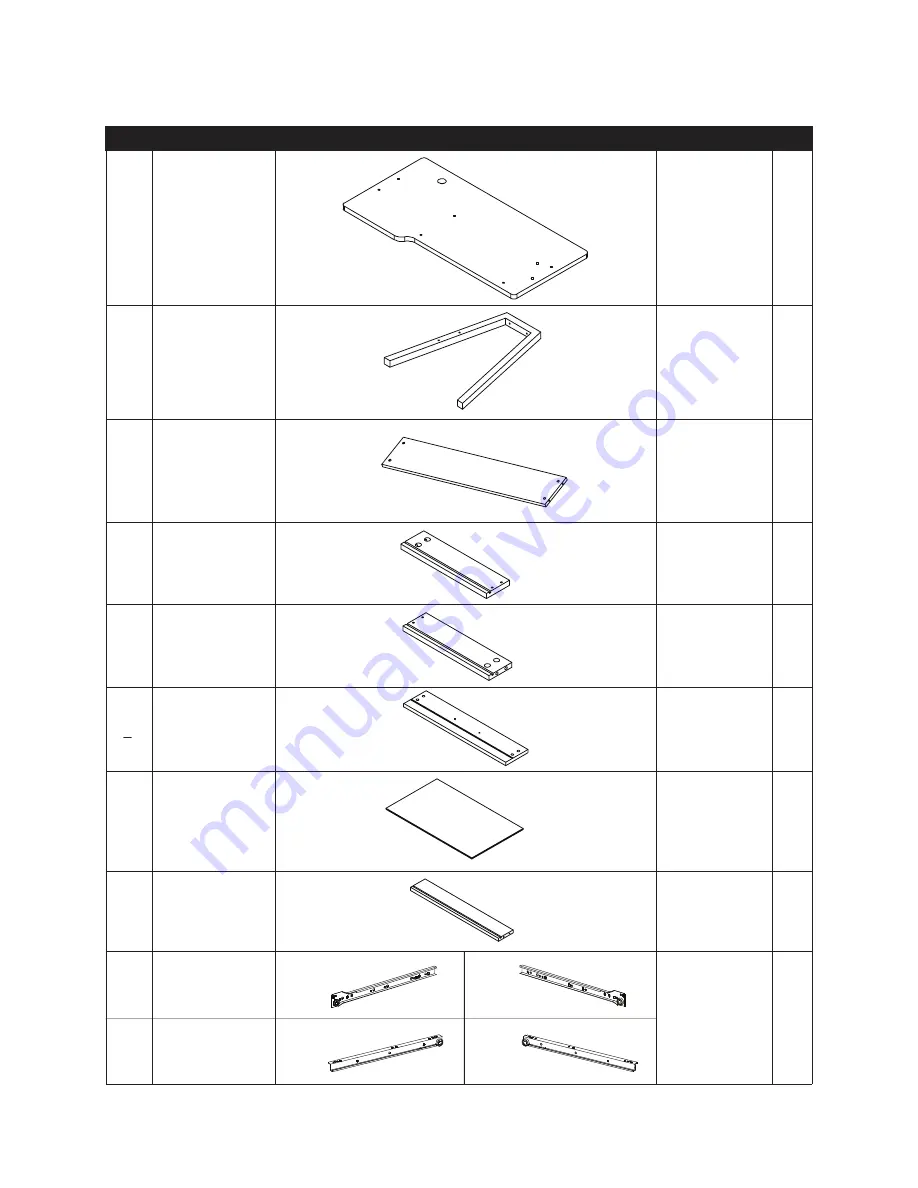
PARTS LIST 1 OF 2 

# DESCRIPTION SIDE 1 SIDE 2 STOCK # QTY. 

#   DESCRIPTION  


STOCK # 

QTY. 

1

Desktop

51-LD02OKDT

1

2

Leg

51-LD02OKLG

2

3

Support Board

51-LD02OKSB

1

4

Drawer Left

51-LD02OKDL

1

5

Drawer Right

51-LD02OKDR

1

6

Drawer Front 

51-LD02OKDF

1

7

Drawer Bottom

51-LD02OKDBM 1

8

Drawer Back

51-LD02OKDB

1

3

9

Outer Rollers 

51-LD02OKDS

1 set

of 4

10

Inner Rollers 

Left

Right

Left

Right

Summary of Contents for Basics 50-LD02OK

Page 1: ...LDCZ For fastest service on claims requests for replacement parts www comfortproducts net support e mail customerservice comfortproducts net Keep your sales receipt as documentation of your ownership...

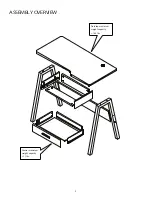
Page 2: ...m u m i x a m Desktop weight capacity 165 lbs Drawer maximum weight capacity 11 lbs ASSEMBLYOVERVIEW 2...

Page 3: ...1 Desktop 51 LD02OKDT 1 2 Leg 51 LD02OKLG 2 3 Support Board 51 LD02OKSB 1 4 Drawer Left 51 LD02OKDL 1 5 Drawer Right 51 LD02OKDR 1 6 Drawer Front 51 LD02OKDF 1 7 Drawer Bottom 51 LD02OKDBM 1 8 Drawer...

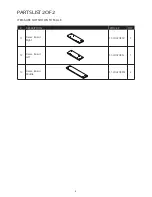
Page 4: ...S ARE NOT SHOWN TO SCALE PARTSLIST2OF2 DESCRIPTION SIDE 1 SIDE 2 STOCK QTY DESCRIPTION STOCK QTY 11 Frame Board Right 51 LD02OKFR 1 12 Frame Board Left 51 LD02OKFL 1 13 Frame Board Middle 51 LD02OKFM...

Page 5: ...L FOR FUTURE REFERENCE TIGHTEN ALL THE SCREWS EVERY 6 MONTHS CLEANING AND CARE CLEAN SURFACES WITH A DRY OR DAMP CLOTH DO NOT USE ABRASIVE CLEANERS DO NOT USE A POWER DRILL HARDWARE KIT STOCK 51 LD02O...

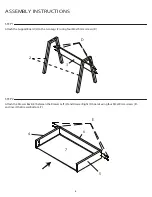
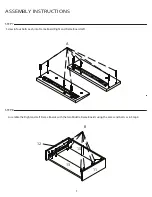
Page 6: ...Attach the Support Board 3 to the two Legs 2 using four M4x70mm screws D STEP 2 Attach the Drawer Back 8 between the Drawer Left 4 and Drawer Right 5 boards using four M4x40mm screws E and insert the...

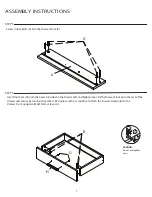
Page 7: ...nto the Drawer Front 6 6 A B G H Insert four Cams B into the holes provided in the Drawer Left and Right pieces Fit the Drawer Front onto the rest of the drawer and secure by turning the cames 180 deg...

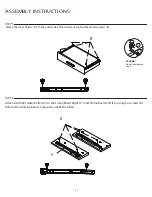
Page 8: ...ers 9 to the Frame Board Right 11 and Frame Board Left 12 using four screws 8 Refer to the drawing below to properly orient the rollers CAUTION Do not overtighten cams C D Attach the Inner Rollers 10...

Page 9: ...IONS 9 STEP 7 STEP 8 Screw in four bolts each into Frame Board Right and Frame Board Left A Assemble the Right and Left Frame Boards with the two Middle Frame Boards using the cams and bolts as in Ste...

Page 10: ...STEP 9 Place the Desktop upside down on the floor and screw in four Bolts into the sockets provided as shown Mount the now assembled Drawer Frame from Step 8 to the Desktop using four cams to lock it...

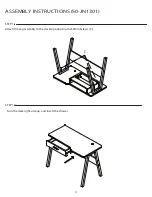
Page 11: ...ASSEMBLY INSTRUCTIONS 50 JN1301 11 STEP 11 Attach the Leg assembly to the desktop using four 6x50mm Screws C STEP 12 C Turn the desk right side up and insert the drawer...

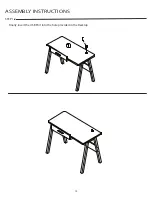
Page 12: ...ASSEMBLY INSTRUCTIONS STEP 14 12 Finally insert the USB Port into the hole provided in the Desktop...

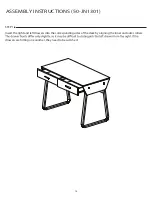
Page 13: ...the right and left drawers into the corresponding sides of the desk by aligning the inner and outer rollers drawers are hitting one another they need to be switched STEP 16 ASSEMBLY INSTRUCTIONS 50 JN...

Page 14: ...d This warranty applies under conditions of normal use and is not subject to defects caused by improper assembly or disassembly defects occurring after purchase due to product mo sure to the elements...

Reviews: