34
Troubleshooting
∫
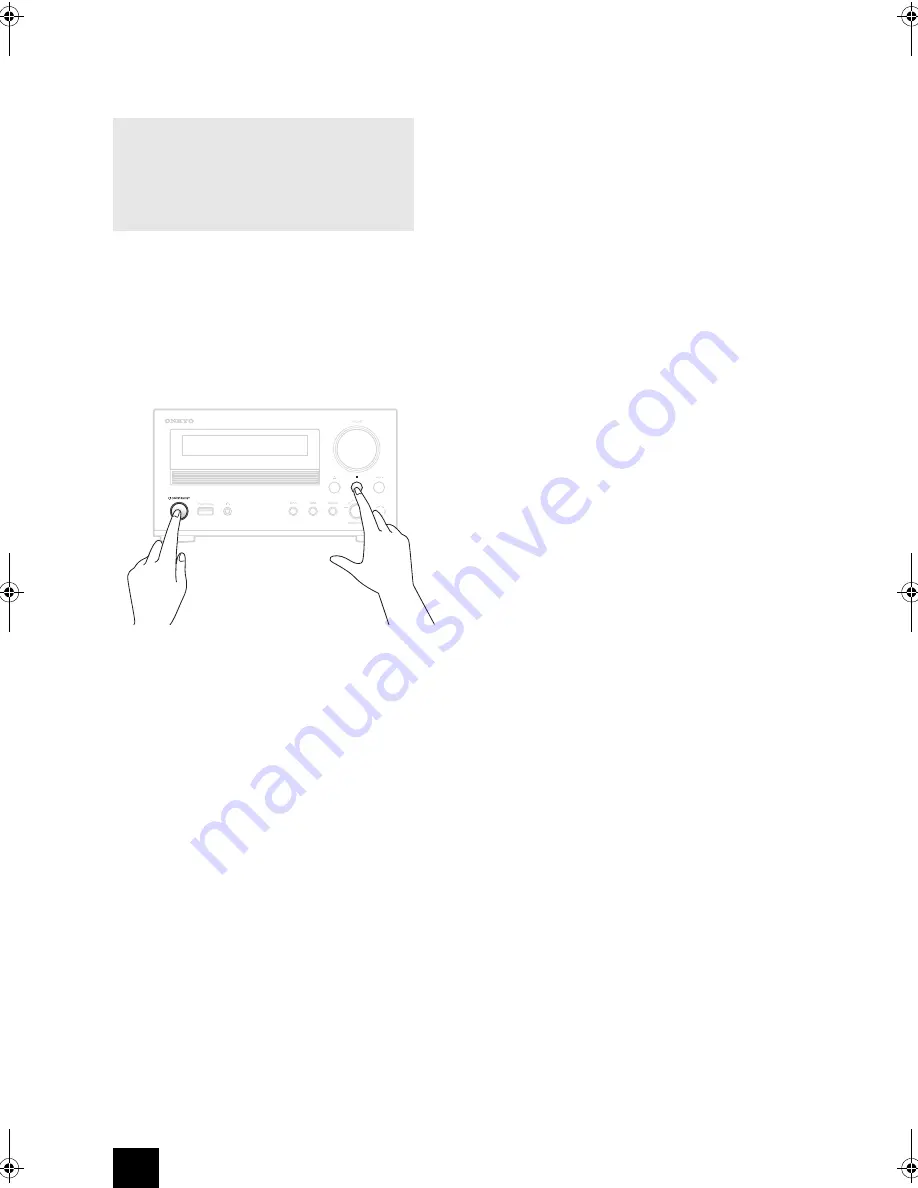
Restoring factory default settings
If this unit does not operate properly, follow the
procedures below to restore it to the default settings that
it had when shipped new from the factory. Doing this
might correct the problem.
While the unit is on, press and hold the stop (
∫
) button
and press the
Í
ON/STANDBY button.
∫
Power/Remote control
The unit does not turn on.
0
Confirm that the power plug is securely plugged in to
an outlet.
0
Unplug the power cord once, wait five seconds and
then plug it in again.
“Now Initializing...” appears on the display.
0
If you turn on the unit when the input source is set to
USB or NET, it takes about 20 to 30 seconds until the
unit recognizes the input.
The unit turns off.
0
When the Auto Standby function is enabled, the unit
will enter standby automatically after a set amount of
time. See “ASb (Auto Standby)” under “Menu settings”
in “Various settings” to check the setting.
Remote control does not work.
0
Make sure the batteries have been installed with the
correct polarity (
i
/
j
).
0
If the batteries are exhausted, replace both of them
with new ones.
0
Point the remote control at the front panel of the unit
from a distance of less than about 5 m.
0
The remote control will not work if there is an
obstruction between it and the main unit. In this case,
try changing the position.
0
If a fluorescent light is near the unit, turn the light off.
0
The unit is located behind the glass doors of a audio
rack or cabinet.
∫
Audio
There’s no sound.
0
Make sure the correct input source is selected.
0
If “MUTING” is displayed on the display, press the
MUTING button to cancel muting.
0
Make sure the speakers are connected correctly.
0
Check all connections and correct as necessary.
0
While headphones are connected, the speakers output
no sound.
0
If the headphones do not output audio, contact failure
could be the cause. See the instruction manual for the
headphones.
There is noise.
The sound quality is not good.
0
Make sure that
i
/
j
of the speaker cables are
connected correctly. Connect the speaker placed on
the left hand side to the L terminal of the unit, and
connect the right speaker to the R terminal.
0
Make sure all audio connecting plugs are pushed in all
the way.
0
Place the unit as far away as possible from TVs and
other devices that have strong magnetism.
0
If you have any devices that emit high-intensity radio
waves near the unit, such as a cellular phone that’s
being used to make a call, the unit may output noise.
0
The unit’s precision drive mechanism may emit a faint
hissing sound while reading discs during playback or
when searching for tracks. You may be able to hear
this noise in extremely quiet environments.
0
Audio performance will be at its best about 10 to 30
minutes after the unit has been turned on and had time
to warm up.
0
Using cable ties to bundle audio cables with speaker
or power cables may degrade the sound quality, so
don’t do it.
∫
CD playback
Playback is not possible.
0
If the disc is upside down, reload it with the labeled
side up.
0
If the disc is dirty, wipe it clean.
0
If a blank disc is loaded, replace it with a disc that has
recordings on it.
0
Depending on the quality of the disc and the condition
of the recording, playback of a CD-R/CD-RW might not
be possible.
0
This unit cannot play back unfinalized CD-R/CD-RW
discs.
The sound skips.
0
Vibrations will cause the sound to skip. Install this unit
in a stable location.
0
If the disc is dirty, wipe it clean.
0
Do not use discs that are scratched or cracked.
Before starting the procedure
Problems may be solved by simply turning the power
on/off or disconnecting/connecting the power cord,
which is easier than working on the connection,
setting and operating procedure. Try the simple
measures on both the unit and the connected device.
CR-N765_eng.book 34 ページ 2014年8月29日 金曜日 午後2時18分


