Click on
to set custom Adapter plate settings.
2. Click on the No eyes card to modify the Eyes preset settings.
3. Click on the No bracket card to modify the Angle Bracket preset settings.
4. Select mounting type.
5. Select tool.
Click on
to get help about how to enter the values.
6. Click on Accessory to select any OnRobot accessories.
7. Click on Workpiece to enter the workpiece weight. Then the calculator calculates the
resulting payload mass considering the gripper, the mounting, and the workpiece mass.
8. Choose the unit of measure for the values you want to enter from the Size measurement,
Angle measurement, Weight measurement and Angle type dropdown menus.
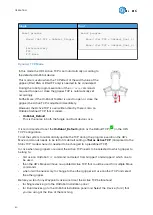
The calculator calculates the values which you can see in the TCP (Tool Center Point) and
CoG (Center of Gravity) boxes. These values can be entered into the robot.
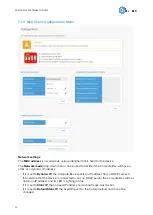
7.1.7. Web Client: Account Settings
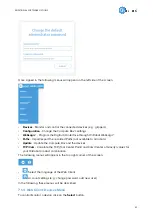
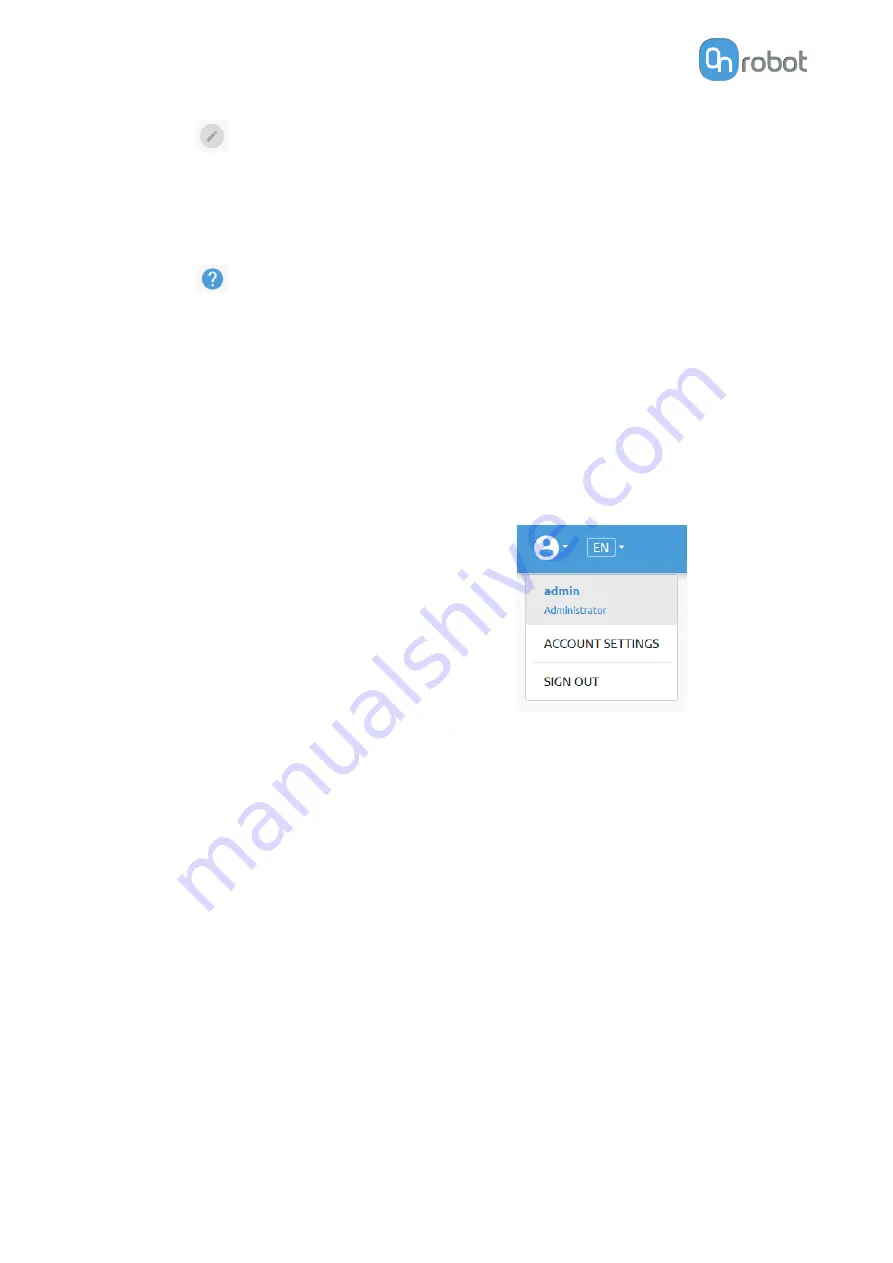
This menu can be used to:
•
See the currently sign-id user
•
Go to Account settings
•
Sign-out
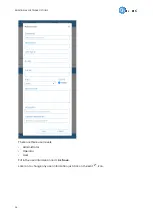
Account settings:
This page has two tabs:
•
My profile - to see and update the currently logged in users' profile (e.g.: change
password)
•
Users - to manage users (e.g.: add/remove/edit)
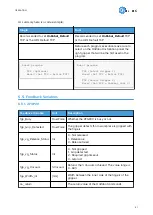
On the My profile tab to change any profile data (e.g.: password) click on the Update profile
button.
ADDITIONAL SOFTWARE OPTIONS
54
Summary of Contents for 2FGP20
Page 1: ...USER MANUAL FOR UR ROBOTS v1 13 0 Original Instructions...
Page 62: ...Illustration Pad position Maximum force N 2 200 3 100 4 400 HARDWARE SPECIFICATION 62...
Page 71: ...8 2 3 Tools 8 2 3 1 2FGP20 All dimensions are in mm and inches HARDWARE SPECIFICATION 71...
Page 79: ...12 Certifications CERTIFICATIONS 79...
Page 80: ...12 1 EMC 12 2 2FGP20 Environment CERTIFICATIONS 80...
Page 81: ...12 3 Declaration of Incorporation 12 3 1 2FGP20 CERTIFICATIONS 81...

