HOBO Temp Data Logger (UX100-001) Manual
1-800-LOGGERS 6
www.onsetcomp.com
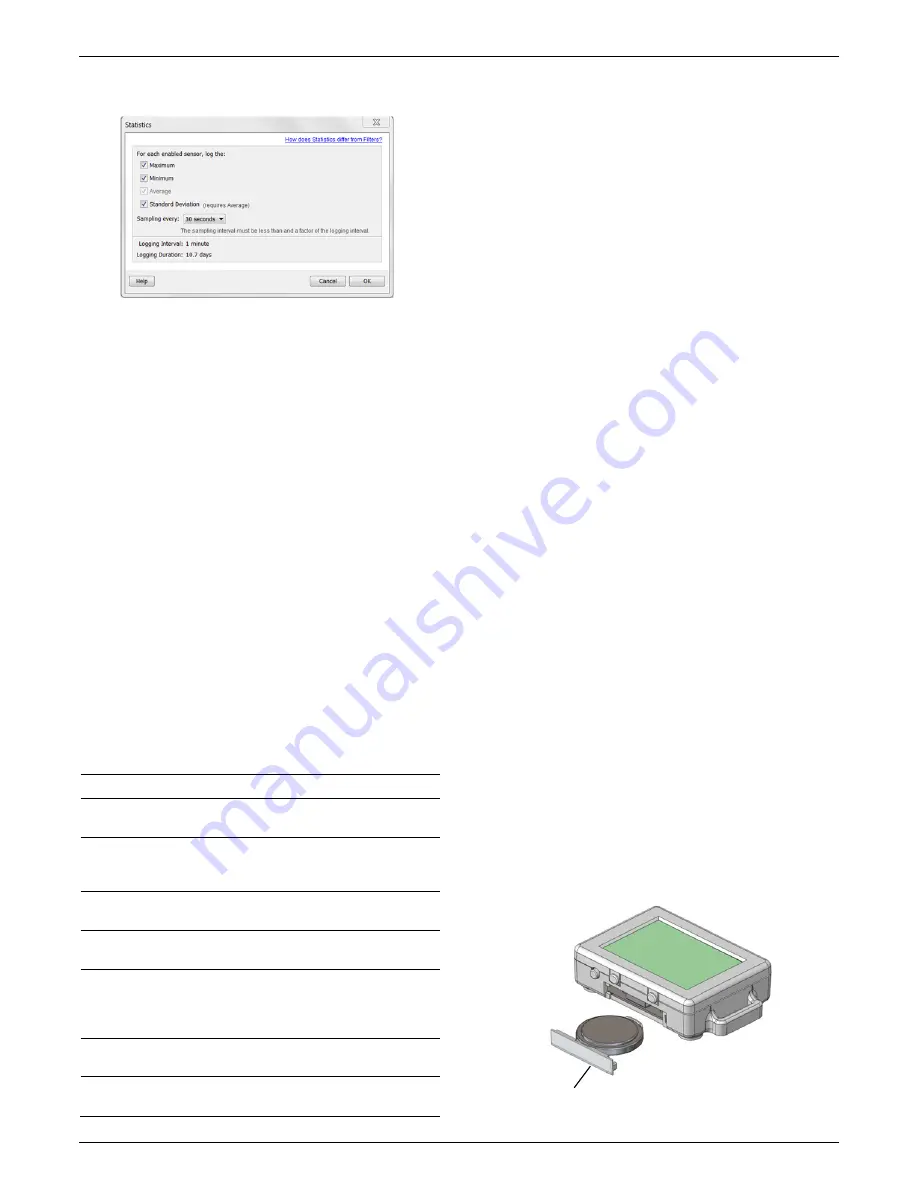
more statistics you record, the shorter the logger duration
and the more memory is required.
3.
Set the sampling interval, which must be less than and a
factor of the logging interval. Choose either a preset
sampling interval or select Custom and enter your own
sampling interval. Keep in mind that the more frequent the
sampling rate, the greater the impact on battery life.
4.
Click OK when done. This will return you to the Launch
Logger window. Click the Edit button next to Logging Mode
in the Launch Logger window to make additional changes.
Once logging begins, click the Alarm/Stats button on the logger
to cycle through the current maximum, minimum, average, and
standard deviation data on the LCD screen. You can plot the
statistics series once you read out the logger.
Reading Out the Logger
There are two options for reading out the logger: connect it to
the computer with a USB cable and read out it with HOBOware,
or connect it to a HOBO U-Shuttle (U-DT-1, firmware version
1.18m030 or higher) and then offload the data files from the
U-Shuttle to HOBOware. Refer to the HOBOware Help for more
details.
Recording Internal Logger Events
The logger records the following internal events to track logger
operation and status. You can plot these events in HOBOware
after reading out the logger and opening the data file.
Internal Event Name
Definition
Host Connected
The logger was connected to the computer.
Started
The Start/Stop button was pressed to begin
logging.
Stopped
The logger received a command to stop
recording data (from HOBOware or by
pushing the Start/Stop button).
Button Up/Button
Down
The Start/Stop button was pressed for
1 second.
Chan 1 Alarm
Tripped
A temperature alarm has tripped.
Chan 1 Alarm
Cleared
A temperature alarm has cleared. This event
also contains the value that was furthest out
of range for the sensor before the alarm
cleared.
New Interval
The logger has entered or exited burst
logging mode.
Safe Shutdown
The battery level dropped below 2.5 V; the
logger performs a safe shutdown.
Mounting the Logger
There are several ways to mount the logger using the materials
included:
•
Use the four built-in magnets on the back of the logger to
mount it to a magnetic surface.
•
Attach the Command strip to the back of the logger to
mount it a wall or other flat surface.
•
Use the double-sided tape to affix the logger to a surface.
•
Insert the hook-and-loop strap through the mounting
loops on both sides of the logger to mount it to a curved
surface, such as a pipe or tubing.
Protecting the Logger
The logger is designed for indoor use and can be permanently
damaged by corrosion if it gets wet. Protect it from
condensation. If the message FAIL CLK appears on the LCD
screen, there was a failure with the internal logger clock
possibly due to condensation. Remove the battery immediately
and dry the circuit board.
Note:
Static electricity may cause the logger to stop logging.
The logger has been tested to 8 KV, but avoid electrostatic
discharge by grounding yourself to protect the logger. For more
information, search for “static discharge” in the FAQ section on
onsetcomp.com.
Battery Information
The logger contains a 3V CR2032 battery (HRB-TEMP). Expected
battery life varies based on the ambient temperature where
the logger is deployed, the logging or sampling interval,
frequency of offloading to the computer, if burst or statistics
logging modes are active, and battery performance. A new
battery typically lasts 1 year with logging intervals greater than
1 minute. Deployments in extremely cold or hot temperatures,
a logging interval faster than 1 minute, or a sampling interval
faster than 15 seconds can impact battery life. Estimates are
not guaranteed due to uncertainties in initial battery conditions
and operating environment.
The logger can also be powered by the USB cable when the
remaining battery voltage is too low for it to continue logging.
Connect the logger to the computer, click the Readout button
on the toolbar, and save the data as prompted. Replace the
battery before launching the logger again.
To replace the battery:
1.
Holding the logger with the LCD screen facing up, pull the
battery tray out of the logger housing.
Battery tray removed
from logger


