background image

15

MACHINE OPERATION DURATION

WARNING: Fire or explosion hazard:

 Please do not pick up flammable materials or 

reactive metals.

1. Recommend each cleaning path overlaps by 2”.

2. Let the machine advance constantly to avoid ground damage.

3. If there is drag mark on the ground after the squeegee absorbs water, check the squeegee blade for 

debris, and clean accordingly.

4. Do not operate the machine on the slope with a slope over 5% (3°).

5. If there is too much foam entering the wastewater tank, check the foamer/detergent concentration 

and adjust accordingly.

Note: 

Do not let the foam enter the filter screen so as to avoid damage to vacuum motor. The foam 

will make the switch of the filter screen invalid.

6. Replace or rotate the pad as required.

7. Observe the power consumption of the battery power meter.

8. Observe the residual liquid amount through the freshwater meter of the clean water tank. For 

traditional scrubbing operations, the consumption is typically 10 liters of fluid for each 10 minutes of 

operation, roughly one liter per minute.

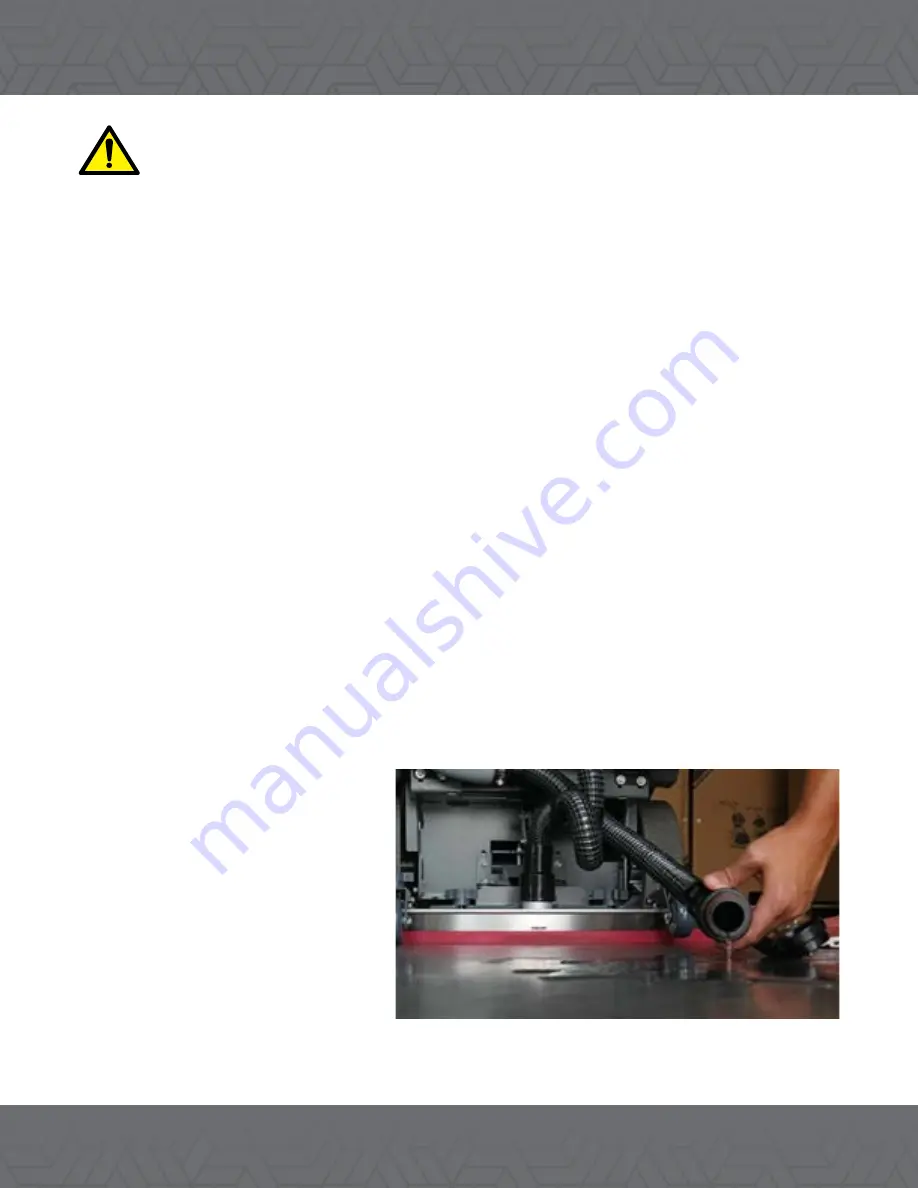
9. When the solution in the clean water tank is used up, empty the waste water tank by accessing the 

waste water drain hose of the back of the machine, then re-pour the cleaning solution.

10. To stop machine operation, remove 

foot from drive pedal, select OFF on 

the Yellow control switch, park on level 

ground and remove the power key.

Summary of Contents for RX32

Page 1: ...his Guide provides necessary instructions on machine operation and maintenance Before operation or use of this machine please carefully read and understand this Guide OPERATOR MANUAL RX 32 RIDE ON 30 DUAL HEAD BATTERY SCRUBBER ...

Page 2: ...____________________________________________________________ Sales representative _______________________________________________________________ PO number _________________________________________________________________________ Date PO placed _____________________________________________________________________ Installation Date ___________________________________________________________________...

Page 3: ...Machine Water Flow Adjustment Information on Brush and Scouring Pad Pre operational Examination Machine Operation Machine Operation Duration Battery power meter Drainage of Water Tank Drainage of Wastewater Tank Battery Charging Machine Maintenance Daily Maintenance after each use Monthly Maintenance every 80 hours Machine Transport Machine Storage Troubleshooting Guide Technical Parameters Wiring...

Page 4: ...or email us at sales onyxsolutions com WARRANTY CLAIMS ONYX Warranty Statement policy and Warranty Claim form can be found on the SUPPORT page of the ONYX website https www onyxsolutions store support TECHNICAL SUPPORT Technical support is available by submitting a HELP TICKET on the CONTACT US page of the ONYX website https onyxsolutions odoo com contact PROTECT THE ENVIRONMENT Please abandon the...

Page 5: ...must read understand and observe the following safety precautions The following safety precautions signal potentially dangerous conditions to the operator or equipment If the following warnings are not observed it may cause personal injury electric shock fire or explosion WARNING Fire or Explosion Hazard Do not use flammable liquid do not operate the machine close to or in the place where there is...

Page 6: ...e or other types of electronic devices Unless mentally and physically capable of following machine instructions With brake disabled If the machine is not in proper operating condition If the battery emits an unusual odor Move the machine to a ventilated area and con tact Customer Service immediately If the battery is leaking any substance Avoid contact with battery substance and contact Customer S...

Page 7: ...t machine with jack stands Use a hoist or jack that will support the weight of the machine Do not push or tow the machine on inclines with the brake disabled When treating battery or battery wiring please wear protective gloves and eye pro tection Avoid contacting battery acid Do not hose down or spray this machine with high pressure water Use the replacement parts provided or recognized by the ma...

Page 8: ...ring wheel B Operator Seat C Recovery Tank D Batteries E Scrub head F Propel Pedal G Control Panel H Solution tank fill cap I Solution tank J Rear squeegee K Recovery tank drain hose L Recovery tank cover A B C D E F L G H K J I ...

Page 9: ...attery acid Battery Installation Battery Specification Four 6V 220Ah AGM Maintenance Free Batteries con nected in series to produce total battery power pack of 24 volt 220 Ah AGM Maintenance Free Batteries 1 Stop and place the machine on the level ground and take out the key Lift up the recovery tank to expose the battery cabin 2 Carefully install the four 6V batteries in the battery cabin and con...

Page 10: ...ly lift to the up position and take out the key 2 Lower the lifting rod of the squeegee to the lower position 3 Install the squeegee to the squeegee installation bracket as shown in the figure Ensure to fully place the fastening knob into the jack and then tighten the knob 4 Connect the vacuum suction pipe to the squeegee component 5 Examine the squeegee adhesive tape and reasonably adjust ...

Page 11: ...ically lift to the up position and take out the key INSTALLATION OF BRUSH PAD 2 Lift skirt should be loose 3 Rotate counterclockwise to loosen and remove brushes or pad driver 4 To replace pads remove blue retaining clip by pinching finger points together see image 5 Place correctly sized pad on driver and secure with blue retaining clip Pinch finger points together and press firmly until you hear...

Page 12: ...TION Information on Brush and Scouring Pad To ensure the optimum efficiency please use the correct type of brush for cleaning The brush and scouring pad suggested for use are as follows It is suggested to clean the coated floor without damaging the floor Clean without scratches Soft nylon brush white It is used for scrubbing slight dirt without damaging the floor It is used for main taining a high...

Page 13: ...ding and understanding the operation manual Check the battery is well charged Check the abrasion conditions of the pad brush Check the abrasion conditions of the squeegee blade and reasonably adjust the angle Confirm that the wastewater tank is blank and has been equipped with a clean floating filter screen Pre operational Examination Check the abrasion conditions of the skirt section of the brush...

Page 14: ...tion of I 3 Select the operational mode required on the control panel yellow switch 4 Select the desired clean water solution flow rate by using the valve on the dashboard 5 Firmly grip the steering wheel and select forward or reverse gear stick push forward for forward drive and pull back for reverse 6 Gently apply pressure to the right hand drive foot pedal ...

Page 15: ...he filter screen so as to avoid damage to vacuum motor The foam will make the switch of the filter screen invalid 6 Replace or rotate the pad as required 7 Observe the power consumption of the battery power meter 8 Observe the residual liquid amount through the freshwater meter of the clean water tank For traditional scrubbing operations the consumption is typically 10 liters of fluid for each 10 ...

Page 16: ...fter each use the wastewater tank shall be drained and cleaned The clean water tank shall be periodically cleaned to remove any corroded parts Carry the machine to the drainage place switch off the key of the power supply and drain the water according to the following drainage instructions DRAINAGE OF WATER TANK FOR SAFETY 4 Before leaving or maintaining the machine DRAINAGE OF WASTEWATER TANK 1 U...

Page 17: ...arging socket located on the steering column of the machine 6 The charger will automat ically start charging and will automatically switch off when charging is complete and the batteries are fully charged Hint The machine will not work when being connected to the charger Note during the charging of the charger please do not pull the DC cord of the charger out of the socket of the machine to avoid ...

Page 18: ...uired 4 Inspect the pad brush after cleaning ensure pad brush is still in good condition If there is any abra sion overturn or replace the brush pad 5 Wipe the squeegee blade 6 Check the abrasion conditions of the scraper edge of the squeegee blade If there is any wear and tear exchange two sides of the blade 7 Use multi purpose detergent and wet cloth to wipe the machine 8 Check the abrasion cond...

Page 19: ... on all pivots and wheels and cover a layer of wa ter proof lubricating oil to ensure smooth operation of wheels and pivots 6 Check whether the nuts and bolts on the machine are loose 7 Check whether the machine leaks 1 Park the scrubber and select OFF on Yellow control switch 2 Switch power key to OFF position 3 Drain machine tanks 4 Switch power key or ON MACHINE TRANSPORT When transporting the ...

Page 20: ...essary to install tie down brackets to trailer or truck Note Do not let the machine be subject to rain excessive amounts of humidity and moisture and store indoor 1 Please charge the battery before storage 2 Yellow mode switch to OFF position this will place pad brush head and squeegee in up position 3 Switch power key to OFF position 4 Disconnect the batteries before any long term storage 5 Drain...

Page 21: ...is set too low The screw of the control knob is loosened Lower down the brush head Charge the battery Please contact the service center Please contact the service center Lower down the squeegee Replace the fuse Please contact the service center Please contact the service center Clean the filter of the clean water tank Adjust the water control knob Reset the button of the breaker of the brush circu...

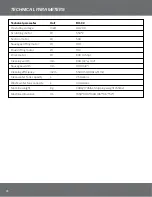
Page 22: ...motor Cleaning width Squeegee width Cleaning efficiency Clean water tank capacity Waste water tank capacity Machine weight Machine dimension Unit V AH W W W W W mm mm m2 h L L Kg cm RX 32 24 200 550 2 500 100 100 800 3 5hp 800 32 w 34 1080 43 5500 59 000sq ft hr 25 Gallons 34 Gallons 338kg 745lbs Shipping weight 765lbs 1650 900 1300 66 36 52 ...

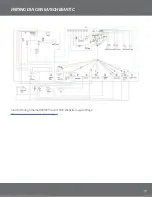
Page 23: ...23 WIRING DIAGRAM SCHEMATIC Link to Wiring Schematic PDF file on ONYX Website Support Page https www onyxsolutions store support ...

Page 24: ...onyxsolutions com ...

Reviews: