24
Cleaning and/or changing the filters:
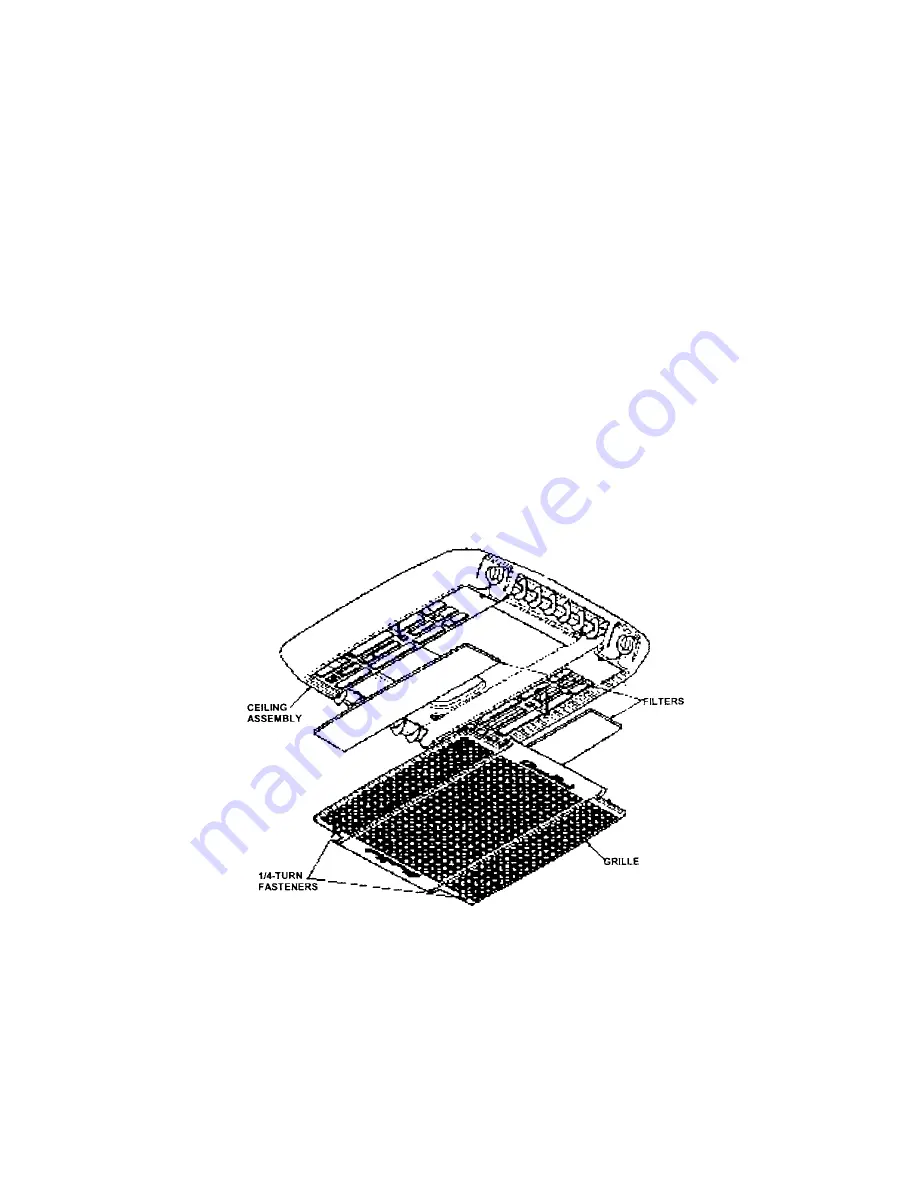
1. Disengage the two 1/4-turn fasteners that secure the ceiling
assembly grille to the ceiling assembly (see figure).
2. Lower the grille and filters from the ceiling assembly.
3. Take filters out and either clean or exchange with other filters (see
figure).
4. If the vehicle is equipped with a flush mount ceiling assembly,
remove the four return air grill screws. Remove filter from grill and
either clean or exchange with new filters.
NOTE: If replacement filters are necessary, the filters can be
purchased from most RV Products Authorized Service Centers. It
is recommended that spare filters be carried with the RV at all times
to replace worn, torn or deteriorated filters.
• Clean and/or change the filters every two weeks.
• Annually, no more than two years, remove inside screen and
torque “4” mounting bolts to insure tightness. If not tight, moisture
will enter.


