background image

1

117.167

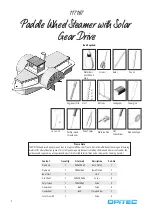
Paddle Wheel Steamer with Solar 

Gear Drive

Content

Quantity

Size (mm)

Description

Part-No

Plywood

1

400x200x3

Base Plate

1

1

Plywood

1

300x210x3

Base Plate

2

2

Boat Hull

1

Hull

3

Alu-Sheet

1

200x200x0,3

Cover

4

Polystyrene

1

100x100x2

Drive

5

Gearwheel

2

ø 60

Drive

6

Gearwheel

1

ø 20

Stern Rudder

7

Solar Gear Kit

1

Drive

8

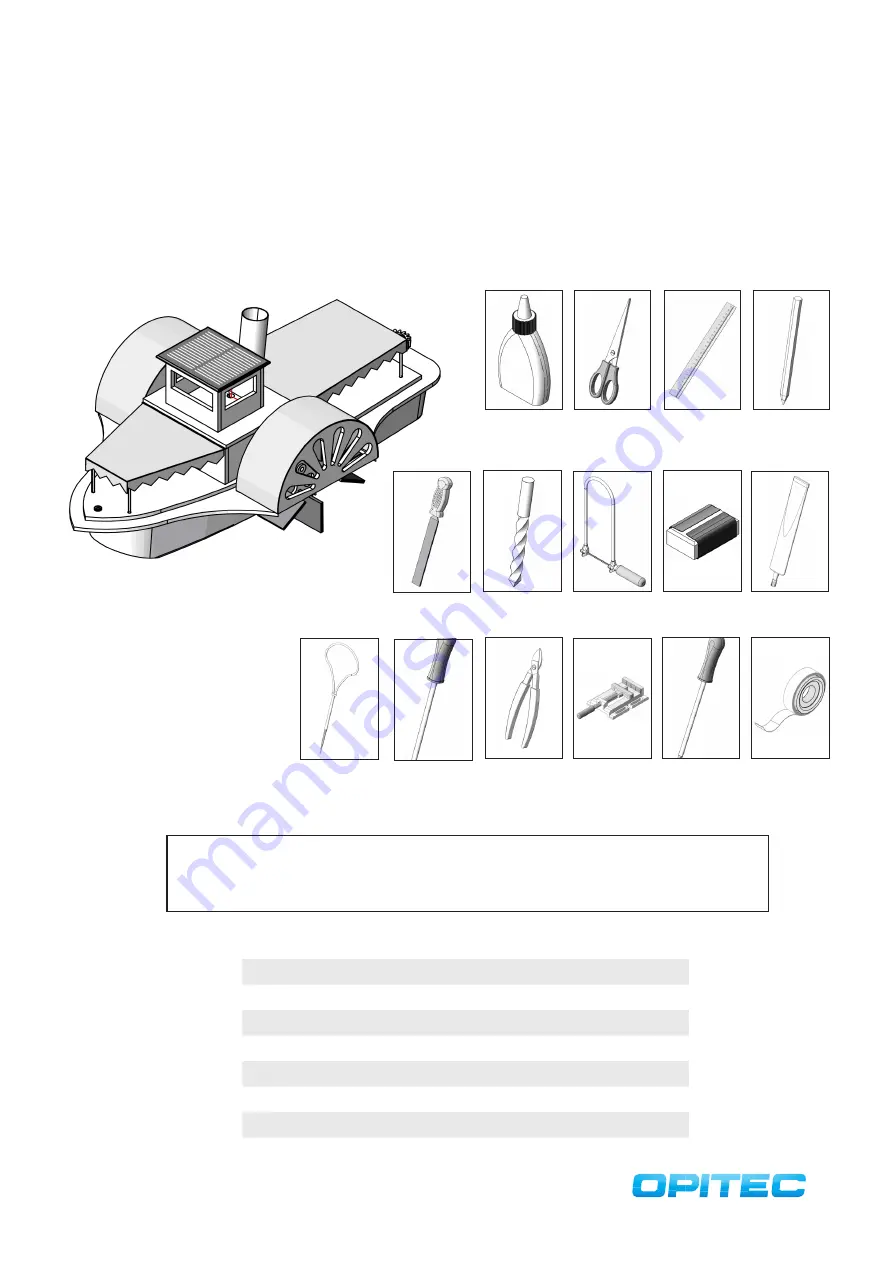
Tools Required:

Scissors

Water-Resi-

stant Wood 

Glue

Please Note

The OPITEC handicraft packs are not toys in a typical off-the-shelf sense, but rather additional teaching and learning 

material for educational purposes. This craft pack may only be constructed by children and adolescents under the 

guidance and supervision of experienced adults. Not suitable for children under 36 months. Choking hazard!

Ruler

Pencil

Fretsaw

Drill

Sandpaper

Superglue

Machine Vice

Pair of Snips

Slot 

Screwdriver

Adhesive Tape

Phillips Head 

Screwdriver

ø1

ø2

ø3

ø5

Engineer‘s File

Hand-Drill

ø3

Summary of Contents for 117167

Page 1: ...sors Water Resi stant Wood Glue Please Note The OPITEC handicraft packs are not toys in a typical off the shelf sense but rather additional teaching and learning material for educational purposes This...

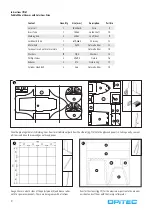
Page 2: ...retsaw Transfer the stencil pg 19 for the aluminium parts onto the alumini um sheet and cut them with the tinsnips afterwards Instructions 117 167 Paddle Wheel Steamer with Solar Gear Drive Content Qu...

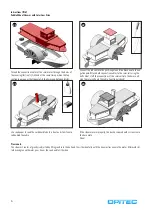
Page 3: ...using universal glue Hint In order to fix the bore insert the metal shaft into the terminal Cut off 2 pieces at 15 mm from the brass tube 10 and deburr them Attach it 10 mm inserted to both sides of...

Page 4: ...he finished paddle wheel cover above the paddle wheels and glue it onto the base plate by using universal glue or water resistant wood glue Glue the bended aluminum piece 4c succinctly onto the pieces...

Page 5: ...sert and glue the bended wires 11a 11b into the dedicated holes Now glue another frame using the parts D1 D4 After letting it dry glue it onto the marking lines of piece C Gauge and cut 145mm off the...

Page 6: ...ection cables to the solar cell using the bolts Next stuff the connections of the solar cell into the bores and glue the solar cell onto the cabin Functional check Use sandpaper to sand the cardboard...

Page 7: ...7 E3 E1 E4 E2 Trennlinie Instructions 117 167 Paddle Wheel Steamer with Solar Gear Drive Plan 1 Base 1...

Page 8: ...8...

Page 9: ...9 Instructions 117 167 Paddle Wheel Steamer with Solar Gear Drive Plan 2 Base 1 A Trennlinie Trennlinie...

Page 10: ...10...

Page 11: ...11 Instructions 117 167 Paddle Wheel Steamer with Solar Gear Drive Plan 3 Base 1 D3 D4 A Trennlinie...

Page 12: ...12...

Page 13: ...13 6 5 1 2 Instructions 117 167 Paddle Wheel Steamer with Solar Gear Drive Plan 1 Base 2 D1 B1 C D...

Page 14: ...14...

Page 15: ...15 5 1 2 2 2 Instructions 117 167 Paddle Wheel Steamer with Solar Gear Drive Plan 2 Base 2 B2 D2 C3 C4 C2 C1...

Page 16: ...16...

Page 17: ...17 Instructions 117 167 Paddle Wheel Steamer with Solar Gear Drive Plan 1 Aluminiumsheet...

Page 18: ...18...

Page 19: ...19 Instructions 117 167 Paddle Wheel Steamer with Solar Gear Drive Plan 2 Aluminiumsheet...

Reviews: