12
STEP 3: SET THE WATERING START TIMES
When shipped from the factory the timer has a default
program with an 8 a.m. start time once a day only in
Program "A".
1.
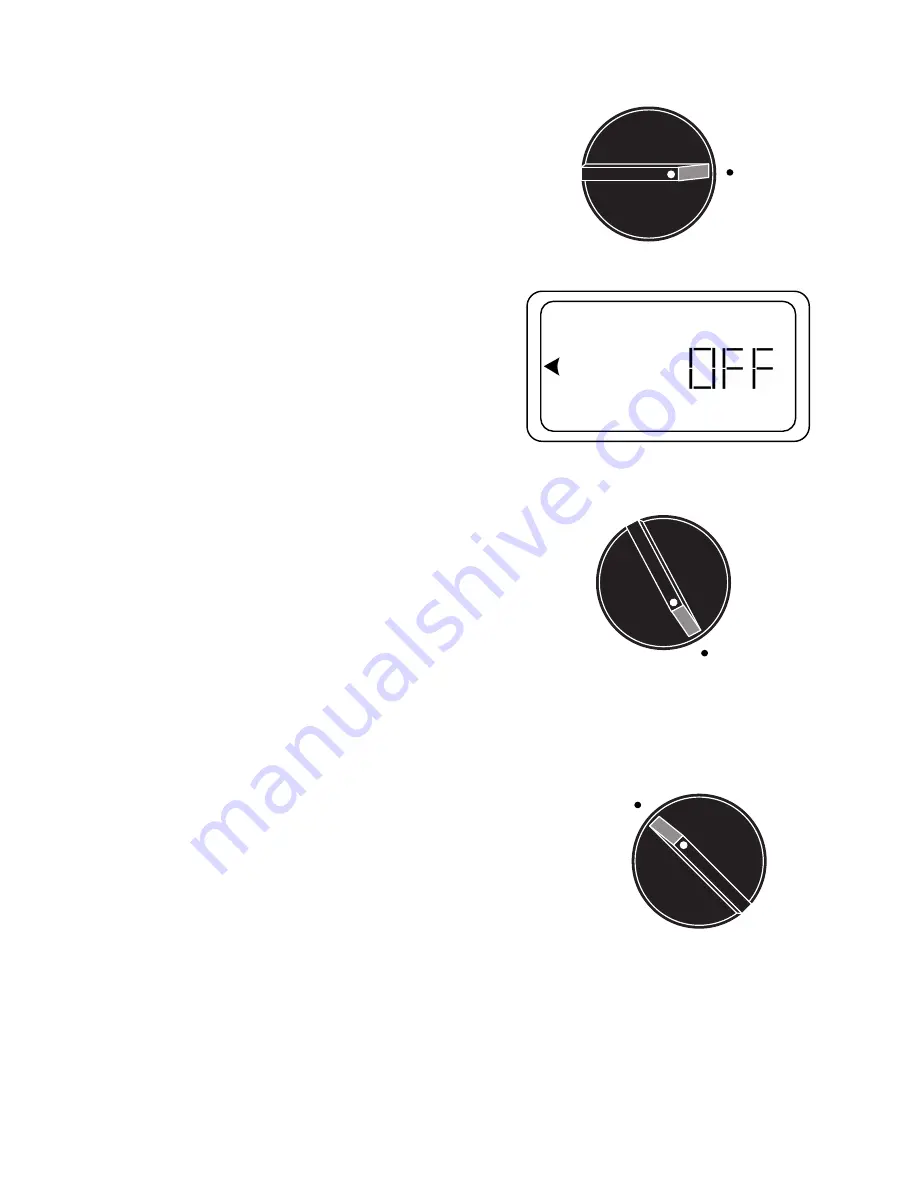
Rotate the dial until it points to the Start Time posi-
tion. At this point a flashing "A" or "B" will show in the
display.
2.
Push the
A
/
B
button to select the desired Program "A"
or "B".
3.
Push the
Û
button. At this point, the "A" start time in-
dicator symbol will be displayed on the far left of the
display and the hour or OFF will be blinking in the dis-
play.
4.
If the time is correct, press the
Û
button and go on to
setting the next start time or press the
Ý
or
Þ
arrow
button to set the start time to the correct hour. (
NOTE:
The clock will only start on the hour.) Once the Start
Time is correct, press the
Û
button to set the next
Start Time, if watering more than once a day. When
finished, press
Û
to confirm the program.
STEP 4: THE WATER TIME FOR EACH ZONE IN "A"
OR "B" PROGRAM
1.
Rotate the dial to the Water Time position. At this
point a flashing "A" or "B" will show in the display.
2.
Push the
A
/
B
button to select the desired program, "A"
or "B."
3.
Push the
Û
button. At this point the Station 1 indicator
symbol will be on and the amount of time on that zone
will be flashing. Press the
Ý
or
Þ
button to adjust the
time to the number of minutes Station 1 is desired to
run. (
NOTE:
Each zone can be set to run from 0 - 99
minutes.)
4.
Press the
Û
button to move to the next zone and re-
peat Step 3 for the remainder of the zones. If you de-
sire to schedule the "other" Program push the
Û
but-
ton to show the "A" or "B" flashing in the display, push
the
A
/
B
button until the other Program is shown and
repeat step 3. If you do not desire to schedule the
"other" Program please go to step 5.
5.
Rotate the dial to the Auto position to activate the au-
tomatic schedule.
SU MO TU WE TH FR SA
A
B
C
Start
Time
Water Time
Auto


