14
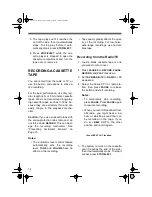
5. The tape plays until it reaches the
end of the side, then it automatically
stops. To stop play before it auto-
matically stops, press
STOP/EJECT
.
6. Press
STOP/EJECT
while the cas-
sette player is stopped to open the
cassette compartment and turn the
tape over or remove it.
RECORDING A CASSETTE
TAPE
You can record from the radio or TV, or
use the built-in microphone to make a
live recording.
For the best performance, use only reg-
ular length (60- or 90-minute) cassette
tapes. We do not recommend long-play-
ing cassette tapes, such as C-120s, be-
cause they are extremely thin and can
easily tangle in the playback mecha-
nism.
Caution: If you use a cassette tape with
the erase-protection tabs removed, do
not force down
RECORD
. This can dam-
age the recording mechanism. See
“Preventing Accidental Erasure” on
Page 15.
Notes:
• The automatic level control feature
automatically sets the recording
level.
TONE
and
VOLUME
have no
effect on the recording.
• Tape quality greatly affects the qual-
ity of the recording. For low-noise,
wide-range recordings, use normal-
bias tape.
Recording from the Radio/TV
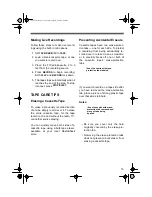
1. Load a blank cassette tape or one
you want to record over.
2. Press
PAUSE
then
RECORD
.
PAUSE
,
RECORD
, and
PLAY
lock down.
3. Set
TAPE/RADIO/TV
to
RADIO
or
TV
as desired.
4. Select the desired TV or radio sta-
tion, then press
PAUSE
to release
the button and start recording.
Notes:
• To temporarily stop recording,
press
PAUSE
. Press
PAUSE
again
to resume recording.
• When you record broadcasts from
AM radio, you might hear a low
hum or whistling sound that can
be recorded on the tape. If you
do, set
BEAT
CUT
to the other
position and record again.
5. The system records on the cassette
until it reaches the end of the side,
then it automatically stops. To stop it
sooner, press
STOP/EJECT
.
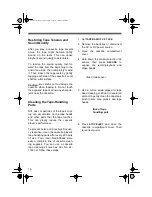
illus of BEAT CUT location
16-132.fm Page 14 Tuesday, July 20, 1999 8:46 AM


