EN-20
Setting the Date and Time
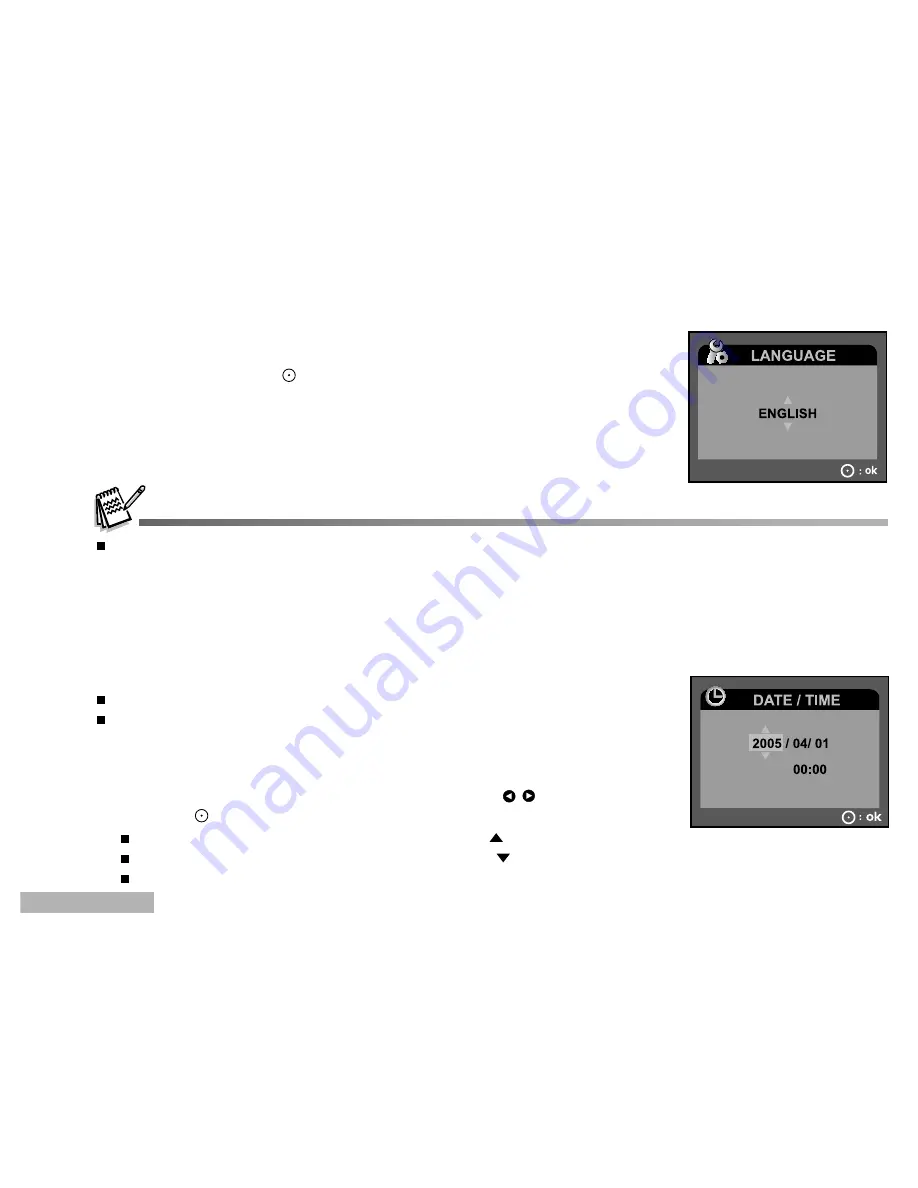
The date/time setting screen will automatically appear:
When first turning the digital video camera on;
When turning the power on after the digital video camera has not had
batteries inserted for an extended period of time.
To adjust the date and time:
1. Select the year, month, day and time fields with the
/
buttons.
2. Press the
button after all fields are set.
To increase a value, slide the zoom lever to the
/
T
side.
To decrease a value, slide the zoom lever to the
/
W
side.
The time is displayed in 24-hours format.
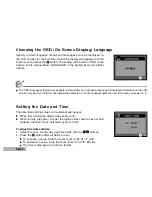
Choosing the OSD (On-Screen Display) Language
Specify in which language menus and messages are to be displayed on
the LCD monitor for the first time. Select the displayed language with the
zoom lever and press the
button. The setting will be stored. Refer to the
section in this manual titled "LANGUAGE" in the System Menu for further
details.
The OSD language setting screen appears and prompts you to choose a language for displayed information on the LCD
monitor only when you first turn the digital video camera on. It will not appear again the next time when you power on it.

