background image

4

OPERATION

SETTING THE TIME

To set the hour, hold down 

TIME

 and re-

peatedly press (or hold) 

HOUR

 until the

desired hour appears. 

PM

 lights to indi-

cate a PM hour.  

To set minutes, hold down 

TIME

 and re-

peatedly press (or hold) 

MINUTE

 until the

desired minutes appear. 

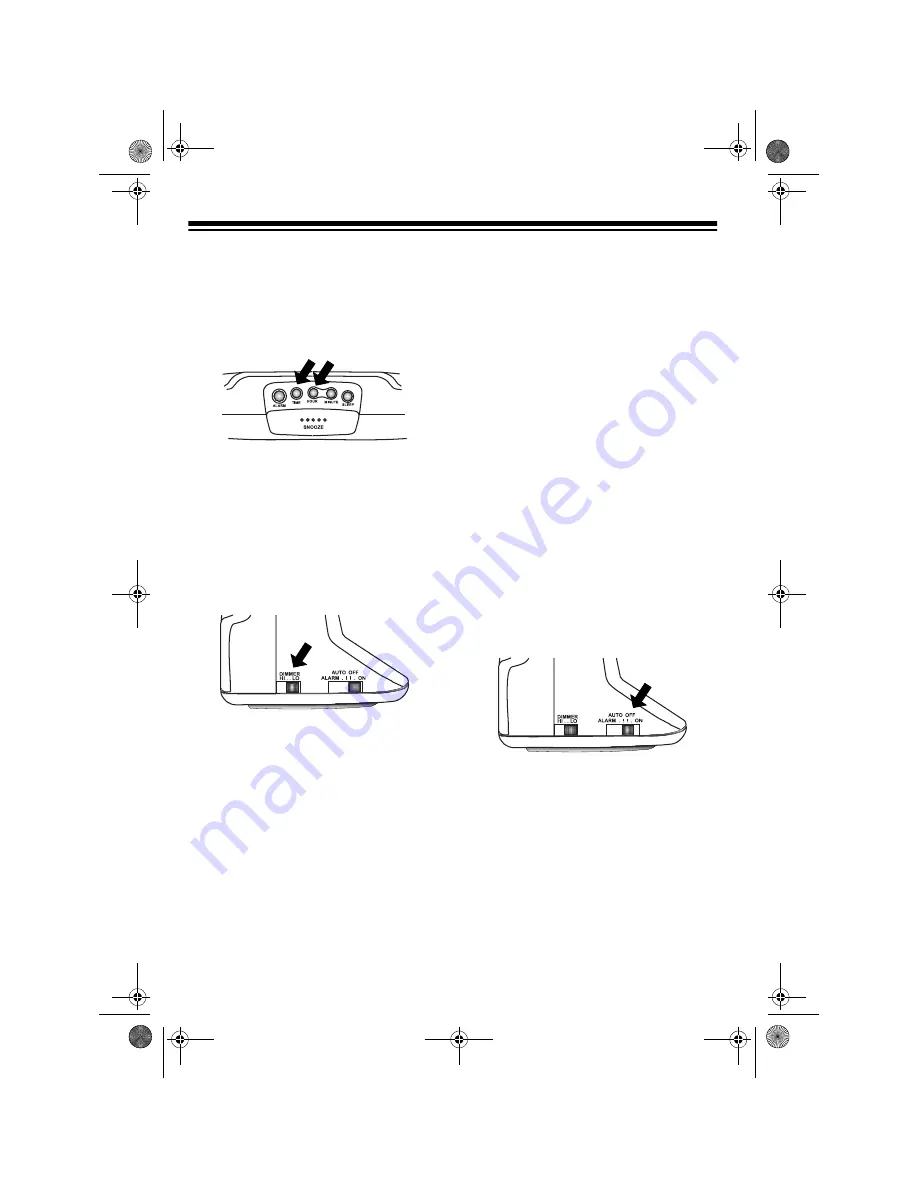
ADJUSTING THE DISPLAY 
BRIGHTNESS 

Set 

DIMMER


HI/LO

 to 

HI

 or 

LO

 to adjust

the display’s brightness as desired.

PLAYING THE RADIO

1. Rotate 

VOLUME

 to the left to turn

down the volume.

2. To turn on the radio, slide 

ALARM/

AUTO/OFF/ON

 to 

ON

.

3. Slide 

BAND

 to 

FM

 or 

AM

 then rotate

VOLUME

 to a comfortable listening

level.

4. Rotate 

TUNING

. A pointer indicates

the station’s frequency on the dial
below the clock.

Note: The AM antenna is built-in.
Rotate the clock radio for the best
AM reception. The AC power cord
also serves as the FM antenna. For
the best FM reception, fully extend
the AC power cord.

5. To turn off the radio, slide 

ALARM/

AUTO/OFF/ON

 to 

OFF

.

USING THE SLEEP TIMER

You can set the radio to play for up to 2
hours and then automatically turn off.
Follow these steps to set the play time.

1. Slide 

ALARM/AUTO/OFF/ON

 to the

desired alarm sound (

AUTO

 for the

radio, or 

ALARM

 for the buzzer).

2.

To play the radio for 1 hour, press

SLEEP.

 The radio turns on, plays 1

hour then automatically turns off.

To set the play time between 1 and
2 hours, press 

SLEEP

. The radio

turns on and 

0:59

 appears. Then

hold down 

SLEEP

 and press 

HOUR

.

The time changes to 

1:59

.

12-1615.fm  Page 4  Friday, August 13, 1999  9:29 AM

Summary of Contents for CR-315

Page 1: ...Cat No 12 1615 OWNER S MANUAL Please read before using this equipment CR 315 AM FM Clock Radio with 1 8 Inch Display 12 1615 fm Page 1 Friday August 13 1999 9 29 AM ...

Page 2: ...RNING To reduce the risk of fire or shock hazard do not expose this product to rain or moisture CAUTION RISK OF ELECTRIC SHOCK DO NOT OPEN CAUTION TO REDUCE THE RISK OF ELECTRIC SHOCK DO NOT REMOVE COVER OR BACK NO USER SERVICE ABLE PARTS INSIDE REFER SERVICING TO QUALIFIED PERSONNEL This symbol is intended to alert you to the presence of uninsu lated dangerous voltage within the product s enclosu...

Page 3: ...INEL indicator lights if there is either no battery in stalled or the installed battery requires replacement Your clock radio requires a 9 volt battery not supplied for its back up power sys tem For the best performance and long est life we recommend a RadioShack alkaline battery Caution Use only a fresh battery of the required size and recommended type Follow these steps to install the back up ba...

Page 4: ...requency on the dial below the clock Note The AM antenna is built in Rotate the clock radio for the best AM reception The AC power cord also serves as the FM antenna For the best FM reception fully extend the AC power cord 5 To turn off the radio slide ALARM AUTO OFF ON to OFF USING THE SLEEP TIMER You can set the radio to play for up to 2 hours and then automatically turn off Follow these steps t...

Page 5: ... ALARM AUTO OFF ON to ALARM At the preset time the alarm sounds for up to 1 hour 59 minutes then automatically turns off To turn off the alarm at any time slide ALARM AUTO OFF ON to OFF Slide it back to ALARM or AUTO for radio to re set the alarm USING THE RADIO ALARM 1 Slide ALARM AUTO OFF ON to AUTO At the preset alarm time the radio turns on for up to 1 hour 59 minutes 2 To turn off the radio a...

Page 6: ...anty If your clock radio is not performing as it should take it to your local RadioShack store for assistance THE FCC WANTS YOU TO KNOW Your clock radio might cause TV or ra dio interference even when it is operat ing properly To determine whether your clock radio is causing the interference turn off your clock radio If the interfer ence goes away your clock radio is causing the interference Try t...

Page 7: ... 8 ohms Power Requirements 120V AC 60 Hz 6 Watts Backup Battery DC 9V Dimensions HWD 47 8 815 16 4 Inches 123 227 103 mm Weight 1 lb 11 oz 754 g Specifications are typical individual units might vary Specifications and designs are subject to change and improvement without notice 12 1615 fm Page 7 Friday August 13 1999 9 29 AM ...

Page 8: ...t during the warranty period take the product and the RadioShack sales receipt as proof of purchase date to any RadioShack store RadioShack will at its option un less otherwise provided by law a correct the defect by product repair without charge for parts and labor b replace the product with one of the same or similar design or c refund the purchase price All replaced parts and products and produ...

Reviews: