22
3. To focus the left bottom area of the screen (point 4 and 7), turn boresight screw B clockwise or counter-
clockwise.
4. To focus the right bottom area of the screen (point 6 and 9), turn boresight screw C clockwise or
counter-clockwise.
5. To focus the top corners of the screen (point 1 and 3), adjust the image back focus and focus by
pressing the “Zoom“ and “Focus“ keys.
6. To focus the center bottom area of the screen (point 8), turn boresight screw A clockwise or counter-
clockwise.
7. Repeat from step 3 until the image is as sharp as possible in the center, left, right, top, and bottom of
the screen.
Finalizing the image adjustment
After the boresight adjustment is complete, fix the lens support system and fine tune the image focus.
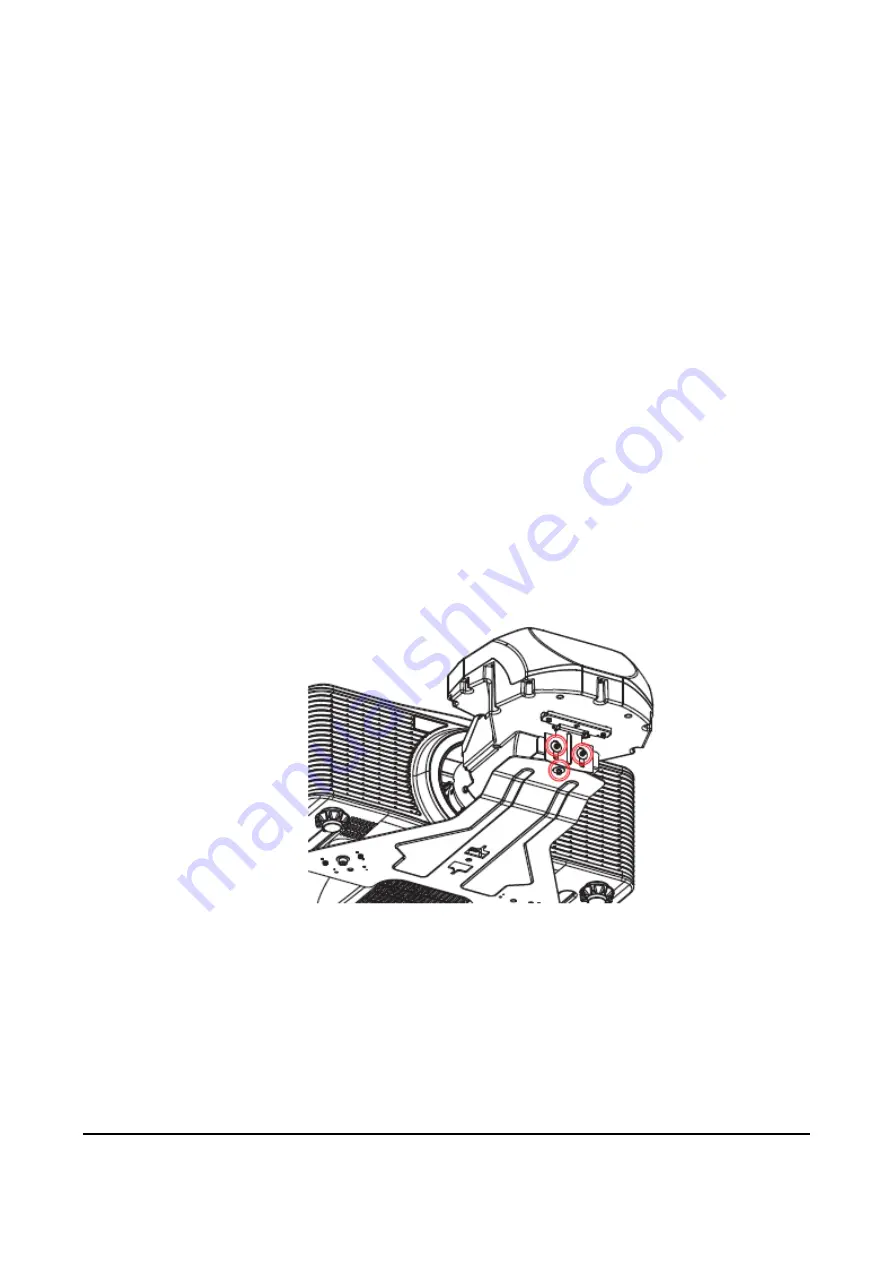
1. Tighten the three M3 screws securing the lens support system with a 2.5 mm allen key.
2. Fine tune the image focus as bolting the support system changes the lens position slightly.
3. To restore t
he image brightness, press the “Exit“ key twice.
The projector can now receive and display input sources.


