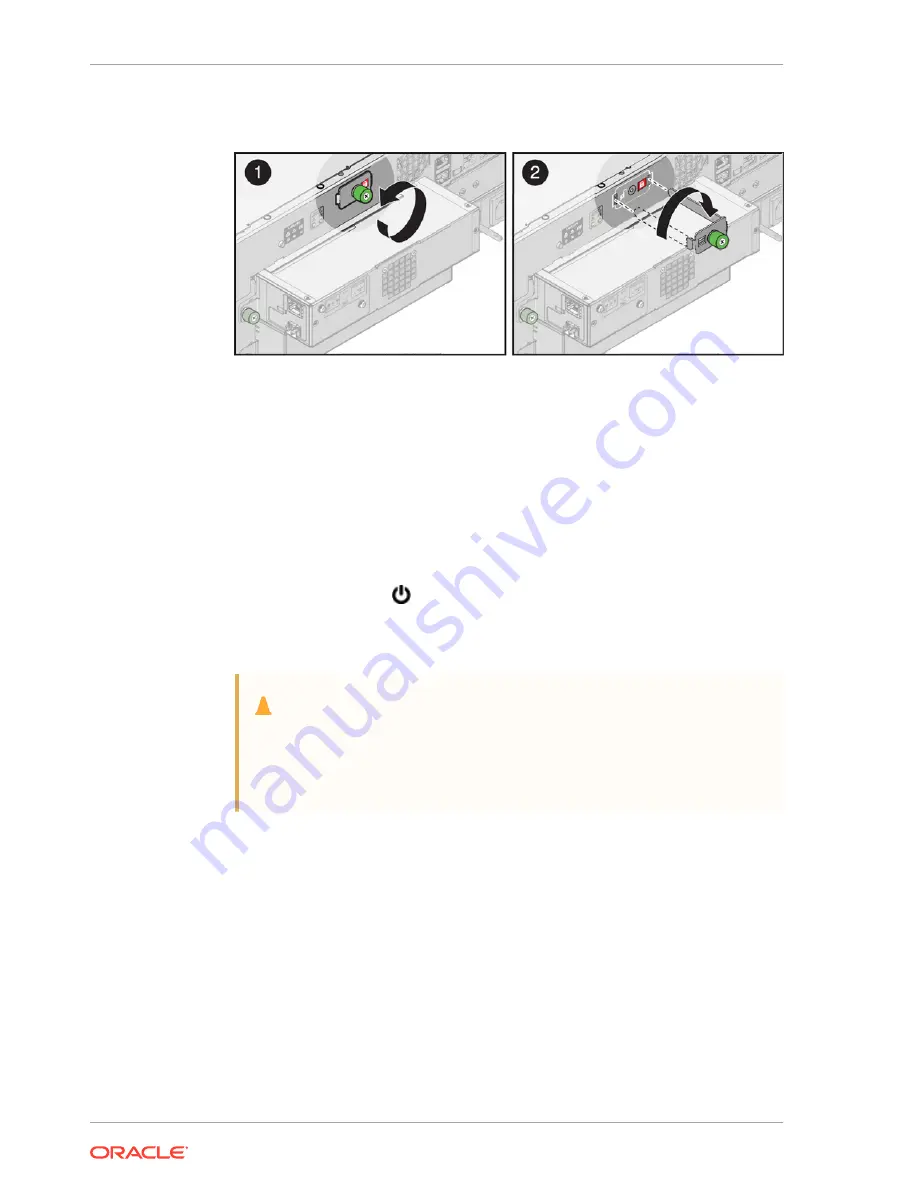
Verify that the white unlocked padlock icon is visible in the small window.
3.
Secure the lock assembly by tightening the captive screw.
Apply Power to the Library
Powering on the library starts initialization.
Apply power to the library after you have completely installed all hardware
components.
1.
Make sure the robot is unlocked (see
).
2.
Verify all cords and cables are connected (see
).
3.
Press the power button
on the front panel of the Base Module (upper left).
The time duration of the startup varies based the size of the library. See the
for what the library does during the startup.
Caution:
Do not manually remove a cartridge magazine while the library is starting
up. You could damage the robot or other internal components. Only
manually remove the magazine when the library is operational and
offline.
Configure the Library After Powering-on for the First Time
The library will launch the Initialization Wizard after the first power on. Use the front
touch screen to configure the library with the wizard.
•
Configure the Library: Login with the Default Admin
•
Configure the Library Step 1 of 6: Change the Default Administrator Password
•
Configure the Library Step 2 of 6: Configure the Network Port 1
•
Configure the Library Step 3 of 6: Set the Library Date and Time
•
Configure the Library Step 4 of 6: Set the Drive Element Addressing Mode
•
Configure the Library Step 5 of 6: Configure the Mailslot, Reserved Slots and
Volume Label Format
Chapter 2
Apply Power to the Library
2-34


