3-16
Sun Blade X6275 Server Module Service Manual • September 2013
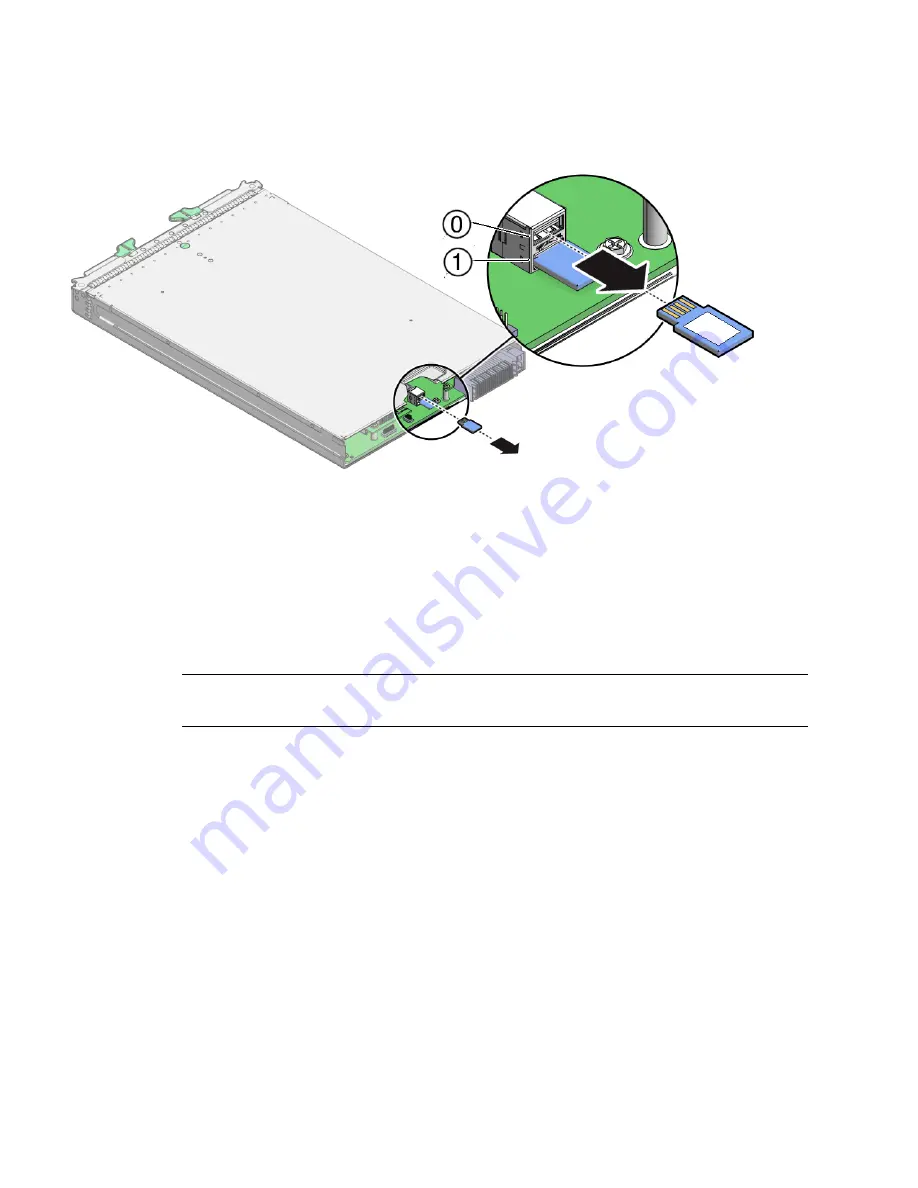
FIGURE 3-8
Removing USB Drives From Ports
3.2.2
Installing the USB Drive
1. Unpack the replacement USB drives and place them on an antistatic mat.
2. Push the USB drive into the port. The USB drive's gold fingers should face up.
See
FIGURE 3-9
.
Note –
If any resistance is encountered, the USB drive might be upside down. Rotate
the drive and try again. The label is normally on top.
3. Repeat
Step 2
for the second USB drive.
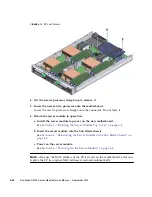
4. Return the server module to operation.
a. Insert the server module into the Sun Blade chassis.
See
Section 4.2, “Reinstalling the Server Module in the Sun Blade Chassis” on
page 4-3
.
b. Power on the server module.
See
Section 4.3, “Powering On the Server Module” on page 4-4
.
5. Verify and view component information.
Use the ILOM web interface or CLI. Refer to the corresponding ILOM
documentation collection.
Summary of Contents for Sun Blade X6275
Page 1: ...Sun Blade X6275 Server Module Service Manual Part No Part No 820 6849 16 September 2013 Rev A ...
Page 26: ...1 16 Sun Blade X6275 Server Module Service Manual September 2013 ...
Page 47: ...Chapter 3 Servicing Server Module Components 3 7 FIGURE 3 3 DIMM Numbering and Position ...
Page 61: ...Chapter 3 Servicing Server Module Components 3 21 FIGURE 3 11 Removing a Processor ...
Page 80: ...3 40 Sun Blade X6275 Server Module Service Manual September 2013 ...
Page 86: ...4 6 Sun Blade X6275 Server Module Service Manual September 2013 ...
Page 112: ...A 26 Sun Blade X6275 Server Module Service Manual September 2013 ...
Page 116: ...Index 4 Sun Blade X6275 Server Module Service Manual September 2013 ...


