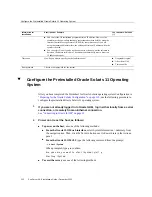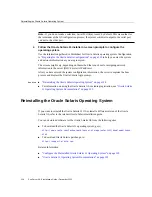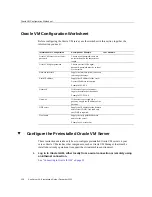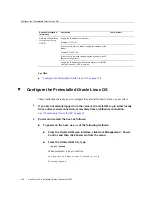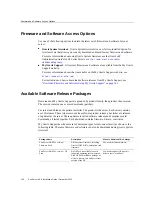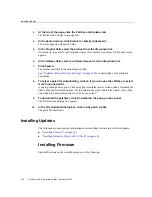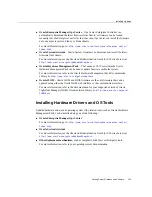
Configure the Preinstalled Oracle VM Server
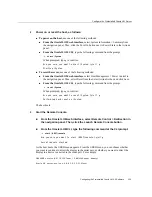
Oracle VM server-ovs serial console (xen-4.0.0 2.6.32.21-41ovs)
4.
Use the up and down arrow keys to select a display option and press Enter.
To pause at the GRUB menu, press any key other than Enter. Then select the option you want to
use and press Enter to continue.
Note -
If you do not select an option on the GRUB menu, after a delay, the GRUB menu is no
longer available and the system continues with the output directed to the serial port.
The menu offers two choices: one for normal booting, and one for serial-console enabled
booting.
5.
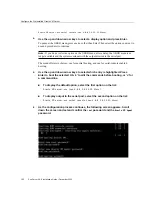
Use the up and down arrow keys to select which entry is highlighted. Press
Enter to boot the selected OS, 'e' to edit the commands before booting, or 'c' for
a command-line.
■
To display the default option, select the first option on the list:
Oracle VM server-ovs (xen-4.0.0 2.6.32.32-41ovs)
■
To display output to the serial port, select the second option on the list:
Oracle VM server-ovs serial console (xen-4.0.0 2.6.32.21-41ovs)
6.
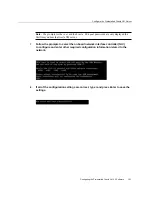
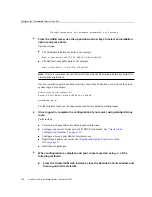
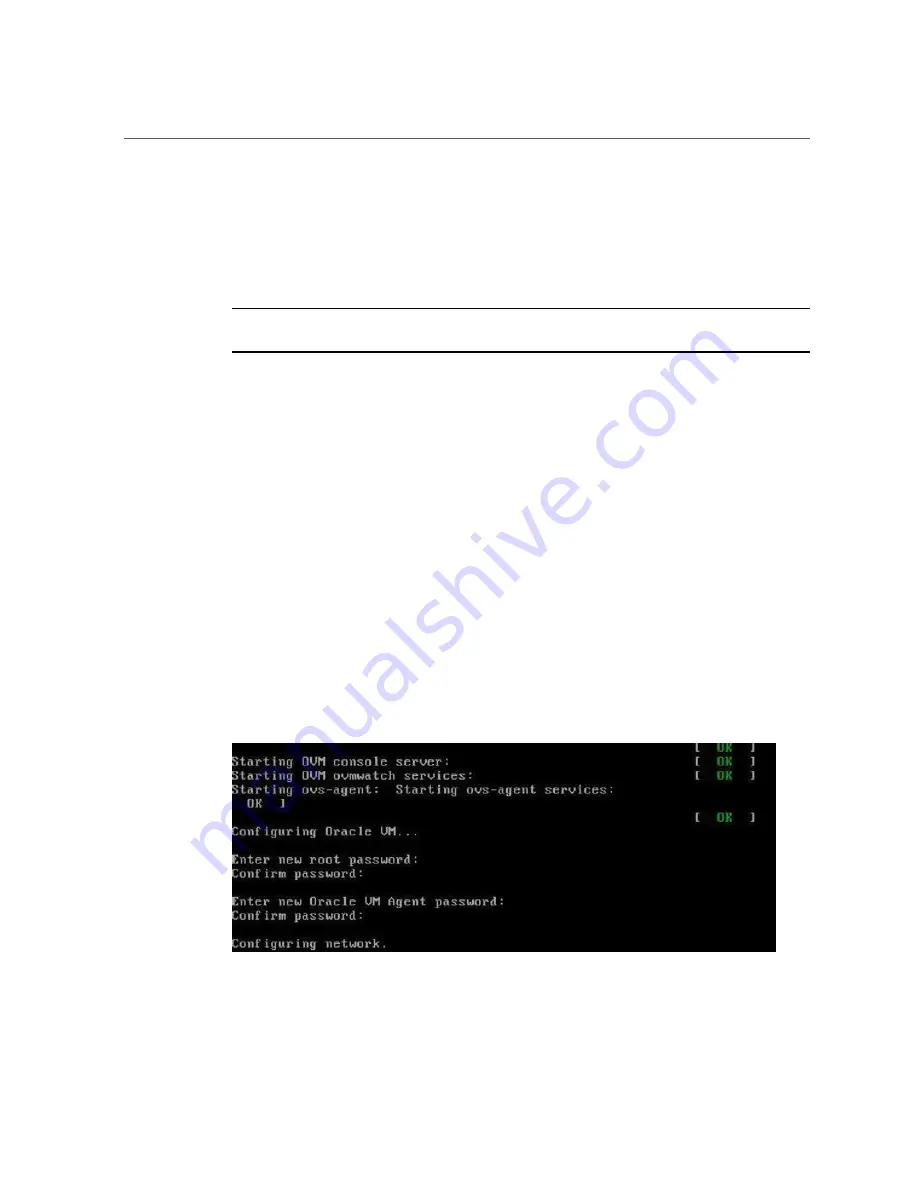
As the configuration process continues, the following screen appears. Scroll
down the screen and set and confirm the
root
password and the
Oracle VM Agent
password.
130
Sun Server X4-8 Installation Guide • December 2015
Summary of Contents for SUN X4-8
Page 1: ...Sun Server X4 8 Installation Guide Part No E40305 07 December 2015 ...
Page 2: ......
Page 12: ...12 Sun Server X4 8 Installation Guide December 2015 ...
Page 24: ...24 Sun Server X4 8 Installation Guide December 2015 ...
Page 30: ...30 Sun Server X4 8 Installation Guide December 2015 ...
Page 70: ...70 Sun Server X4 8 Installation Guide December 2015 ...
Page 80: ...80 Sun Server X4 8 Installation Guide December 2015 ...
Page 126: ...126 Sun Server X4 8 Installation Guide December 2015 ...
Page 138: ...138 Sun Server X4 8 Installation Guide December 2015 ...
Page 144: ...144 Sun Server X4 8 Installation Guide December 2015 ...
Page 154: ...154 Sun Server X4 8 Installation Guide December 2015 ...

