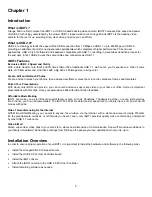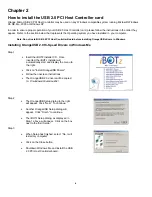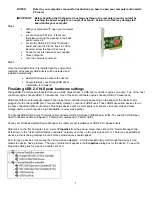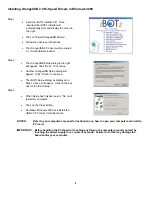
19
Verify the proper installation of the iBOT
2
Drivers
Windows XP
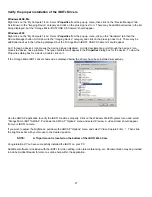
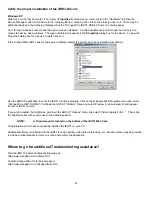
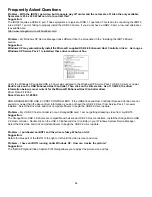
Right click on the “My Computer” icon. Select
Properties
from the pop up menu, click on the “Hardware” tab then the
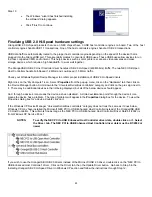
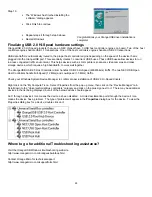
Device Manager button. Scroll down to the “Imaging Device” category and click on the plus sign next to it. There may be
additional devices in the list being displayed, but the “Orange Micro iBOT2 USB 2.0 Camera” should appear.
An X through a device’s icon means the device as been disabled. A circled exclamation point through the device’s icon
means the device has a problem. The type of problem will appear in the
Properties
dialog box for the device. To view the
Properties dialog box for a device, double click on it.
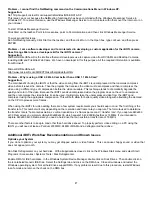
If the Orange Micro iBOT
2
driver shows up as displayed below the drivers have been installed successfully.
Use the AMCAP application to verify the iBOT
2
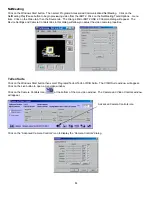
functions properly. Click on the Windows Start/Programs menu and select
“Orange Micro iBOT”/AMCAP. Pull down the AMCAP “Options” menu and select Preview. A video stream should appear
from your iBOT
2
camera.
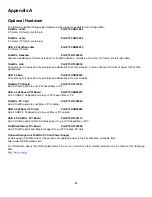
If you wish to adjust the brightness, pull down the AMCAP “Options” menu and select “Video Capture Filter…”. Then slide
the brightness bar with your mouse to the desired position.
NOTE:
A Tripod mount is located on the bottom of the iBOT
2
Web Cam.
Congratulations! You have successfully installed the iBOT
2
on your PC.
Additional software is included with the iBOT
2
for video editing, video teleconferencing, etc. Documentation may be provided
in Adobe Acrobat Reader format or as online help within the application.
Where to go for additional Troubleshooting assistance?
Visit the iBOT Windows troubleshooting web site.
http://www.orangemicro.com/faqs.html
Contact Orange Micro for technical support.
http://www.orangemicro.com/supportform.html

