Wireless Microphone Operation:
Frequency:
The new
ORATOR
wireless UHF microphone system has been
re-designed to meet the Australian Government’s new laws, commencing Jan 1
2015, relating to legal frequencies that can be used for wireless microphones in
Australia. The system has the choice of 100 frequencies, all within the legal
520-694 MHz range. The actual frequency being used is displayed on your
microphone display screen.
Frequency Selection:
The UHF band is not only used for wireless
microphones. Other equipment operating locally on the same frequency may
cause interference. Digital TV is the most common problem for microphones and
as the frequencies used by TV channels varies by location, a frequency that
may work well in one area, may be subject to interference elsewhere. Usually,
once you select a frequency that works well in your area, it shouldn’t need
changing unless you are moving around the country.
Microphone System Operation
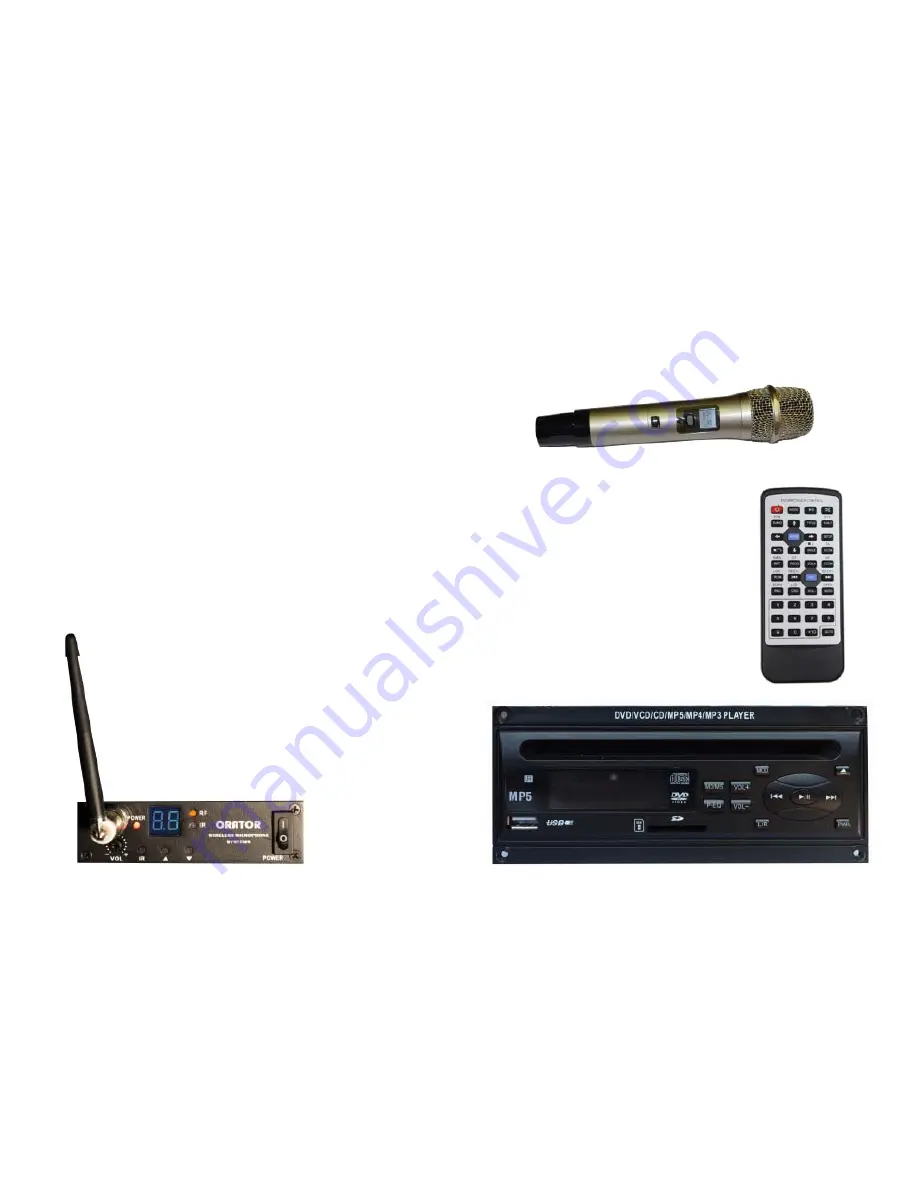
: The receiver module in the
speaker has an on/off switch. It also has an input volume control
knob, connector for the aerial, frequency channel display screen,
and 3 small buttons with Up, Down & IR labels. There are also 2
small LEDs, one labelled RF & 1 labelled IR (see pic). The RF
light will be lit when the microphone & receiver are “paired” on the
same frequency. To change frequency & then “pair” with the
microphone, press the Up or Down buttons to move to another
frequency as required, then press the IR button. The screen will
display a dashed line. The microphone IR receiver (small clear
area below power button) must be held close to the Receiver IR
LED. The system should now be paired. The microphone must be
in position quickly, so if the pairing does not work (if the RF LED
is not bright), then try again.
Microphone Operation:
The microphone is battery operated. Press the Power
button to turn on/off. The frequency will be displayed on the screen. To replace
the battery, remove the bottom black cover by turning the cover anticlockwise.
The microphone uses 2 x AA batteries.
DVD MP5 Operation:
1. This DVD player is compatible with DVD, SVCD,
MP4, WMA, VCD, DVCD, CD and JPG formats.
The operation of the DVD is the same as other
common DVD players.
2. Using the DVD requires additional battery use
and it will reduce the operation time of the battery
speaker, compared to microphone only, bluetooth
or MP3 use.
3. Video (11) and audio (10) output connectors are
available so that the DVD can be be seen & heard
on another device (LED TV, projector, etc) if
required.
DVD Remote


