2-58
INSTALLATION ORBAN
MODEL
9400
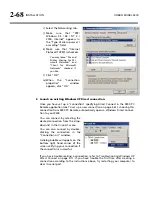
PC. Then click the “Update Now” button on PC Remote.
E)
Navigate to Optimod PC Remote’s
S
ETUP
/
U
TILITY
tab and click the
S
ET
9400
C
LOCK
button.
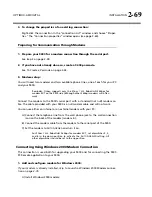
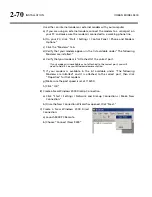
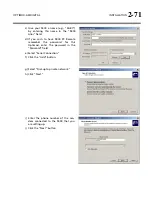
If you are running Windows XP, PC Remote will download your computer’s
currently specified timeserver into your Optimod.
PC Remote will adjust your Optimod’s
O
FFSET
setting to correspond to your
computer’s time zone setting.
PC Remote will synchronize your Optimod’s clock with your computer’s
clock.
F)
It is wise to disconnect from PC Remote and then to press the
S
YNC
N
OW
but-
ton on your Optimod [step (4.B) on page 2-56]. This is to test the ability of
your Optimod to synchronize to the selected timeserver and to ensure that
your Optimod’s clock is set accurately.
NOTE: Manually setting your Optimod’s clock via Set Time, Set Date, Daylight
Time, and the remote contact closure Reset to Hour and Reset to Midnight will
not work when the automatic synchronization function is active. To inactivate
this function (thereby permitting manual setting to work), set the
S
YNC
P
ERIOD
to
O
FF
.
Summary of Contents for Optimod-AM 9400
Page 1: ...Operating Manual OPTIMOD AM 9400 Digital Audio Processor Version 1 2 Software...
Page 7: ...Operating Manual OPTIMOD AM 9400 Digital Audio Processor Version 1 2 Software...
Page 52: ......
Page 204: ......
Page 232: ......
Page 260: ......
Page 261: ...OPTIMOD AM DIGITAL TECHNICAL DATA 6 29...
Page 267: ...OPTIMOD AM DIGITAL TECHNICAL DATA 6 35 CPU Module...
Page 273: ...OPTIMOD AM DIGITAL TECHNICAL DATA 6 41 RS232 BOARD PARTS LOCATOR...
Page 275: ...OPTIMOD AM DIGITAL TECHNICAL DATA 6 43 8300 POWER SUPPLY PARTS LOCATOR...
Page 284: ...6 52 TECHNICAL DATA ORBAN MODEL 9400 DSP BOARD PARTS LOCATOR DRAWING 32170 000 14...
Page 292: ...6 60 TECHNICAL DATA ORBAN MODEL 9400 DISPLAY BOARD PARTS LOCATOR...
Page 293: ...OPTIMOD AM DIGITAL TECHNICAL DATA 6 61 DISPLAY BOARD...


