Página 2 de 6
INSTALLATION
WARNING: The assembly and installation of the electrical apparatus
shall be carried out by an authorised installer.
This equipment must not be installed near inductive loads (contactors,
transformers, transformer substations or industrial machinery etc.).
It is internally protected by a safety circuit against interference; however,
certain especially strong electromagnetic fields may alter its operation.
INSTALLATION
It is design for installation in a distribution cabinet, fitted with 35-mm
symmetrical profile according to EN 60715 (DIN rail).
CONNECTION AND PUTTING INTO OPERATION
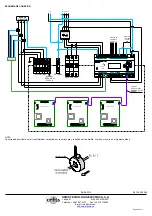
The wiring diagram at the end of these instructions is an example of
when the XEOLUM MODULAR is used with an ESDONI stabiliser-
reducer.
XEOLUM MODULAR power supply is independent of the ESDONI
power supply, it is therefore necessary to supply power from the board
(see the
Technical Specifications
).
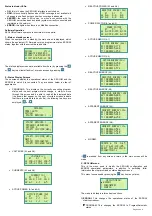
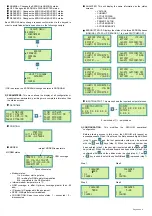
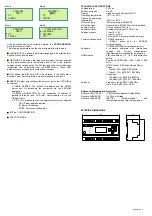
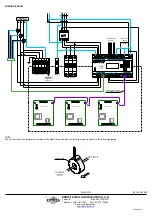
•
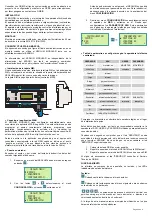
SIM Card Installation:
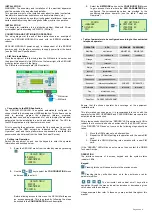
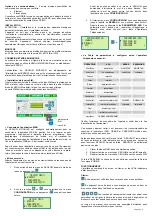
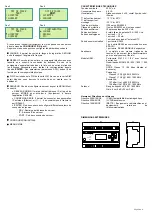
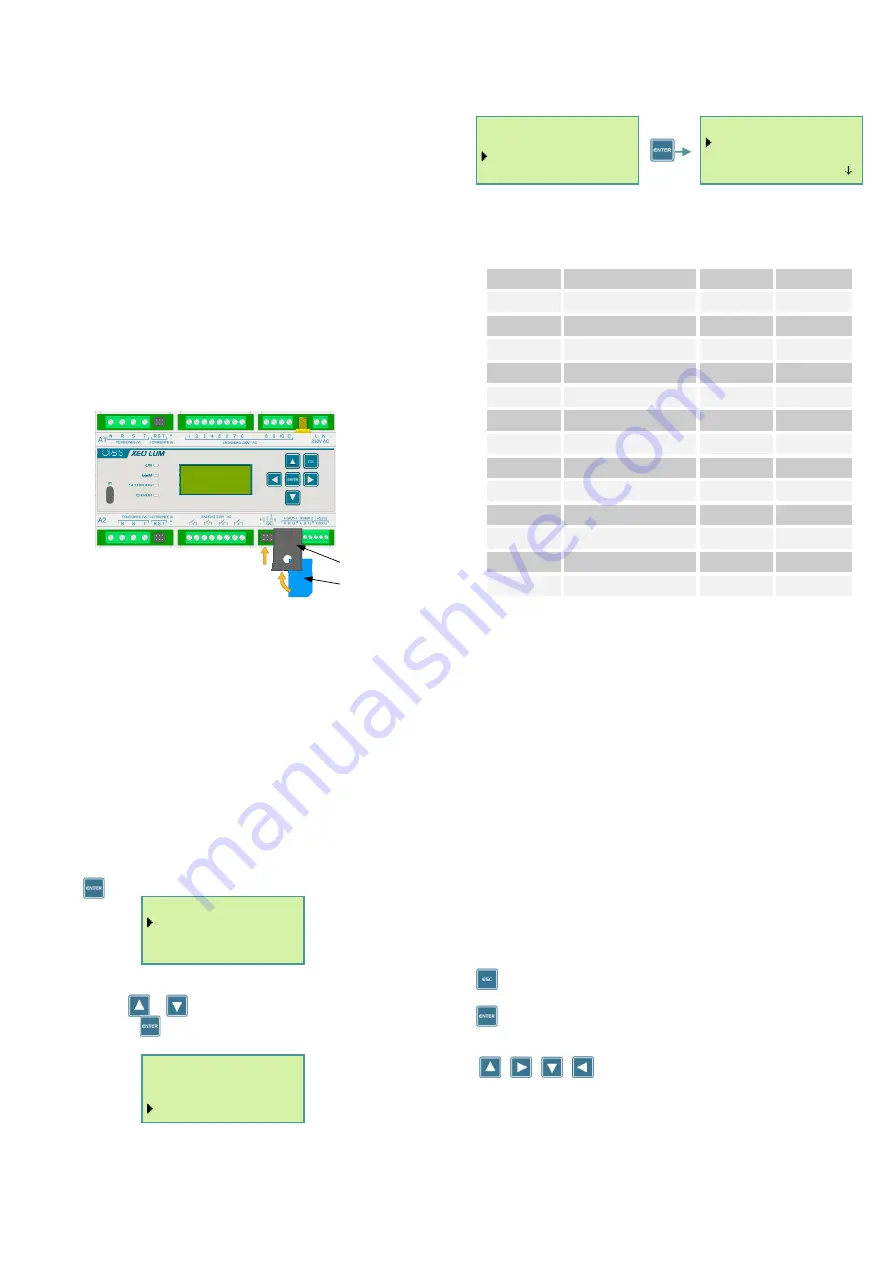
Once the equipment is fully wired, place the SIM card in its carrier and
then insert this assembly into SIM slot on the lower right of the XEOLUM
modular, just as shown in the figure.
The SIM card must accept data (M2M contracts).
•
Connection to the WEB Application
The XEOLUM MODULAR is supplied automatically configured to
connect itself to the management WEB application. This software can be
used to remotely program the equipment (alarms, programs,
geographical zone and input operation etc) and to display the electrical
parameters for the installation in a quick and easy fashion. The URL for
the WEB application is http://xeolum.orbis.com.es
Prior to opening the application, ensure that the equipment is correctly
connected to the GSM network as indicated in the “Putting into
Operation” point and that a platform access password is available (this
password can be obtained from the Orbis Technical Service).
•
Putting into Operation:
Switch the equipment on and use the keypad to enter the operator
information as described below:
1.
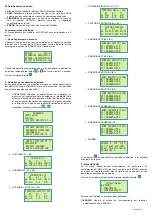
Enter the XEOLUM menu from the standby mode by pressing
.
2.
Use the
or
key to select the
CONFIGURATION
menu
and press
to enter it.
Before allowing access to this menu, the XEOLUM will require
an access password. This is entered by following the steps
described in the
CONFIGURATION
menu description.
3.
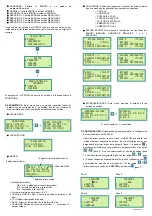
Select the
NETWORK
option on the
CONFIGURATION
menu
to gain access. Here is where the
APN PARAMETERS
are
configured. The corresponding values are provided by the
contracted telephone operator (see the table “Telephone
Operators”).
•
Table of parameters to be configured according to the contracted
telephone operator:
OPERATOR
APN
USERNAME
PASSWORD
MoviStar
movistar.es
MOVISTAR
MOVISTAR
Vodafone
ac.vodafone.es
vodafone
vodafone
Orange
internet
Yoigo
internet
Simyo
gprs-service.com
Jazztel
jazzinternet
Másmovil
internetmas
Pepephone
gprs.pepephone.com
Euskaltel
internet.euskaltel.mobi
CLIENTE
EUSKALTEL
Telecable
internet.telecable.es
telecable
telecable
Ono
internet.ono.com
R
internet.mundo-r.com
Carrefour
CARREFOURINTERNET
Ensure that the chosen operator has coverage at the equipment
installation site.
This information can change, so it is recommended to check with the
operator for the APN, USERNAME and PASSWORD that are required to
establish a data connection.
After a few seconds check that the “SERVER” LED is permanently ON to
indicate that a connection has been achieved with the XEOLUM server.
If the “SERVER” LED does not come on the following steps should be
taken:
1.
Move the GSM antenna to a better position.
2.
Repeat the XEOLUM putting into operation with the same SIM
card.
3. Repeat the XEOLUM putting into operation with a new SIM
card.
If the “SERVER” LED still does not come on then contact the ORBIS
Technical Service.
OPERATION
The interface consists of a screen, keypad and the system status
indicator LEDs.
Keypad:
Pressing this key will cause a return to the previous menu.
Pressing this key will either move on to the next menu or enter
parameter edition.
The horizontal and vertical scroll keys allow
navigation through the menus as well as increase or decrease a given
value when within a submenu.
Usage examples that refer to these keys are provided throughout this
manual.
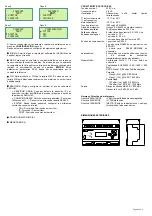
Xeolum menu
ESDONI
> parameters
> config
Xeolum menu
> ESDONI
> parameters
config
config
> LANGUAGE
NETWORK
> PIN
APN settings
MOVISTAR ES
> VODAFONE ES
> VODAFONE
SIM card
SIM carrier

