35
35
35
35
34
34
34
34
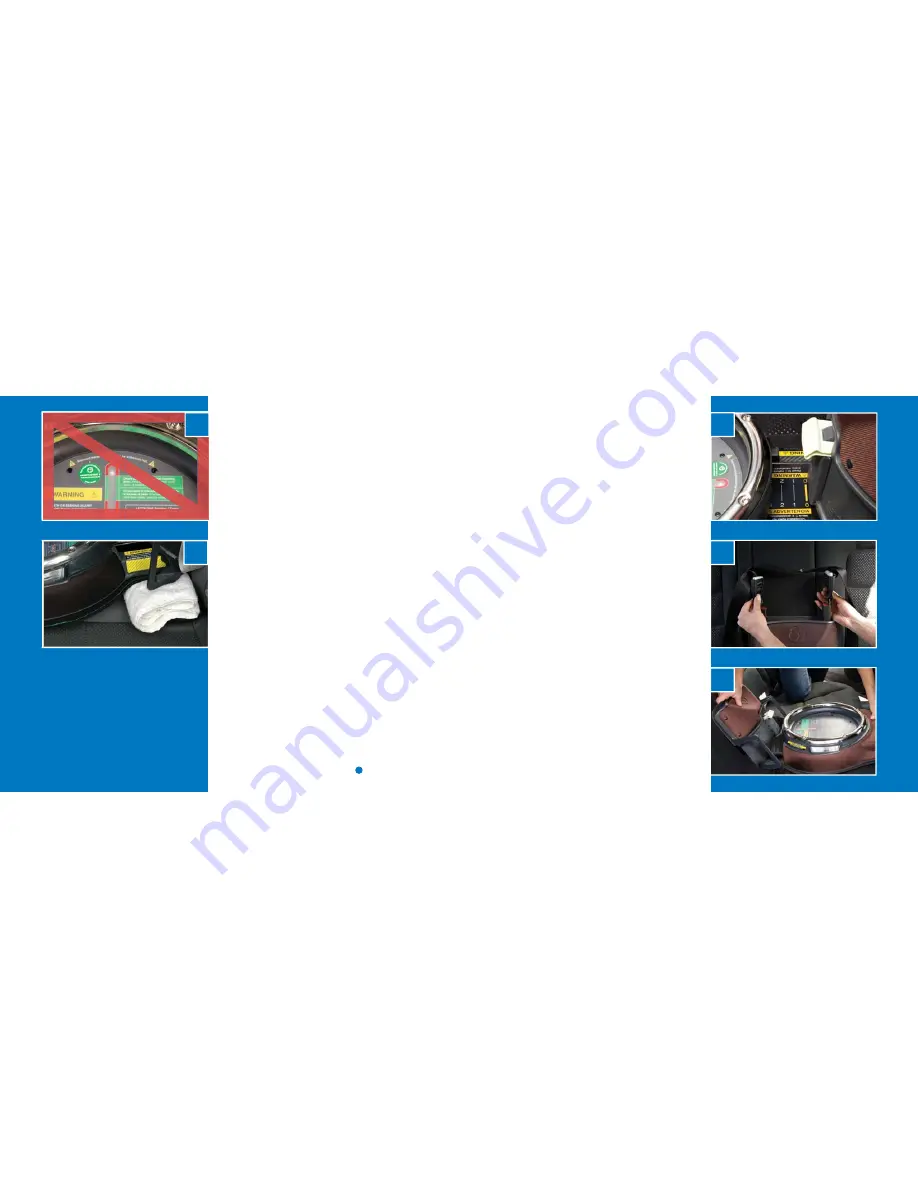
14. If the ball is not in the green zone
(Photo L), remove the Base, re-install it
by repeating Steps 2 - 13. If the Base
cannot be secured tightly with the
ball in the green zone, try any of the
following:
a) Remove the Base. Position a
rolled towel under the Base,
making sure the front of the Base
contacts the vehicle seat (Photo
M), and repeat Steps 2 to 13. The
towel should be compressed as
the StrongArm tightens the Base
into place.
b) Try installing the Base in a
different seating position.
c) Contact your vehicle dealer for
assistance and possible LATCH
modifi cation parts.
d) Seek assistance from one of
the resources in the “Need Help
Securing Your Orbit Base?”
section (page 27).
Installing the Base: With LATCH
System
cont’d
Before installing the Orbit Base with
vehicle seat belts, please read the “Use
Recommendations,” starting on page 12.
1. Install the Orbit Base without the Orbit
carseat docked. If it is attached, fi rst
remove the Orbit carseat.
2. CHECK that the Base StrongArm is reset
to zero (Photo N). If not, then turn the
StrongArm Knob counterclockwise until
the zero is visible.
3. Remove the LATCH Belt from the Lock-
Off Clamp. (Note: The LATCH Belt is
permanently tethered to the Base). Store
the LATCH Connectors in the Base when
they are not in use (Photo O). Each
LATCH Connector will CLICK securely
into its own storage slot.
4. Place the Base in the vehicle seat
(Photo P), making sure the areas
under and behind the Base are clear of
obstructions.
Installing the Base:
With Vehicle Seat Belts
Installing Y
our Orbit Base
Installing the Orbit Base
N
O
P
L
M
Summary of Contents for Base
Page 1: ...Base Manual ...
Page 24: ...46 46 Notes Notes ...


