5
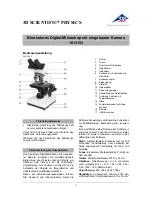
F. Arm –
This curved piece is the “backbone” of the microscope and holds everything together. You
can tilt and adjust the angle of this arm to set the most comfortable viewing position.
G. Stage –
The stage is the flat platform that supports your slides for viewing.
H. Slide clips –
The two clips on the stage hold your slide in position so that it doesn’t move around
while you are looking at it.
I. Mirror –
The mirror aims light from a bright source, like a window or a table lamp, upward through
the slide you are studying so you can see it more clearly.
J. Electric illuminator –
When there is not enough light available for the mirror to fully illuminate your
slide, you can turn the mirror over and use the bright electric illuminator bulb as your light source.
K. Base (battery compartment) –
The base provides a solid support for your microscope. It also
holds the batteries for the electric illuminator. See the first section in ‘Getting Started’ for instructions
on installing and changing the batteries.
Helpful Hints
1) The most important parts of your microscope are the lenses. Handle them with care. If the lenses
are dirty or dusty you can clean them with a soft cotton cloth or a special lens-cleaning tissue. Do
not wipe them with a finger or a regular facial tissue.
2) Always store your microscope in its protective storage case.
Getting Started
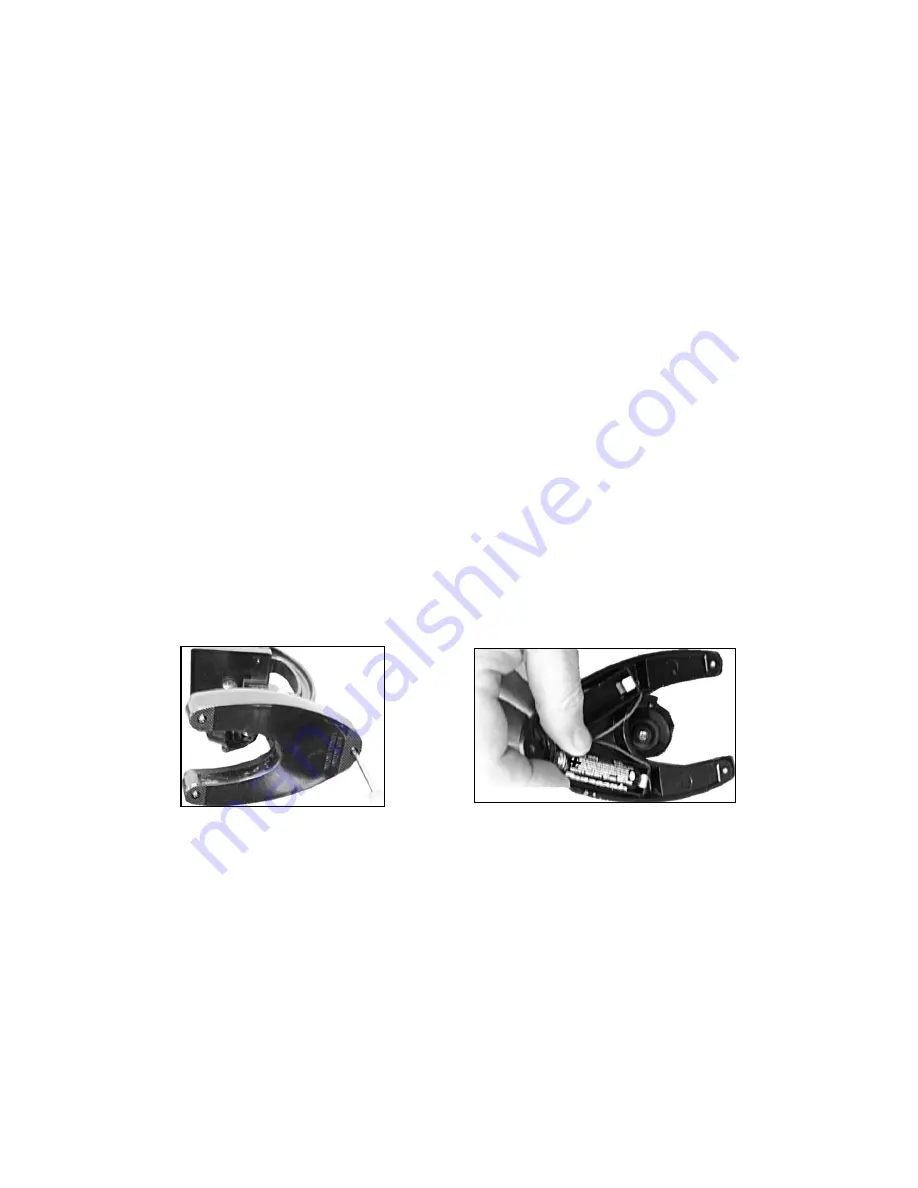
1) You will need to insert two AA alkaline batteries in the base of the microscope. First, you must
remove the rubber antiskid bottom cover to access the battery compartment. You will need to use
a Phillips-head (+) screwdriver to remove the two screws on this bottom cover. Once the cover is
removed, insert the batteries as shown, making sure that the (+) and (-) terminals are properly
aligned. Replace the cover and re-insert the screws. Do not overtighten.
2) Place the microscope on a flat surface near a bright light or window. There is no need to insert a
slide just yet. Adjust the angle of the mirror so that when you look into the eyepiece you see a
bright circle of light.
Do not point the mirror toward the sun as eye damage may result
. If
there is no bright light available, or if the room lighting is poor you can use the microscope’s
electric illuminator. To turn on the illuminator flip the mirror over so that the light bulb is aimed
upward. The light will come on by itself. Look through the eyepiece and adjust the angle of the
light until you see a bright circle.


