13
OPERATION
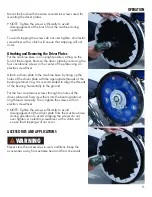
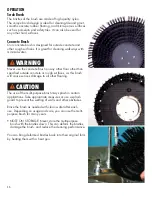
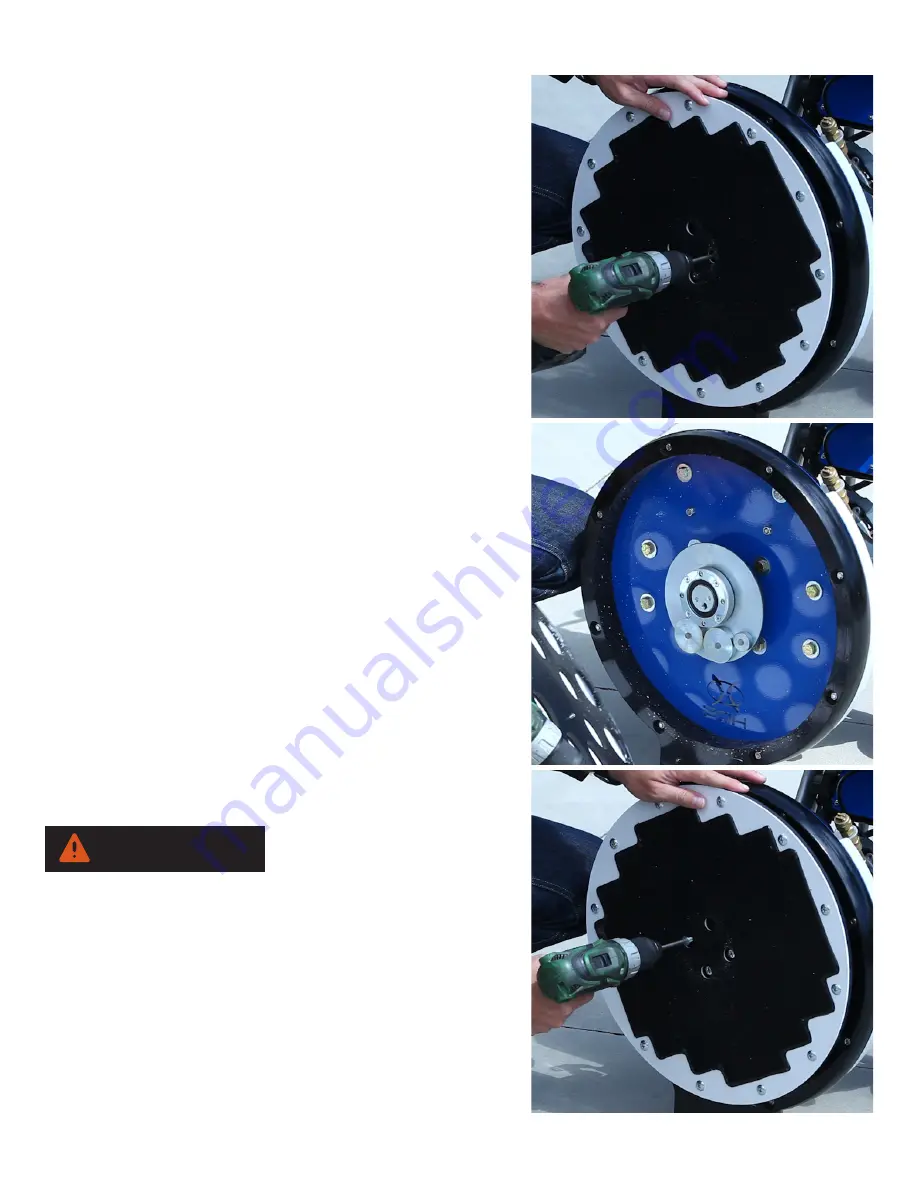
Mount the brush with the same countersink screws used for
mounting the driver plates.
•
NOTE: Tighten the screws sufficiently to avoid
disengagement of the brush from the machine during
operation.
To avoid stripping the screws do not over tighten. An electric
screwdriver with a clutch will ensure that stripping will not
occur.
Attaching and Removing the Driver Plates
Put the machine base in an upright position, sitting on the
foot of the bumper. Remove the driver plate by removing the
four countersink screws in the center of the plate using an
electric screwdriver.
Attach a driver plate to the machine base by lining up the
holes of the driver plate with the appropriate threads of the
bearing retainer ring. It is recommended to align the threads
of the bearing horizontally to the ground.
Put the four countersink screws through the holes of the
driver plate and first screw them into the bearing retainer
ring threads manually. Then, tighten the screws with an
electric screwdriver
•
NOTE: Tighten the screws sufficiently to avoid
disengagement of the driver plate from the machine base
during operation.To avoid stripping the screws do not
over tighten. An electric screwdriver with a clutch will
ensure that stripping will not occur.
ACCESSORIES AND APPLICATIONS
WARNING
Never store the accessories in wet conditions. Keep the
accessories away from extreme heat and from chemicals.
Summary of Contents for SPRAYBORG
Page 1: ...OPERATING MANUAL ENG V052015 ...
Page 19: ...19 PARTS ...
Page 21: ...21 PARTS ...
Page 23: ...23 PARTS ...
Page 25: ...25 PARTS 1 2 ...
Page 27: ...27 PARTS ...
Page 29: ...29 PARTS ...
Page 31: ...31 PARTS 13 ...
Page 33: ...33 PARTS 2 1 ...
Page 35: ...35 PARTS ...
Page 37: ...37 PARTS ...
Page 39: ...39 NOTES ...

