33
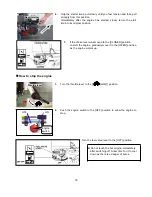
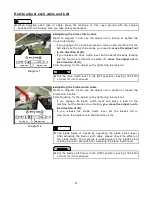
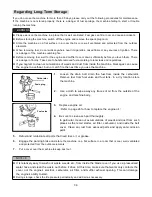
Adjust nut
1/8 in
1/8 in
Lock Nut
Diagram 7
※
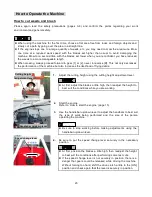
During the adjustment of wires, please make sure that the wire
goes inside 1/8 in when be pushed by finger at arrow points. Do
not tighten wires too much. [Refer to Diagram 7]
1.
Please make sure that the machine runs perfectly at each
speed.
2.
After adjusting, fix the adjust nut by tightening the lock nut.
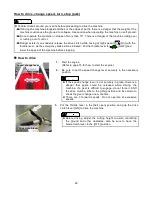
■Adjusting the blade belt
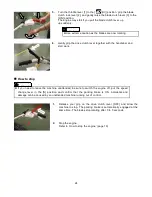
Make sure that the blade belt is always in a state of tension.
Refer to diagram 6 and follow the steps below to adjust the belt
tension when you replace the belt or if the belt slips when a load is
placed on the machine.
1.
Push the center of the belt with your finger and tighten the a djust
nut so that there is 1/8-3/16 in of clearance.
2.
After adjusting, fix in place by tightening the lock nut.
■Adjusting the drive/middle belt guard
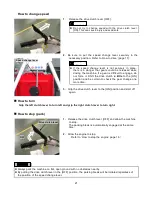
If you replace the belt, refer the diagrams 7 and 8 for how to adjust the
tension of the belt and belt guard.
Adjust the drive and blade clutch levers to the
[ON]
position.
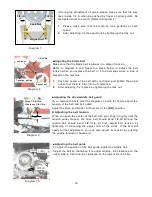
Adjusting the belt tension
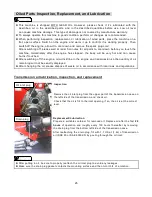
When you push the center of the belt with your finger (roughly until the
tension pulley moves), the drive belt should bend 1/2-9/16in and the
middle belt should bend 3/8-1/2in. At first, adjust belt tension by
tightening or loosening the adjust nuts of the wires. If the belt still
needs further adjustment, you can also adjust its tension by pushing
the engine forward or backward.
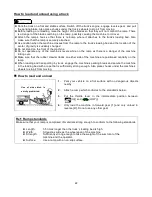
■Adjusting the belt guide
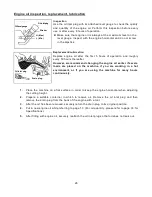
To adjust the position of the belt guide, adjust the middle belt.
Adjust the belt so that when it is under tension, the clearance on the
upper side is 1/8in and the clearance on the lower side is 3/16in.
Diagram 9
Drive 1/2-9/16in
Clearance 3/8-1/2in
Diagram 8
1/8-3/16in
Lock nut
Tension
pulley
Adjust nut
1/8in
3/16in
Diagram 10

