EN
9
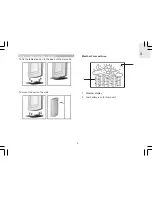
It is recommended that you use alkaline
batteries with this product for longer performance.
UNIT
LOCATION
Main
Weather Forecast Area
Remote
Temperature / Humidity Area
CHANGE SETTINGS
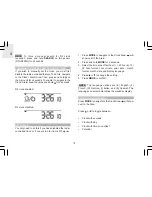
1. Press
MODE
to switch between Areas.
indicates
the selected Area.
2. Most Areas have alternate display options (for
example, Clock / Calendar). Press or to switch
options, or
/ to switch between clock and alarm.
3. Press and hold
MODE
for 2 seconds to enter setting
mode.
4. Press or to change settings.
5. Press
MODE
to confirm.
NOTE
REMOTE SENSOR
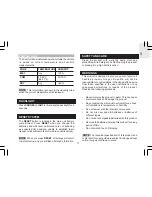
This product is shipped with the RTGR328N Thermo /
Hygro Sensor. The main unit can collect data from up to
5 Thermo / Hygro Sensors. The main unit is compatible
with the following sensors:
THGR228N, THGR328N, THR228N, THR328N,
THWR288.
(Additional sensors are sold separately. Contact your
local retailer for more information.)
The RTGR328N Sensor collects temperature and
humidity readings, and signals from official time-keeping
organizations for the radio-controlled clock.
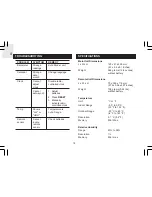
SET UP THERMO / HYGRO SENSOR (RTGR328N)
1. Open the battery compartment with a small Phillips
screwdriver.
2. Insert the batteries.
3. Set the channel and radio signal format. The switches
are located in the battery compartment.
SWITCH
OPTION
Channel
If you are using more than one
sensor, select a different channel
for each sensor.
Radio Signal
EU (DCF) / UK (MSF)
Format


