EN
NOTE:
The LCD is automatically off when your camera is connected
to the PC or Macintosh.
To transfer files from your camera to your computer:
1. Turn on your PC or Macintosh and allow your system's operating
system to boot.
2. Connect the camera to your PC or Macintosh using the USB
cable. Once connected, the camera's status LED will blink.
3. The camera will then appear as a Removable Disk drive on your
PC's My Computer screen.
NOTE:
When you connect your digital camera to your Macintosh, it
will appear as a drive icon on the desktop (i.e. Untitled). Click on it to
access the images and movies that are stored on your camera.
1. Double-click on the "Removable Disk" drive. Two folders, [DCIM]
and [MISC], are now visible. Ignore the [MISC] file (it contains
DPOF information) and double-click on the [DCIM] folder.
2. A new subfolder is now visible, [100DSHOT]. It contains all
images stored as .JPG files, and movie clips as .ASF files.
3. You can double-click on the images and movies to view them.
These files can also be deleted, copied, or moved like normal
computer files (drag and drop).
DISCONNECTING THE CAMERA FROM THE PC
For PC users with Windows ME, 2000, or XP operating systems, the camera
device driver should be stopped before disconnecting the USB cable.
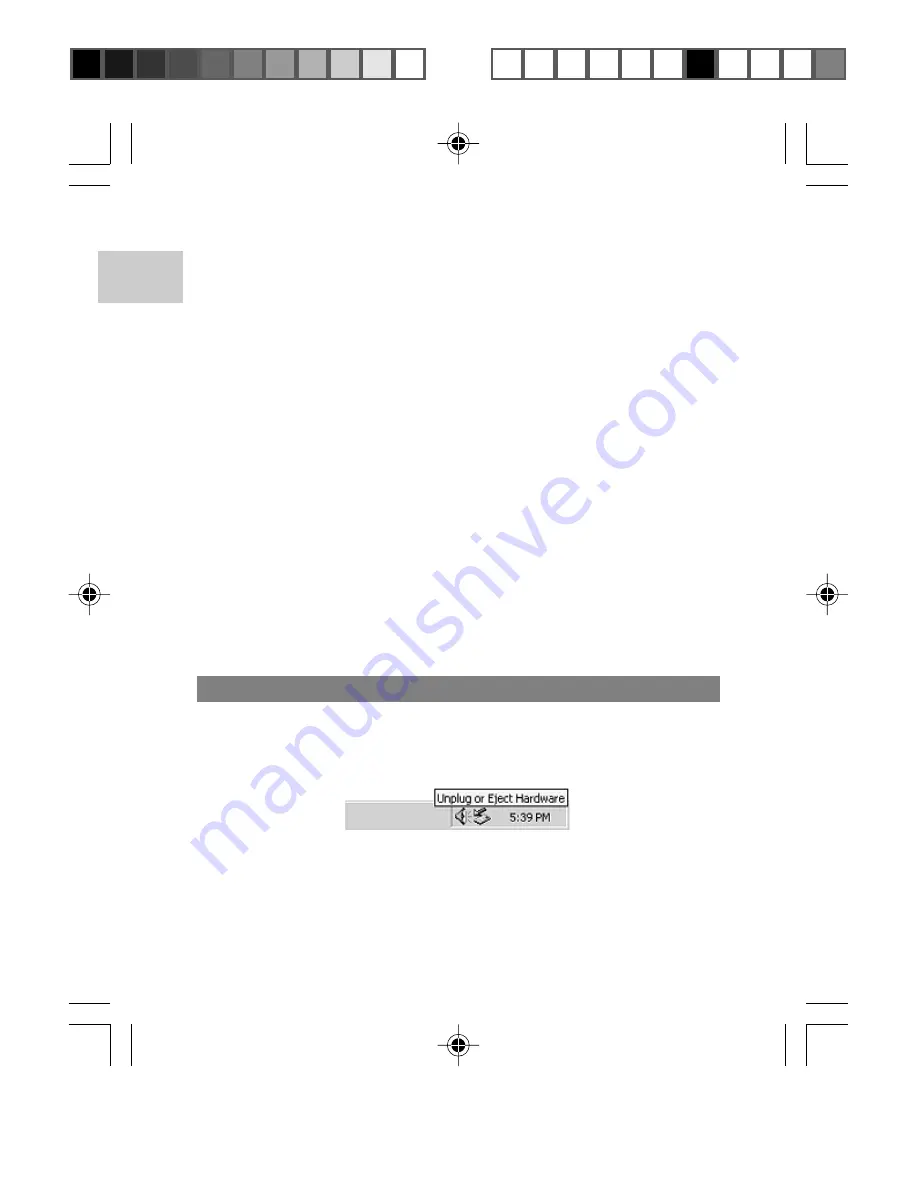
1. Find the "Unplug or Eject Hardware" icon in your Windows
system tray.
33
2. Right-click on the icon. The "Stop USB Disk" option will pop up.
Highlight and left-click on the option.
3. A pop-up window will inform you that the USB device can now
be safely removed.
4. Disconnect the USB cable from the camera and/or from the PC.
DS8618 EngManl r20(V1.1) OP
11/17/04, 2:39 PM
34
¶´ƒ


