


DE
3
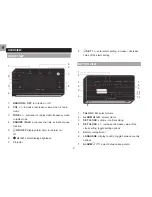
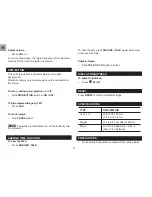
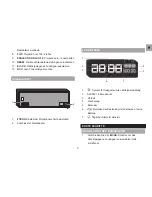
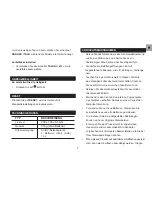
Radioalarm wechseln
8.
FLIP
: Projektion um 180
°
drehen
9.
PROJECTION ON / OFF
: Projektion ein- / ausschalten
10.
RESET
: Gerät auf Standardeinstellungen zurücksetzen
11.
EU / UK
: Nächstgelegenes Funksignal auswählen
12.
RCC
: nach Funkzeitsignal suchen
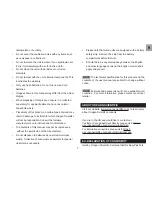
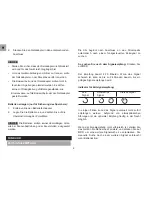
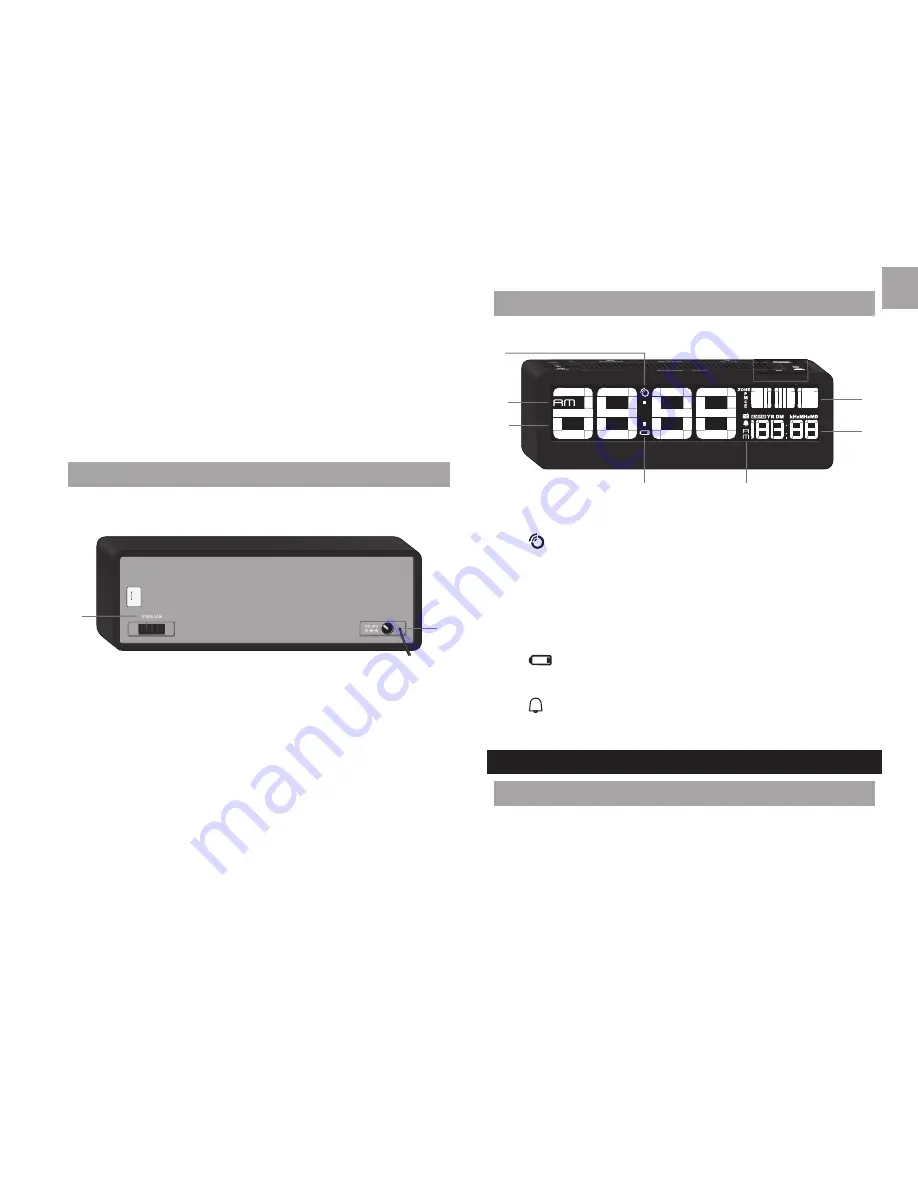
RÜCKANSICHT
1
2
1.
FOCUS
-Einstellrad: Projektionsschärfe einstellen
2. Anschluss für Netzadapter
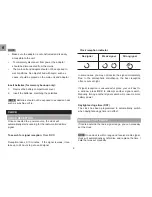
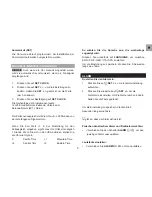
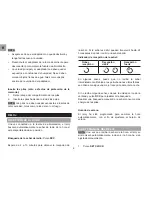
LCD-ANZEIGE
1
2
3
4
5
6
7
1. : Symbol für funkgesteuerten Zeitsignalempfang
2. AM/PM: 12-Stundenuhr
3. Uhrzeit
4. Wochentag
5. Kalender
6.
: Batterien der Basiseinheit sind schwach / keine
Batterie
7. : Täglicher Alarm ist aktiviert
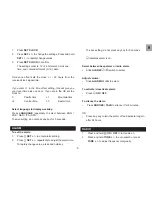
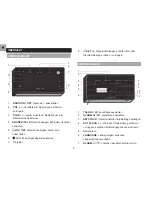
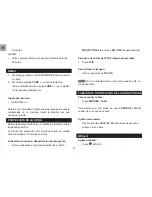
ERSTE SCHRITTE
INSTALLATION DER BASISEINHEIT
1. Verschieben Sie den
EU/UK
-Schalter, um das
nächstgelegene Funksignal auszuwählen (falls
zutreffend).
Summary of Contents for EasyPlus EC101
Page 1: ...EasyPlus Talk o Clock Model EC101 USER MANUAL...
Page 66: ...1 FM EC101 2 2 2 3 3 3 3 4 4 4 5 5 5 6 6 6 6 6 Oregon Scientific 7...
Page 67: ...2 1 2 3 4 5 6 7 8 1 2 3 4 5 6 7 8 180 9 10 11 1 2 3 4 5 6 7 8 1 2 3 4 5 6 7 8 9 10 11 12...
Page 68: ...3 12 RCC 1 2 1 2 12 3 4 5 6 7 1 2 1 2 1 2 1 2 3 4 5 6 7...
Page 69: ...4 RCC 2 10 24 RCC DST 1 2 3 12 24 23 1 0 1 2 3 5...
Page 70: ...5 1 2 5 8 24 1 2 180...
Page 71: ...6 x x 200 x 105 x 65 7 9 x 4 1 x 2 6 514 18 1 AC DC 6V 2 UM 4 AAA 1 5 V Oregon Scientific...
Page 80: ...1 FM EC101 2 2 2 3 3 3 3 4 4 4 5 5 5 6 6 6 6 6 Oregon Scientific 7...
Page 82: ...3 1 2 1 2 12 3 4 5 6 7 1 2 1 2 1 2 1 2 3 4 5 6 7...
Page 83: ...4 RCC 2 10 24 RCC DST 1 2 3 12 24 23 1 0 1 2 3 5...
Page 84: ...5 1 2 5 8 24 1 2 180...
Page 85: ...6 x x 200 x 105 x 65 7 9 x 4 1 x 2 6 514 18 1 AC DC 6V 2 UM 4 AAA 1 5 V Oregon Scientific...


