
6
EN
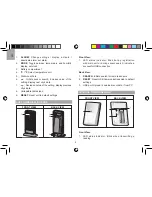
Communications Hub and main unit, minimizing
obstructions such as doors, walls and furniture.
• Place the sensor out of direct sunlight and moisture.
• Place the sensor in a location with a clear view to the
sky, away from metallic / electronic objects.
• Position the sensor close to the USB Communications
Hub and main unit during cold winter months as below-
freezing temperatures may affect battery performance
and signal transmission.
TIP
The transmission range may vary depending on
many factors. You may need to experiment with various
locations to get the best results.
NOTE
Use alkaline batteries for longer usage and
consumer grade lithium batteries in temperatures below
freezing.
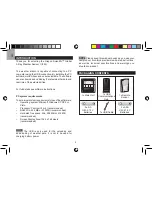
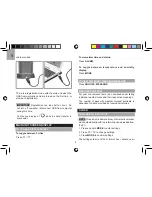
SET UP MAIN UNIT
1. Remove the battery compartment cover.
2. Insert the batteries, matching the polarities.
3. Press
RESET
after each battery change.
NOTE
Batteries should not be exposed to excessive heat
such as sunshine or fire.
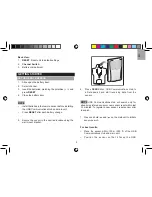
SET UP SOFTWARE (FIRST TIME USE)
WINDOWS XP
To install software:
1. Run CD software provided.
2.
Setup wizard
dialogue box will appear and guide you
through the installation process.
3. After successful installation, double click on
desktop shortcut.
4. Click
DISPLAY
in
Oregon Weather Station
dialogue
box.
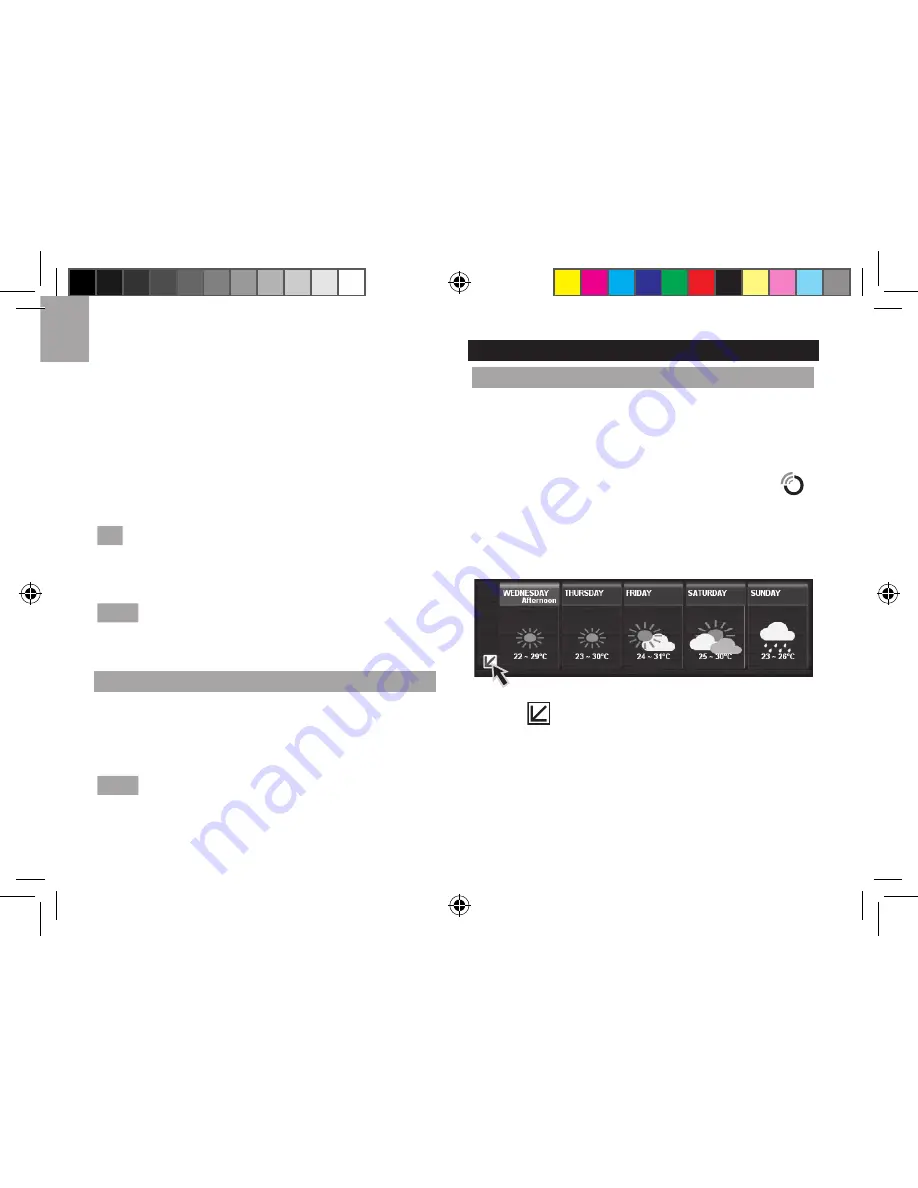
Select Cities:
5. Click
next to 5 day weather forecast.
6. On the new page that appears, there will be cities set
as default. To change, click
CHANGE
.
7. In the
Settings…
dialogue box,
City
tab, select cities
in the drop down menus (Region; Country / Area; City
/ US Zip).
8. Click
OK
.