


GB
4
SAFETY AND CARE INSTRUCTIONS
Safety Precautions
Please observe the following safety precautions when setting
up and using this product.
• LCD panel - The LCD panel is made of glass, and may
break if the unit is dropped or impacted.
• Heat sources - Keep the product away from heat sources
such as radiators, stoves, heaters, and other
heat-generating products.
• Water and moisture - Do not use the product in or near
water or in high moisture areas such as a bathroom.
Caring for your Product
To ensure you receive the maximum benefit from using this
product, please observe the following guidelines.
• Cleaning - Use a damp cloth. Do not use liquid cleaning
agents, benzene, thinner, or aerosols.
• Ventilation - The vents and other openings are designed
for ventilation, and should not be blocked or covered.
Blocking the vents can cause the product to overheat, and
can damage the unit.
• Repair - Do not attempt to repair the product or modify the
circuitry by yourself. Contact the retailer or a qualified
repairman if the product requires servicing. Only use
replacement parts that are recommended by the
manufacturer.
• Do not scratch hard objects against the LCD display as this
may cause damage.
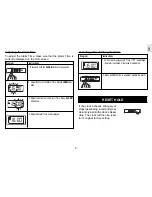
GETTING STARTED
Unpacking the product
When you unpack your clock, make sure to keep all the packing
materials in a safe place, in case you need to later transport or
return it for servicing.
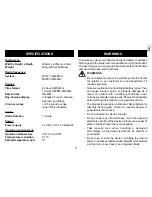
In the box, you will find:
Clock unit
Batteries
User manual


