ENGLISH
FRENCH
GERMAN
IT
ALIAN
SP
ANISH
ENGLISH
FRENCH
GERMAN
IT
ALIAN
SP
ANISH
POR
TUGUESE
POR
TUGUESE
[
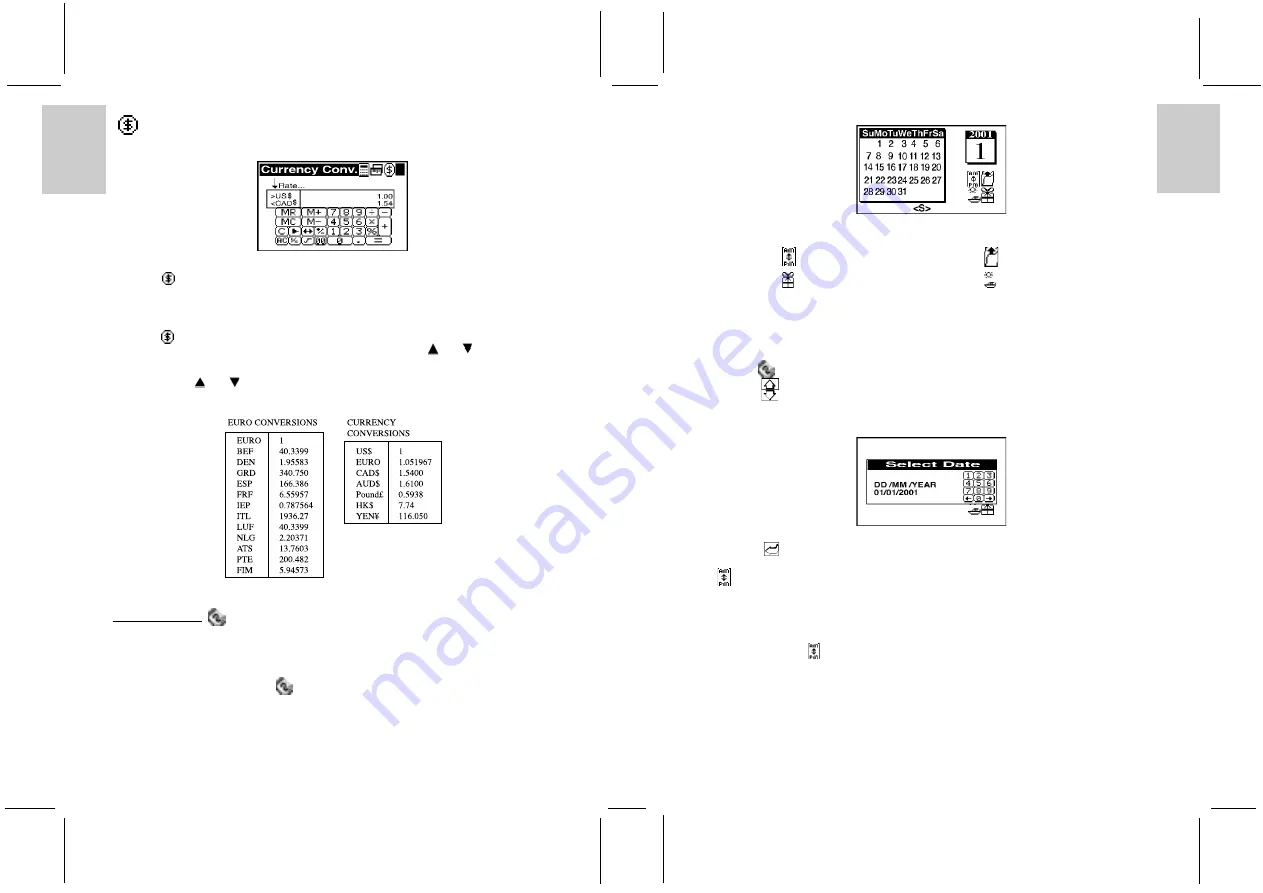
] CURRENCY CONVERSION
The unit provides 19 currencies (include 12 Euro fixed rate) plus 4 user editable currencies from which
currency conversions can be made.
To set a currency rate:
1. Touch [
] Currency Conversion (located on the first line of display) to enter Currency Conversion
Display.
2. Touch [Rate] to edit the currency rate.
To convert a given amount of currency to another currency:
1. Touch [
]Currency Conversion on the first line of display to enter the Currency Conversion Display.
2. Touch the line starting with [>] and select the source currency. Use the [
] or [
] to move upwards
or downwards to select the desired currency.
3. Touch the line starting with [<] to select the target currency.
Again, use the [
] or [
] to move up or down to select the desired currency.
4. Input the value to be converted.
5. Touch [=] to get the conversion result.
15. CALENDAR [
]
Use the Calendar in the same way that a day timer or scheduler is used to organize and manage individual
schedules.
To access Calendar Mode:
1. In the Main Menu Display, touch [
] Calendar.
The Calendar Display has 4 function icons.
1: [
] Schedule
2: [
]
Delete Past Schedule record
3: [
]
Anniversary
4: [
]
Holiday Reminder
VIEWING PAST OR FUTURE DATES
Past and future date can be viewed in a variety of ways.
To view a past or future month in the current year:
1. Enter [
] Calendar Mode.
2. Touch [
] Page Up to select the previous calendar months.
3. Touch [
] Page Down to select future calendar months.
An alternate method of viewing past or future date:
1. Touch the month and year position on the screen.
2. Input the date.
3. Touch [
] Enter to confirm.
[
] DAILY SCHEDULER
Use the Daily Scheduler to manage various activities during a given day, for example, schedule
appointments or indicate an important time.
To input Daily Schedules:
1. In Calendar Mode, locate the desired day.
2. Touch the day or [
] Daily Schedule.
Note: If no schedules have been made for that day, a“No Record” message will be displayed .
3. Touch the time bar at the top of the display to enter the time duration of the appointment. Touch the
arrows at each end to locate the appropriate time.
4. Touch the appropriate position (1 hour duration) to identify the beginning of the time period.
20
21


