ENGLISH
FRENCH
GERMAN
IT
ALIAN
SP
ANISH
ENGLISH
FRENCH
GERMAN
IT
ALIAN
SP
ANISH
POR
TUGUESE
POR
TUGUESE
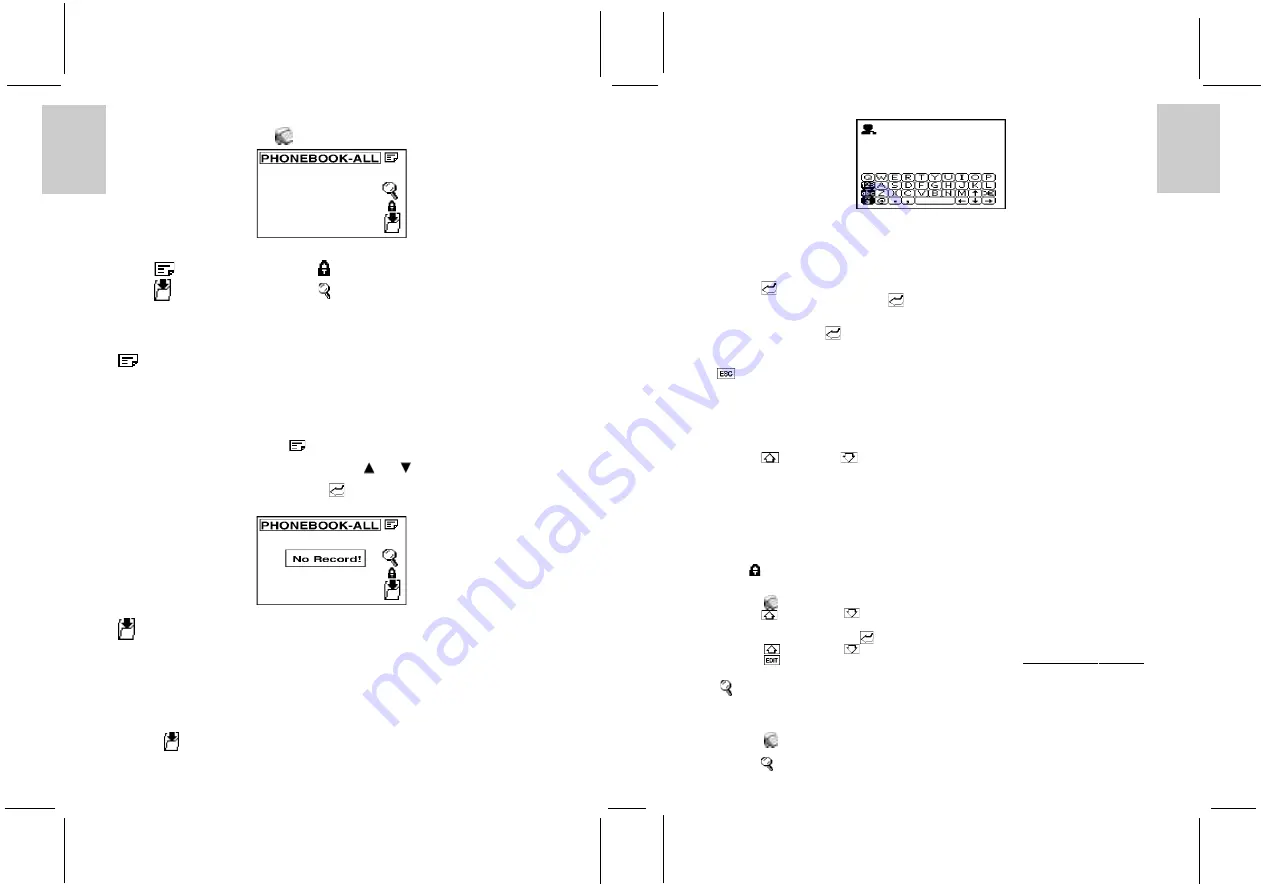
To enter Phonebook Mode:
1. In the Main Menu Display, touch [
] Phonebook
There are 4 function icons on the display.
1: [
]
Category
2: [
]
Lock
3: [
]
New Record
4: [
]
Search
To enter one of the phonebook’s four (4) subsections:
1. Touch the appropriate icon.
[
] CATEGORIES
Phonebook data is divided into three categories: Business, Friends, Others. In addition, an special
category ‘All’ is provided to display all the data within the categories.
Note: The default category is ‘All’ after system reset.
To select a subdirectory:
1. Enter Phonebook Display and touch [
] Category to view a pop-up menu with the name and icon
of the four categories.
2. Touch one of the four categories to highlight it or touch [
] or [
] to move upwards or downwards
through the pop-up menu.
3. Touch the highlighted category again or touch [
] Enter to accept the choice.
If there is no record for the selected category, the message ‘No Record’ will be displayed.
[
] CREATE A NEW RECORD
The Phonebook contains twelve text fields for which information can be stored. Input information into
desired fields.
The fields are: Name, Telephone Number, Home Address, Company Name, Company Telephone Number,
Company Address, Company Fax Number, Email Address, Mobile Phone Number, Job Title, Birthday,
and Remark.
To insert a new record:
1. Touch [
] to start editing a new record.
10
Note: There are three keyboard maps, each with a specific use.
Touch [ABC] or [abc] to toggle between small and capital letters.
Touch [123] before entering numerical digits or symbols.
Touch [ä] or [Ä] to input European accent characters.
2. Touch the desired letters on the keyboard.
3. Touch [
] Enter to access Telephone Number Edit field.
4. Input the telephone number or touch [
] Enter to carry on to the next field.
5. Carry on, in the same manner inputting information into the remaining fields.
6. In the Remark field, which is the last field of the record, input information specific to that person.
7. When finished, touch [
] Enter.
8. User will be prompted to security lock function, select ‘YES’ to password protect the record.
Note: It is not necessary to work through all of the fields. Enter the desired information and then touch
[
] Escape to enter the Phonebook display.
BROWSING PHONEBOOK RECORDS
After inputting or editing a record, the user can browse the different fields.
To browse within a record:
1. Touch [
]Page Up or [
]Page Down to scroll through the fields within a record.
VIEWING OR EDITING EXISTING PHONEBOOK RECORDS
Records in the Phonebook can be displayed or edited at any time.
Note: The system categorizes records as subgroups that are either protected or unprotected. When first
entering Phonebook, by default, the system will display the unprotected records.
To display locked records:
Touch [
] Lock and enter the password.
To view or edit a Phonebook record:
1. Touch [
]Phonebook to enter the phonebook list.
2. Touch [
] Page Up or [
]Page Down to scroll the list.
3. Touch the desired item to highlight it.
4. Touch the highlighted item or [
] Enter to browse the record’s fields.
5. Touch [
] Page Up or [
] Page Down to scroll through the fields.
6. Touch [
] Edit and follow the procedure as outlined in the section CREATE A NEW RECORD.
[
] SEARCH
A record can be identified and located by inputting a few key words/characters of the record.
To search for a record with only a few key words/characters:
1. Touch [
] Phonebook.
2. Select the desired category or the ‘All’ category.
3. Touch [
] Search.
11


