


3
EN
5. Channel 1 / 2: Appears when related sensor is
activated
6. Motion alarm ON icon
7. Calendar
8. Temperature
9. Clock reception icon: Shows signal strength
10. MIN icon: Indicates sleep time is displayed when
soothing sound is activated
11. Time zone offset
12. Motion sensor start time
13. Alarm 1 indicator
14. Alarm 1 / 2 time
15. Melody alarm icon
16. Vibration alarm icon
17. Alarm 2 indicator
18. Motion sensor stop time
19. Motion alarm settings icon
GETTING STARTED
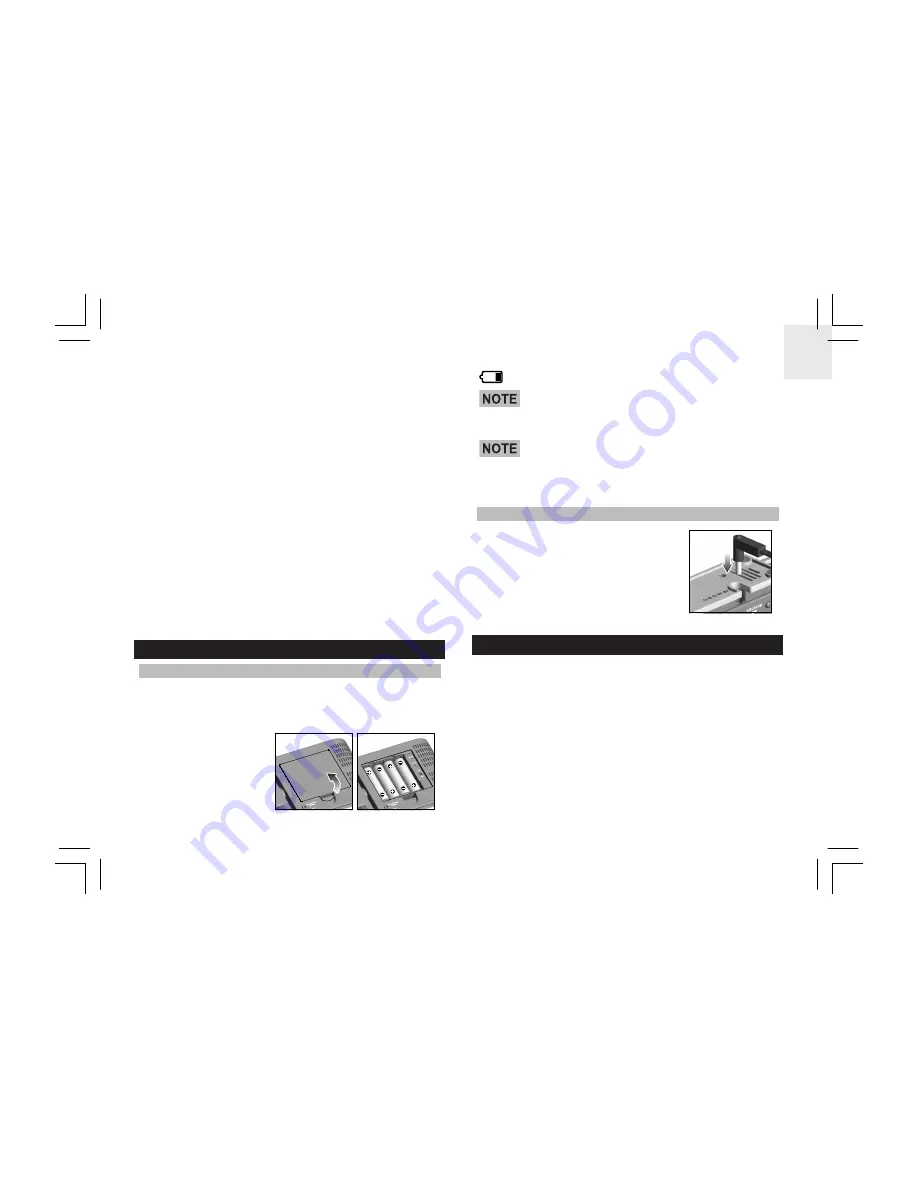
BATTERIES
Insert batteries before first use, matching the polarity (+
and -).
RESET
after each battery change.
To install the
clock batteries:
indicates batteries are low.
Do not use rechargeable batteries. It is
recommended that you use alkaline batteries with this
product for longer performance.
Batteries should be used as a back-up power
supply, for continuous projection please use the AC
adapter.
AC ADAPTER
To insert the 6V AC / DC
adapter into the clock:
CLOCK RECEPTION
This product is designed to synchronize its calendar
clock automatically once it is brought within range of a
radio signal:
RM939P:
• DCF-77 generated from Frankfurt, Germany for
Central Europe
• MSF-60 generated from Rugby, England.
The radio signal range is 1500km (932 miles).
RM939P_M_EN_R1
2006.3.16, 5:25 PM
3


