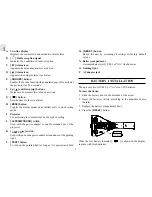
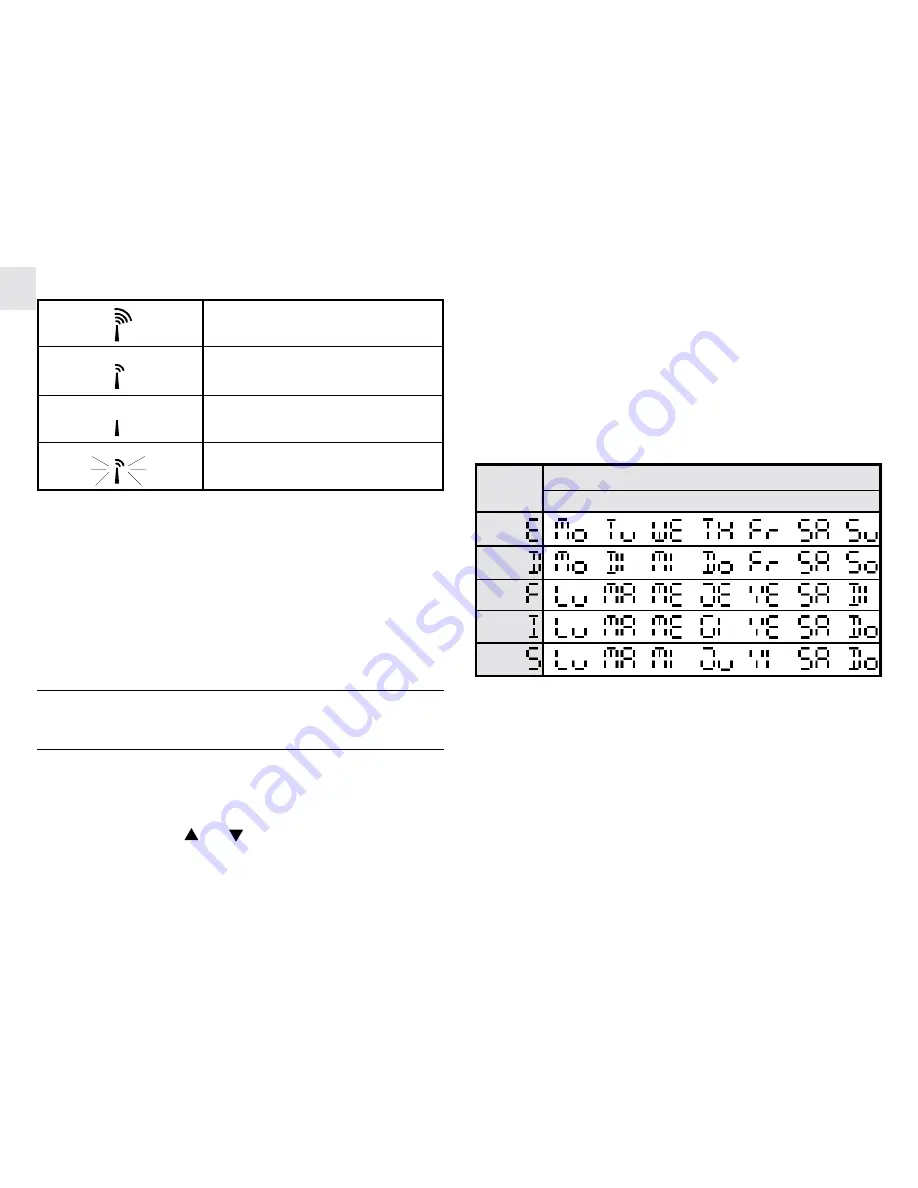
background image

4

GB

STRONG

WEAK

NO RECEPTION

RECEIVING

Interference

Reception can be affected by a number of factors. For best reception,
place the device away from metal objects and electrical appliances.

Note:  Interference from sources such as TV sets can affect the
signal. If, after batteries have been inserted for ten minutes, the
signal is not received, then set the time manually (see section: How
To Set The Clock & Calendar Manually)
.

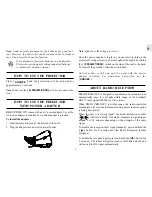
HOW TO SET THE CLOCK AND

CALENDAR MANUALLY

To set the clock and calendar:

1. Press and hold [MODE] for 2 seconds and the time-zone offset

hour digits will blink.

2. Enter the value by 

 ] 

 ] buttons.

3. Confirm the entry by pressing [MODE] and the 12- or 24-hour

display format will blink.

4. Repeat (2) and confirm the entry by pressing [MODE].

5. Repeat the above procedures to set the hour, minute, year,

month, day and language for day-of-week.  You can select
among English (E), German (D), French (F), I (Italian) or
Spanish (S).

Day-of-the-week


Language

Monday

Tuesday Wed.

Thursday

Friday Saturday S u n d a y

English

German

French

Italian

Spanish

Please note that in order to use the clock in different time-zone, 2nd
time-zone offset hour has to be set. When an offset hour has been set
(e.g. +1), the time displayed will be the RF clock time plus 1 hour.

Summary of Contents for RM813P

Page 1: ...ontrolled clock It can automatically synchronize its current time and date when brought within an approximate 1500 km radius of the radio signal DCF77 generated from Frankfurt Germany the UK version f...

Page 2: ...ceiling J PROJECTION ON switch Used with the power adapter to enable extended use of the projector K LIGHT ON switch Used with power adapter to enable extended use of the guiding light L TEST button T...

Page 3: ...longer time such as throughout the night by sliding the PROJECTION ON switch on the side of the unit to the back To turn off the projector slide the switch back Note that this switch can only be used...

Page 4: ...seconds and the time zone offset hour digits will blink 2 Enter the value by buttons 3 Confirm the entry by pressing MODE and the 12 or 24 hour display format will blink 4 Repeat 2 and confirm the en...

Page 5: ...the setting The alarm will be activated automatically Follow the same procedures to set and activate the Single and or WeekdayAlarm HOW TO DEACTIVATE THE ALARM To deactivate the alarm 1 Select the al...

Page 6: ...e connected For instructions on how to install the adapter please see Section How to Use the Projector with Power Adapter Once the power adapter is in place slide the LIGHT ON switch at the side of th...

Page 7: ...aged batteries or distorted parts 4 Do not tamper with the unit s internal components Doing so will terminate the unit s warranty and may cause damage The unit contains no user serviceable parts 5 Onl...

Page 8: ...TE Directive Applied standards ETS 300 683 1997 Efficient use of the radio frequency spectrum Article 3 2 of the R TTEDirective Applied standards EN300 220 1 1997 INTENDED USE OF THE DEVICE CAUTION Th...

Reviews: