background image

GB

GETTING STARTED

Unpacking the product

When you unpack your fun RF Projection clock, make sure to keep all the packing

materials in a safe place, in case you need to later transport or return it for servicing.

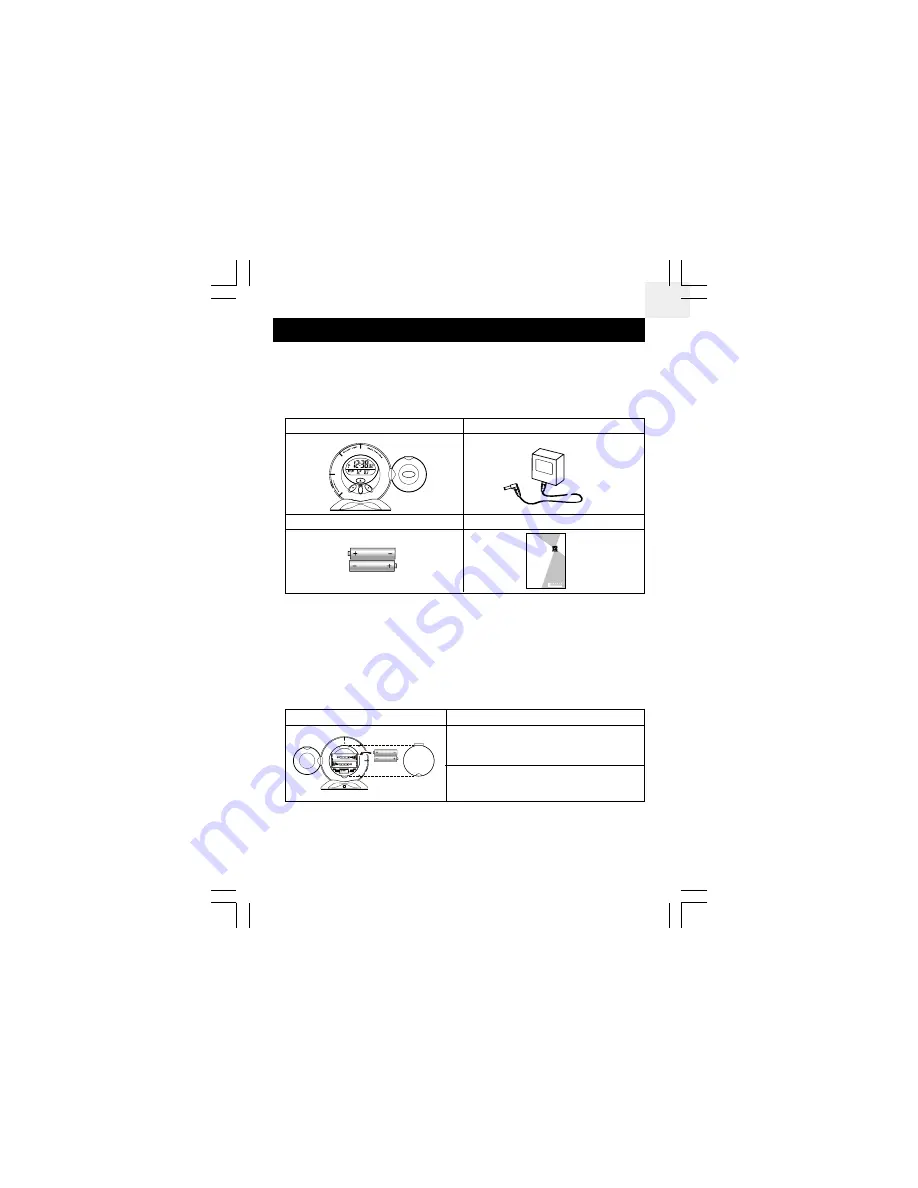
In the box, you will find:

Batteries

2 pieces of UM-3/ AA 1.5 V batteries are supplied with the product. They are already

installed so make sure the clear plastic tab inside the battery compartment has been

removed before the product will work.

To load the batteries:

User Manual

4

Diagram

Instructions

1. Insert the batteries strictly according to

the polarities shown.

2. Press the 

[RESET]

 button.

3V AC Adaptor

Fun RF Projection Clock

User Manual

2 Pieces UM-3 / AA Batteries

RM816_GB(04/09)

5/9/2003, 7:50 PM

5

Summary of Contents for RM816P

Page 1: ...duct 3 Getting Started 4 Unpacking the Clock 4 Batteries 4 AC Power Source 5 About Radio Reception 5 Enabling Disabling Radio Reception 6 To Manually Set the Clock and Calendar 6 Alarm Function 7 Acti...

Page 2: ...he Art Backlight Technology Automatically synchronizes the current time and date when it is brought within range of the radio signal MSF60 generated from Rugby England model RM816PU or DCF77 generated...

Page 3: ...display modes and confirms entry in clock setting mode G Battery compartment Accommodates two 2 UM 3 or AA size batteries H RESET button Resets unit by returning all settings to factory default value...

Page 4: ...use a fire hazard This device is intended for teenage or adult use only Caring for this product To ensure you receive the maximum benefits from using this product please ob serve the following guideli...

Page 5: ...f UM 3 AA 1 5 V batteries are supplied with the product They are already installed so make sure the clear plastic tab inside the battery compartment has been removed before the product will work To lo...

Page 6: ...night by sliding the PROJECTION ON switch on the side of the unit To turn off the projector slide the switch back NOTE Note that this switch can only be used with the power adaptor installed For momen...

Page 7: ...ption again press and hold UP button for 2 seconds The Radio Reception symbol will blink and the unit will search for the RF signal automatically TO MANUALLY SET THE CLOCK AND CALENDAR 6 Instructions...

Page 8: ...eekday Alarm Single Alarm The Weekday Alarm will sound every Mondays to Fridays according to the preset time It is automatically disabled during weekends Saturdays and Sundays The Single Alarm sounds...

Page 9: ...larm The alarm will sound again after 8 minutes unless another key on the clock is pressed To stop the ringing completely the first time press the ALARM button NOTE The Single Alarm will automatically...

Page 10: ...ervice Problem Symptom Check This Remedy Clock time is not correctly set No radio signal reception Electromagnetic inter ference or objects are barring reception Orientation or place ment of main unit...

Page 11: ...1 F 113 F at 85 relative humidity Storage temperature 5 C 60 C 23 F 140 F at 85 relative humidity RESETTING THE UNIT If the clock stops responding insert and press a blunt stylus into the clock s Rese...

Page 12: ...cks Do not immerse the device in water Do not under any circumstances touch the exposed electronic cir cuitry of the device as there is a danger of electric shock should it become exposed Take special...

Page 13: ...ve applied standard s ETS 300 683 1997 Safety of information technology equipment Article 3 1 a of the R TTE directive applied standard s EN 60950 1997 Additional information The product is therefore...

Reviews: