background image

5

EN

CLOCK

CLOCK RECEPTION

This  product  is  designed  to  synchronize  its  clock 
automatically with a clock signal.

RMR391P

: EU: DCF-77 signal: within 1500 km (932  

miles) of Frankfurt, Germany.

RMR391PU

: UK: MSF-60 signal: within 1500 km (932 

miles) of Anthorn, England.

RMR391PA

:  WWVB-60  signal:  within  3200km  (2000 

miles) of Fort Collins Colorado.

To enable / disable signal reception:

Press and hold 

 to enable, or 

 to disable signal 

reception.

 NOTE 

 Reception takes 2-10 minutes. If the signal is 

weak, it can take up to 24 hours to get a valid signal.
If signal reception is unsuccessful, place your unit next 
to a window, press and hold 

 to force another signal 

search.

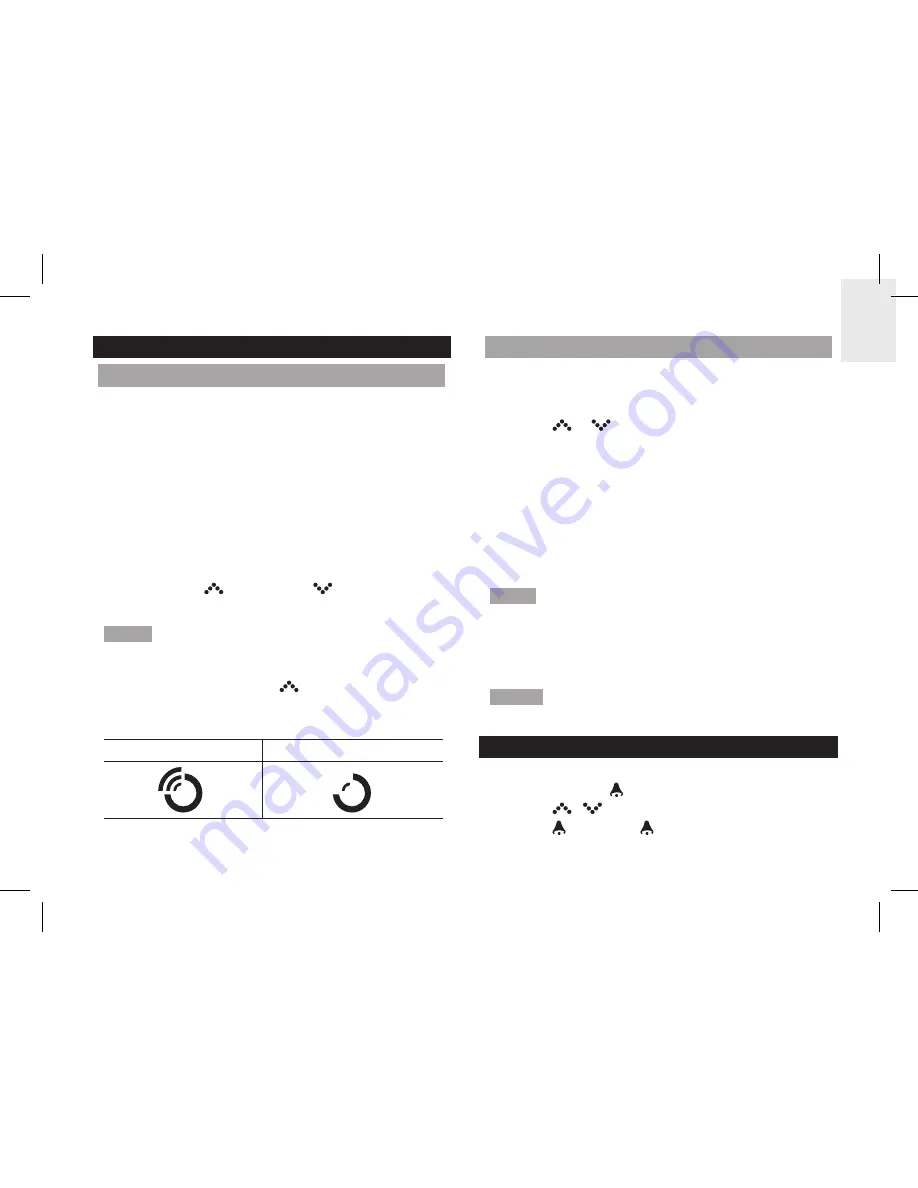
Clock signal reception indicator:

STRONG SIGNAL

WEAK / NO SIGNAL

MANUALLY SET CLOCK

To  set  the  clock  manually,  disable  the  clock  signal 
reception first.

1.   Press and hold 

MODE

.

2.   Press 

 or 

 to change the settings.

3.   Press 

MODE

 to confirm.

4.   The  setting  order  is:  time  zone  offset,  12/24-hr 

format,  hour,  minute,  year,  day  /  month  format, 
month, day and language.

RMR391P  /  RMR391PU

:  Time  zone  offset  sets  the 

clock +/- 23 hours from the received clock signal time. 
If you have deactivated the clock signal reception, do 
not set a value for time zone.

 NOTE 

 If you enter +1 in the time offset setting, this will 

give you your local time plus one hour. If you are in the 
US (RMR391PA) set the clock to:
PA for Pacific time       MO for Mountain time
CE for Central time       EA for Eastern time

  NOTE 

  The  language  options  are  (E)  English,  (S) 

Spanish, (I) Italian, (F) French and (D) German.

ALARM

To set the alarm:

1.   Press and hold   to enter alarm-setting mode.
2.   Press 

 / 

 to set hour / minute.

3.   Press   to confirm.   indicates alarm is ON.

Summary of Contents for RMR391P

Page 1: ...view 2 Back view 2 Bottom view 3 Remote sensor 3 Getting started 3 Power supply 3 Remote sensor 4 Sensor data transmission 4 Clock 5 Clock reception 5 Manually set clock 5 Alarm 5 Temperature 6 Projec...

Page 2: ...9 AM PM 10 Calendar format 11 ZONE time zone offset BACK VIEW 1 2 3 4 6 7 8 5 1 C F select temperature unit 2 increase decrease value of the setting activate deactivate clock reception signal 3 ON PRO...

Page 3: ...N MEANING Clock area Main unit batteries low Outdoor indoor temperature area Sensor batteries low 1 x adapter Alternatively use the adapter supplied to power the unit For continuous use of projector b...

Page 4: ...nsor The sensor reception icon in the remote sensor area shows the status ICON DESCRIPTION Main unit is searching for sensor s A channel has been found The sensor cannot be found NOTE If the sensor is...

Page 5: ...AL MANUALLY SET CLOCK To set the clock manually disable the clock signal reception rst 1 Press and hold MODE 2 Press or to change the settings 3 Press MODE to con rm 4 The setting order is time zone o...

Page 6: ...n install adapter To activate deactivate continuous projection when adapter is connected Slide PROJECTION switch to ON OFF Image can still be projected when no adapter is connected However when the ba...

Page 7: ...shown in this manual may differ from the actual display When disposing of this product ensure it is collected separately for special treatment and not as normal household waste Placement of this prod...

Page 8: ...re about Oregon Scienti c products If you re in the US and would like to contact our Customer Care department directly please visit www2 oregonscienti c com service support asp For international inqui...

Page 9: ...sion reception which can be determined by turning the equipment off and on the user is encouraged to try to correct the interference by one or more of the following measures Reorient or relocate the r...

Reviews: